")
Welcome to this months Stampin’ for Christmas Blog hop. We our a group of Stampin’ Up! demonstrators from all over the world sharing Christmas card making and papercraft ideas using Stampin’ Up! Supplies. This month I am dipping into my new products from the July to December Mini Catalogue to create my Merriest Moments Joyful Christmas Card.
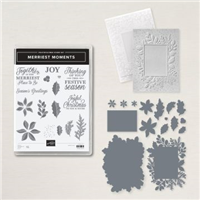
Introducing Merriest Moments Bundle
It’s time to break out the new catalogue and take a peek. Flip to page 43 & there you will see the Merriest Moments bundle. Ready for the first great bit of good news? When you order this bundle, your purchase will qualify for a FREE Sale-a-Bration item. Woohoo!!!
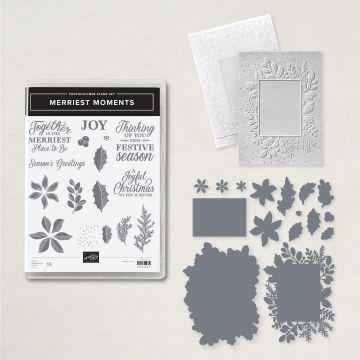
The bundle includes a 16-piece photopolymer stamp set with a 16-piece die set. But the icing on the cake is that the bundle includes a hybrid embossing folder . I will be showing more of this amazing set on my Facebook Live next week.
Merriest Moments Joyful Christmas Card
Today I am sharing a pretty Christmas Card which I made at a recent event with some fellow demonstrators
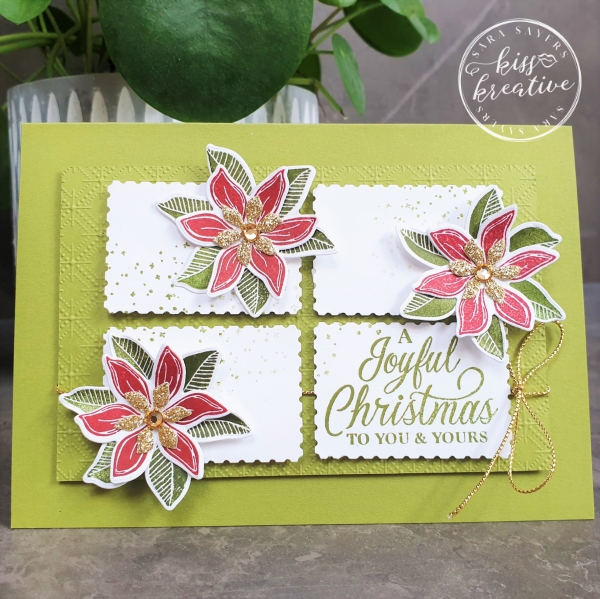
How to Make this Merriest Moments Joyful Christmas Card
- Stamp the poinsettia flowers in Cherry Cobbler Ink & die cut out
- Stamp the Leaves in Mossy Meadow and die cut out
- Die cut the central floral element
- Assemble the flowers with glue dots
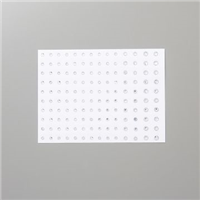
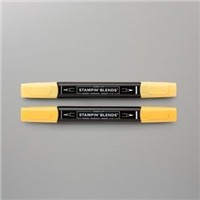
- Colour some Rhinestone Basic Jewels with a light Daffodil Delight Stampin’ Blend & add to the centre of the flowers
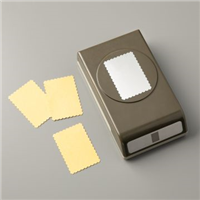
- Punch four pieces of Basic White card using the Rectangular Postage Stamp Punch
- Stamp the sentiment on one piece using Old Olive Ink
- Use the dotty stamp to add some detail in Old Olive Ink
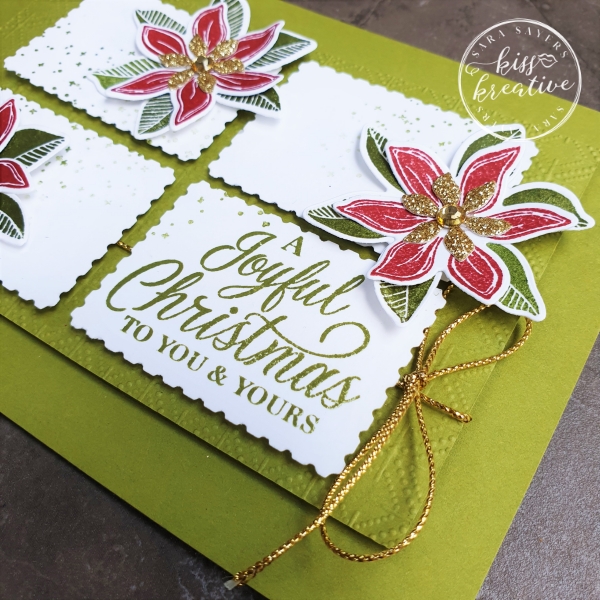
- Emboss Layer 1 using a light pattern embossing folder
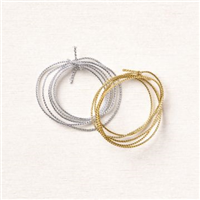
- Wrap some Gold Simply Elegant Trim around & tie in a bow
- Add to the card base using glue.
- Add the four white pieces using Dimensionals
- Arrange and adhere the flowers using glue dots
- Don’t forget to decorate the inside
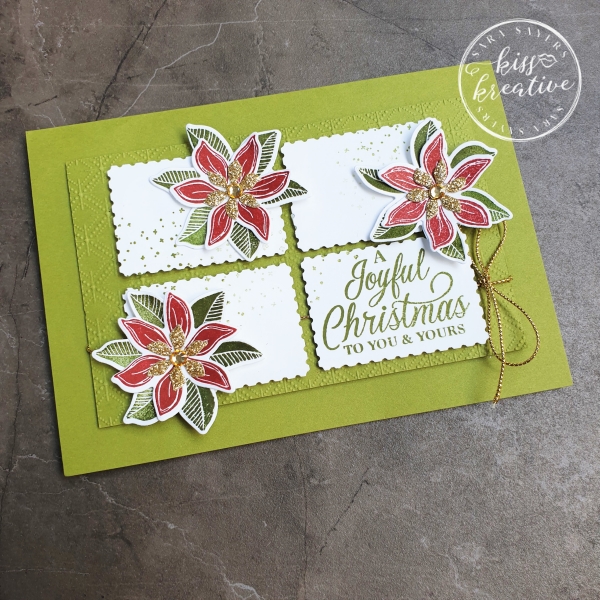
Merriest Moments Joyful Christmas Card
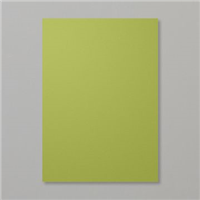
- Base: Old Olive – 29.7 cm by 10.5 cm (scored at 14.9 cm)
- First Layer: Old Olive – 12.5 cm cm x 8.0cm
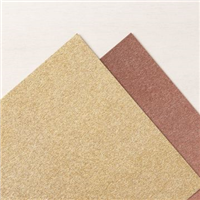
- Second Layer/Flowers: Basic White – A5
- Internal card layer 1: Basic White – 14.3 cm by 10.0 cm
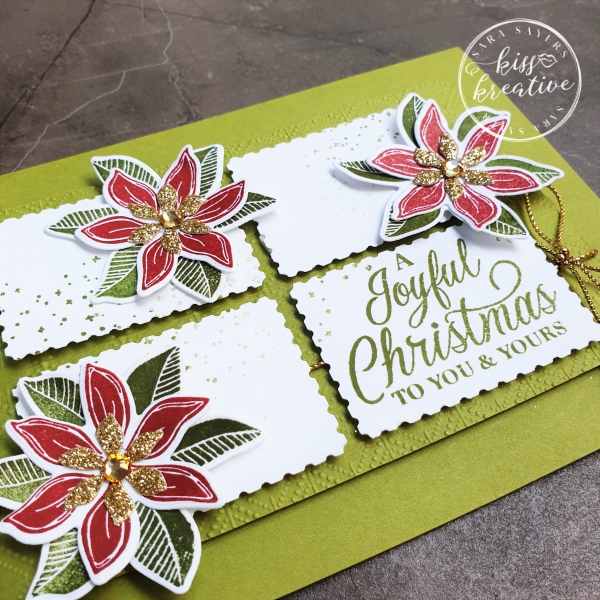
The elements of gold really make this card festive.
Voila!
I had great fun making this card and I would love to know what you think? So please do leave me a comment below.
Come Join the party!
Want to see some more projects ?
I hope you find lots of inspiration on our hop today. Next is over to the wonderful Gez Carpenter who I know will have a fabulous project to share with us
Click on the next button below to visit her blog

So on to the rest of the blog roll. Do hop around and check out everyone’s inspiring projects.
Stampin’ For Christmas Blog hop Design Team List
- LAURA MACKIE
- SARA SAYERS – That’s Me!
- GEZ CARPENTER
- KIM PRICE
- LIZ YUILLE
- ANNETTE ELIAS
- JESSIE HOLTON
- GINA CONNOR
- MARIEKE BART
- NINA KING MCMILLAN
- VICTORIA LITTLEWOOD
- ZOE TANT
Thanks for looking
Stamping Hugs
Sara
- Shop Stampin Up – Earn 10% rewards on all qualifying purchases over £20
- Request a catalogue
- Buy a starter Kit
- Find out about joining our group of Hugs & Kisses Stampers


beautiful card Sara , those little poinsettias are gorgeous x
Beautiful card xx
Gorgeous card! I love the layering. Thanks for sharing.
Lovely card Sara, Loving the Postage label punch as the layer, thanks for sharing
Lovely card 🙂
Your card is beautiful! I love the design!
Thank you