
Christmas Card Sketch Challenge
Hello Crafty Friend 💜
Welcome to this month’s Stamp Impressions Blog Hop.
For October, we have a sketch challenge, which is always a lovely way to kick-start a design. I enjoy using a sketch as a guide rather than following it too literally, and this one gave me the perfect starting point for a layered Christmas card with lots of texture and metallic detail.
Using the Sketch as My Starting Point
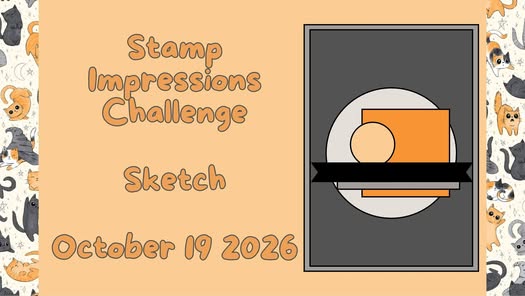
The sketch gave me a strong circular focal point, a patterned panel and a horizontal element across the front.
I decided to keep that basic structure, but soften it with more texture and detail. The circle became a white wreath, the main panel became Designer Series Paper, and the horizontal strip was recreated with ribbon and my sentiment label.
That is one of the things I love most about a sketch challenge — it gives you direction, but still leaves plenty of room to make the design your own.
Creating the Textured Background
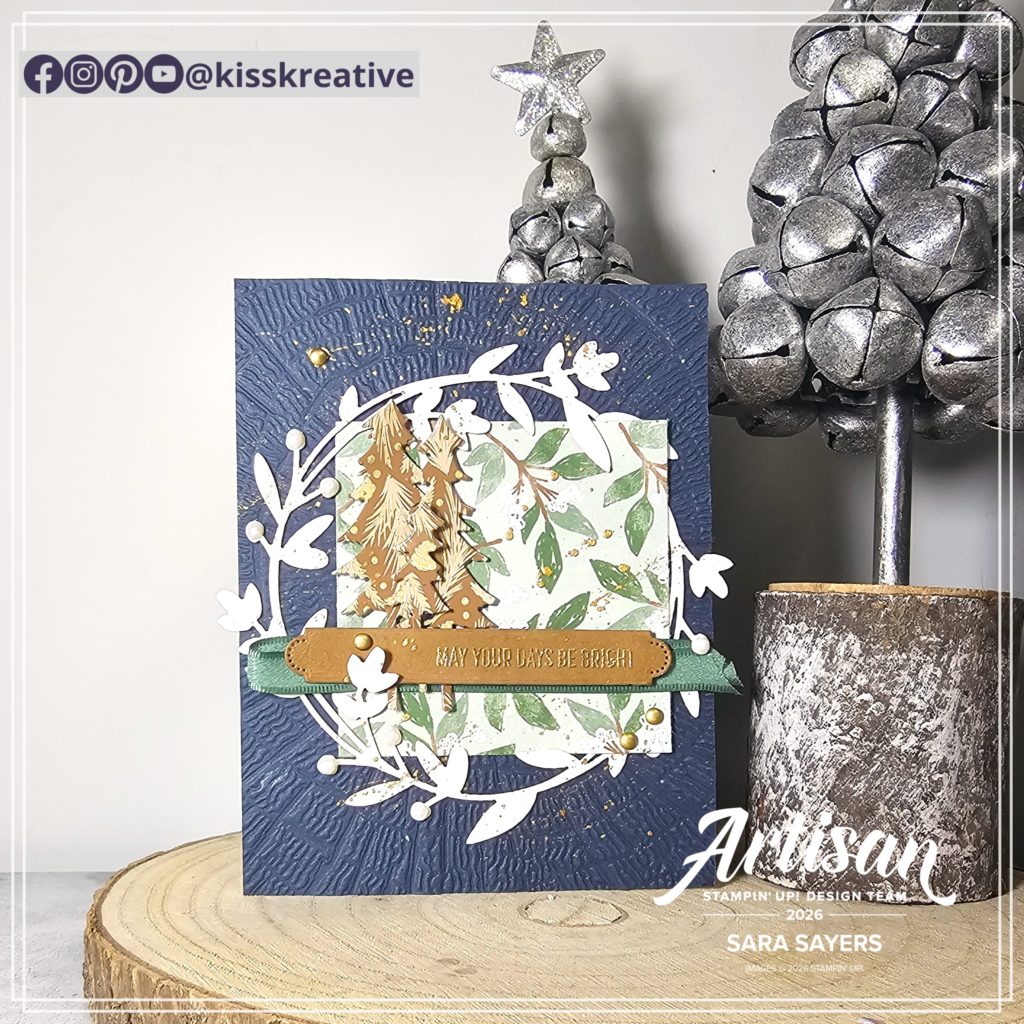
For my card base, I used Secret Sea cardstock and embossed it with the Textured Tree Ring Embossing Folder.
The embossed background adds plenty of texture without taking attention away from the main focal point. I really like the contrast between the deep Secret Sea and the lighter layers on top.
It also gave the card a slightly rustic feel, which worked beautifully with the papers and wreath.
Adding the Hearth and Home DSP
For the main patterned panel, I used Hearth and Home Designer Series Paper.
I layered this over the embossed background and then added three die-cut trees using the Neutral Noel DSP.
Using two different Designer Series Papers added extra pattern and interest, but because the colours work together, the finished card still feels cohesive rather than busy.
Building the Wreath Focal Point
Instead of using a plain circle from the sketch, I chose a Detailed Wreath Accent in white.
The wreath gave me the shape I needed from the original sketch, while also adding more texture and movement.
I added pearls around the wreath to give it a little extra detail and dimension. The white wreath also helps lift the darker colours and keeps the centre of the card feeling bright.
Adding Ribbon and a Gold Embossed Sentiment
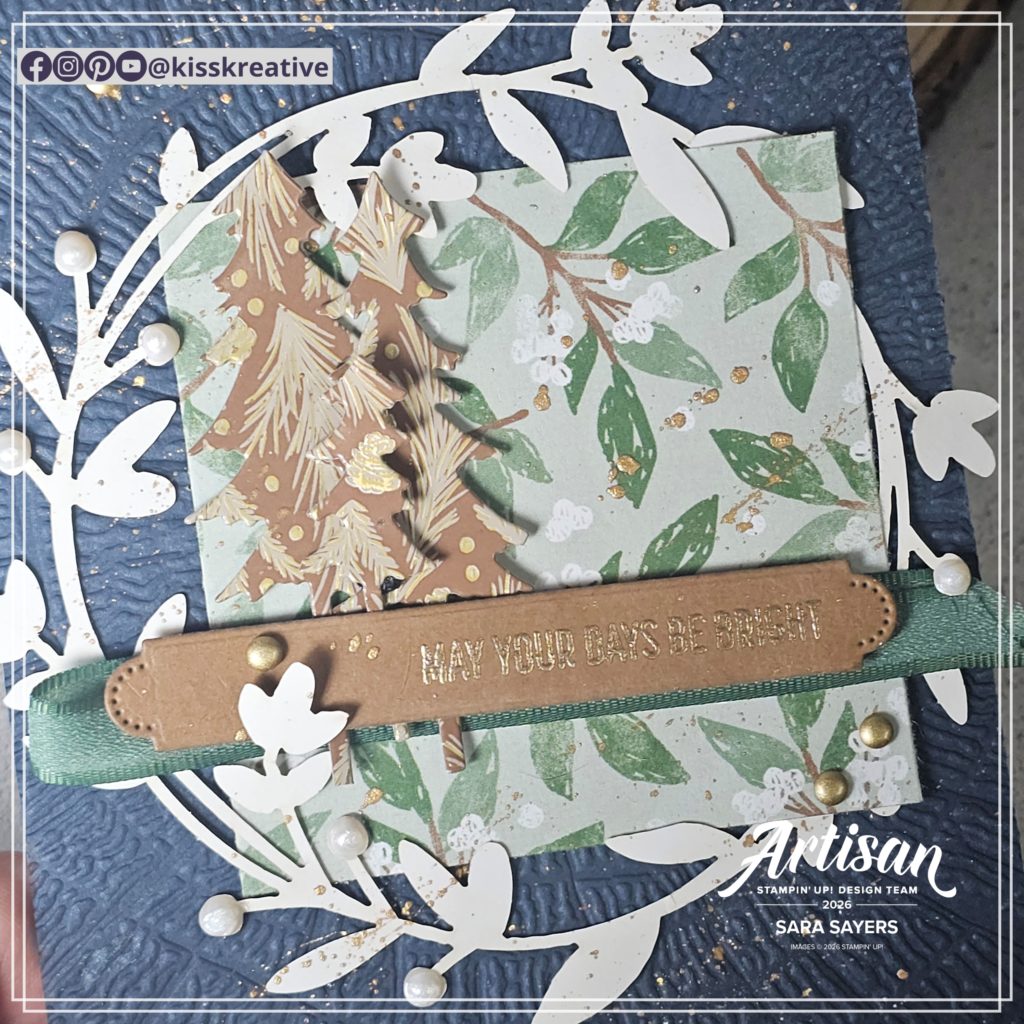
Across the centre of the card, I added Peaceful Pine Ribbon to recreate the horizontal element from the sketch.
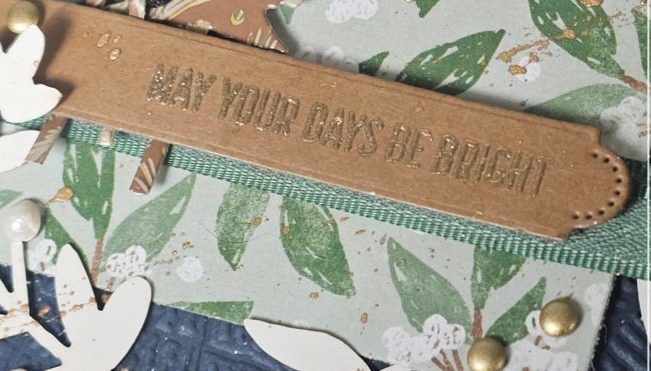
For the sentiment, I stamped “May Your Days Be Bright” from the Soiree Salutations Stamp Set in Versamark, then heat embossed it in gold to tie in with the other metallic details on the card.
I cut the sentiment label using the Holly Jolly Branches Bundle and layered it over the ribbon.
The gold embossing adds a lovely bit of shine without overpowering the rest of the design.
Finishing the Christmas Card
To finish the card, I added gold splatter, gold embellishments and a few more pearls around the wreath.
These final touches helped bring all the elements together and added just enough festive sparkle.
I particularly like the combination of Secret Sea, white and warm metallic gold. It gives the card a Christmas feel without using a very traditional red and green colour palette.
Try the Christmas Card Sketch Challenge
A Christmas card sketch challenge is such a useful way to get started when you are not quite sure what to make.
You can follow a sketch exactly, rotate it, change the shapes or simply use the general layout as inspiration.
If you would like to recreate this card, you can shop the Stampin’ Up! products I have used through my online store.
You could also take the same sketch and try it with completely different papers, colours or embellishments to create your own version.
Continue the Stamp Impressions Blog Hop
Thank you for stopping by for this month’s Stamp Impressions Blog Hop.
Make sure you continue hopping through the BlogCarousel below to see how the rest of the team have interpreted the sketch.
Happy crafting!
Sara 💜
KISS Kreative – Keep It Simply Stunning
- Shop Stampin Up – Earn 10% rewards on all qualifying purchases over £20
- Request a catalogue
- Buy a starter Kit
- Find out about joining our group of Hugs & Kisses Stampers
Products used to make this card


0 Comments