")
Welcome to our monthly Casually Crafting Blog Hop and my very Merry Christmas Card
Casually Crafting Design Team Blog Hop
The Casually Crafting Design Team is a group of Stampin’ Up! demonstrators from around the world, gathered together to share our passion for creativity with you. Our focus is to bring you inspiration featuring projects that are easy to create while still packing a powerful creative punch. The projects are made with a few products, making them ideally suited to a beginner or casual crafter. From time-to-time, we may also include a project that is stepped-up for the added wow-factor
We will be sharing our ideas on the 3rd Saturday of each month and you can hop around the group and gather loads of inspiration. So grab yourself a cup of your favourite beverage, sit back & enjoy the hop!
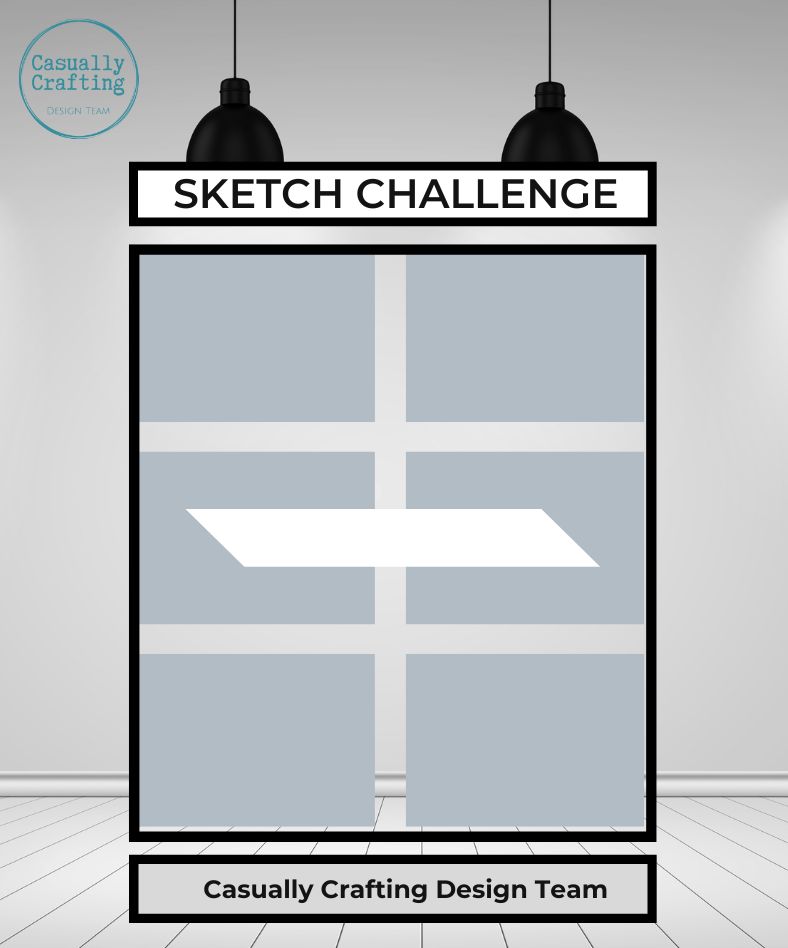
Sketch Challenge
This month we have a sketch challenge. This is a great way to kick off you inspiration when your mojo takes a hike!
More Wishes
I couldn’t resist using the More Wishes Stamp set for this months sketch challenge. It’s a complimentary set to accompany the Big Wishes Stamps set in our Annual Catalogue.

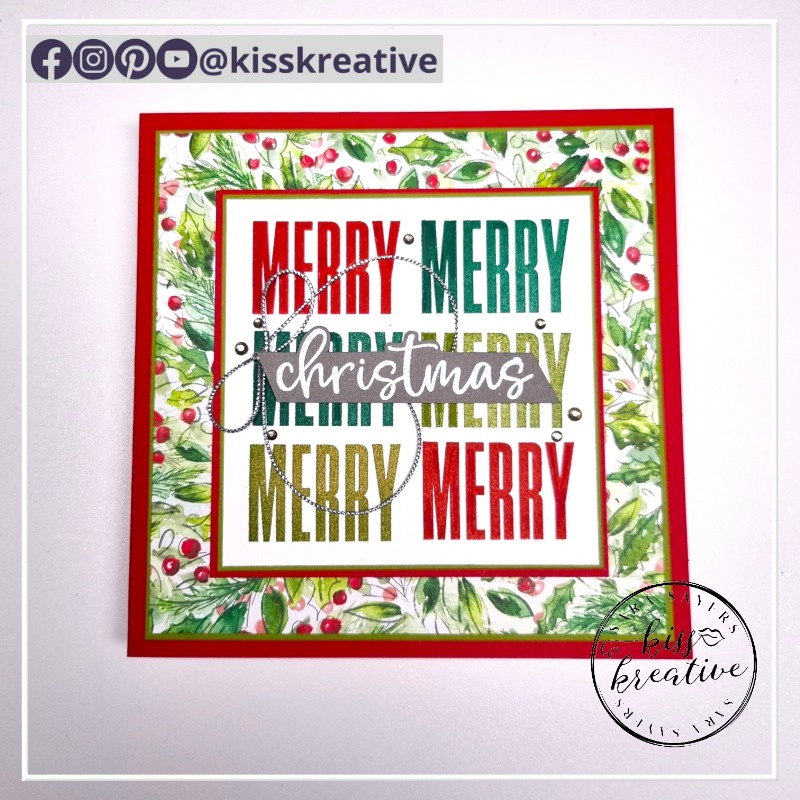
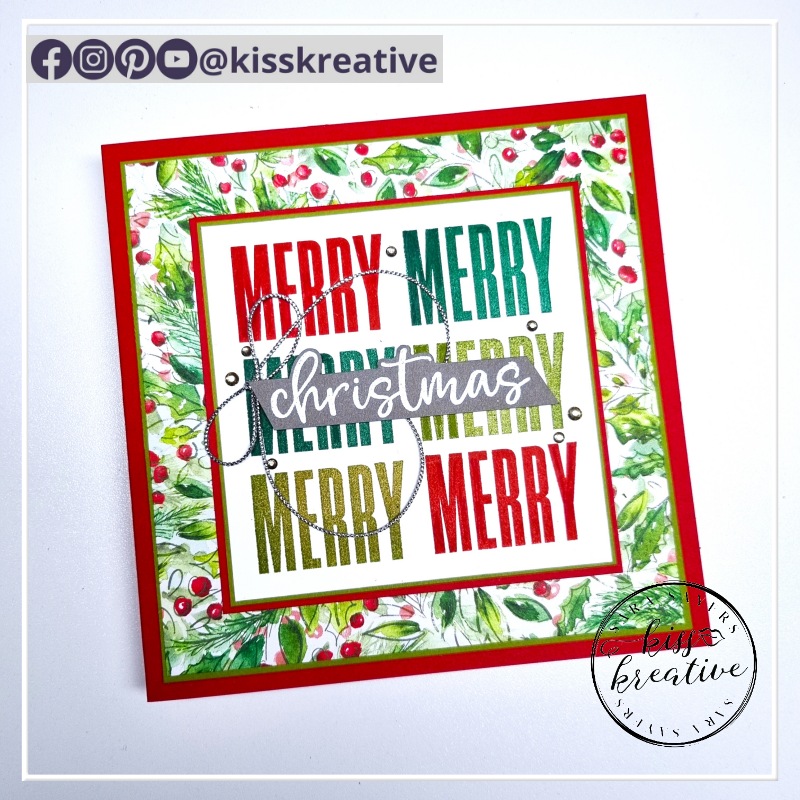
A Very Merry Christmas Card
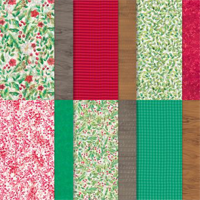
I do love making square cards. Its seems to add that extra touch of luxury to a card and in this case allowed me to really show off the stunning Joy to Christmas Designer Series Paper.
Check out those beautiful rich traditional Christmas colours
How to Make This Very Merry Christmas Card
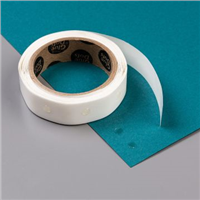
- Assemble the first four layers onto the card base using Multipurpose glue
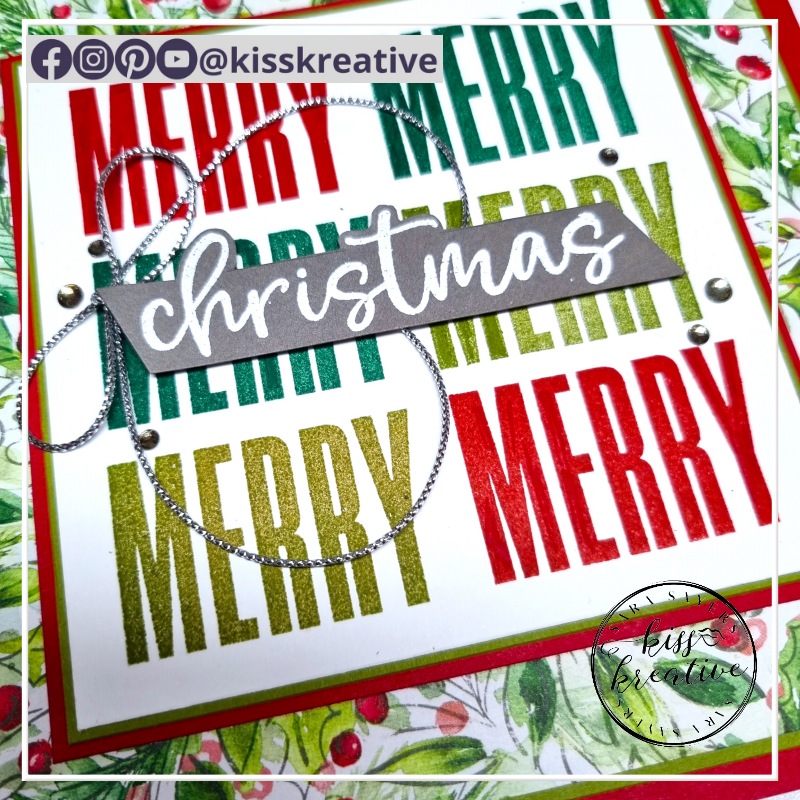
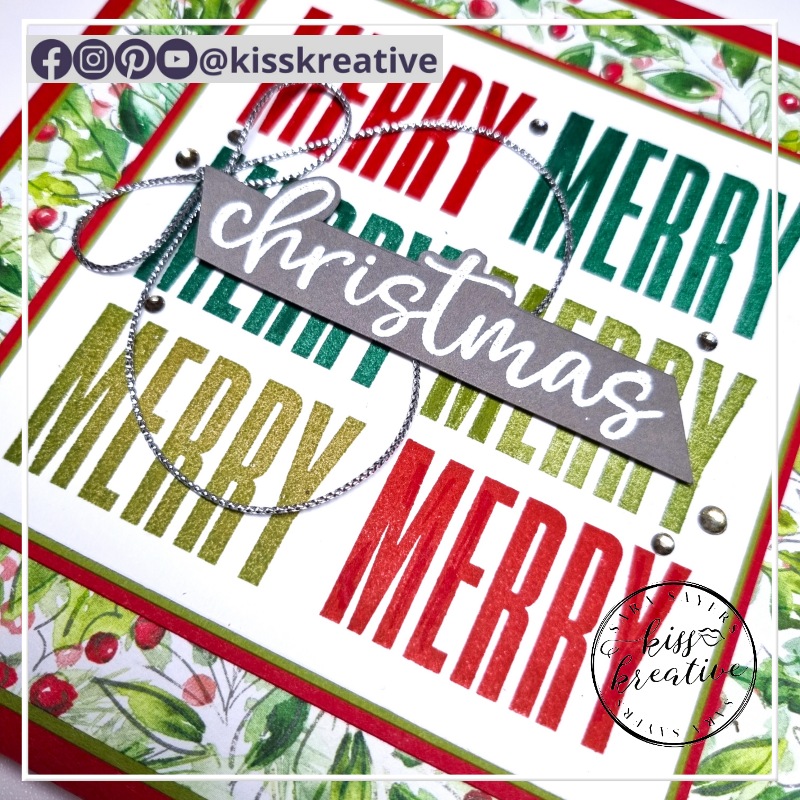
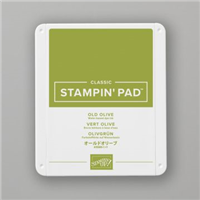
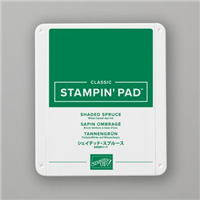
- Stamp the word Merry six times on the piece of Basic White card. Twice in each colour of Real Red, Shaded Spruce & Old Olive Inks. Because the stamp is photopolymer its super easy to line up by eye!
- Stamp the word Christmas in Versamark Ink
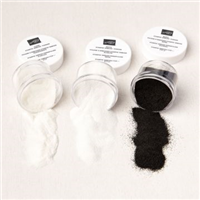
- Heat emboss using White Powder
- Cut each end at and angle
- Fussy cut out the top around the H & T.
- Finally add to the card using Stampin Dimensionals
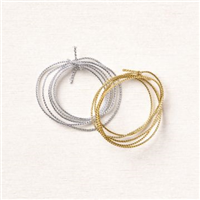
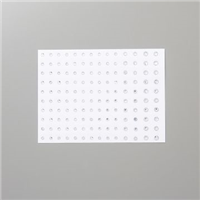
- Finish with some trim and some Rhinestone Basic Jewels
- Don’t forget to decorate the inside and the envelope!!
You can change the DSP and obviously the Inks to match. I cant wait to try this layout for a birthday. There are so many optins available.
Very Merry Christmas Card – Measurements
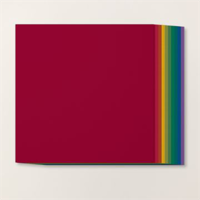
- Base card: Real Red – 30 cm x 15 cm scored at 15 cm
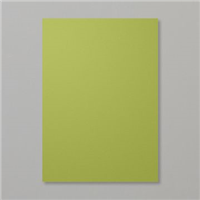
- First Layer: Old Olive – 14.0 cm x 14.0 cm
- Second Layer: Joy of Christmas DSP – 13.7 cm x 13.7 cm
- Third Layer: Real Red – 10.5 cm x 10.5 cm
- Fourth Layer; Old Olive – 10.2cm x 10.2 cm
- Fifth Layer: Basic White – 9.9 cm x9.9 cm
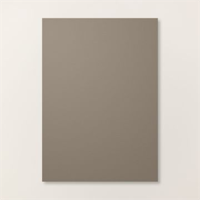
- Sentiment: Pebbled Path – Scrap
Voila!
I had great fun making this card. So, please do leave me a comment, letting me know what you think.
If you would like to know more about any of my projects please do get in contact and I would be happy to help you
So now it’s time to hop around the rest of the wonderful demonstrators blogs to see some more inspiration
Casually Crafting Design Team
Stamping Hugs
Sara
- Shop Stampin Up – Earn 10% rewards on all qualifying purchases over £20
- Request a catalogue
- Buy a starter Kit
- Find out about joining our group of Hugs & Kisses Stampers


0 Comments