")
Hello and thanks for stopping by my blog today! I’m so happy to be sharing my project with you today and to show you my Paper Florist Thank You Card.
I’m participating in Kylie’s monthly International Blog Highlights contest and the top 10 vote winners get to participate in an International Blog Hop. I would be so grateful if you could consider taking a moment and voting for my card? I’d really appreciate it!
How Do I Vote?
Click on the button below you. Please look for my card (It’s number 18) and click on the little heart sign on the right-hand top side of my photo. Once you’ve touched the little clear heart it will turn to Red and will confirm that you voted. You can vote up to five times, but it’s not required, you can also just vote for one. Thanks so much, I truly appreciate your support!
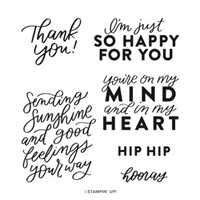
The theme for the International Blog Highlights is “Thank You”!
Paper Florist Thank You Card
I just love quick and easy cards and when you know you have a busy month, then being able to plan ahead is so helpful
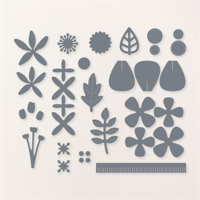
This month I have been using the Paper Florist Dies and these are the cards than I sent to my customers purchasing my Paper Florist Product Based class.
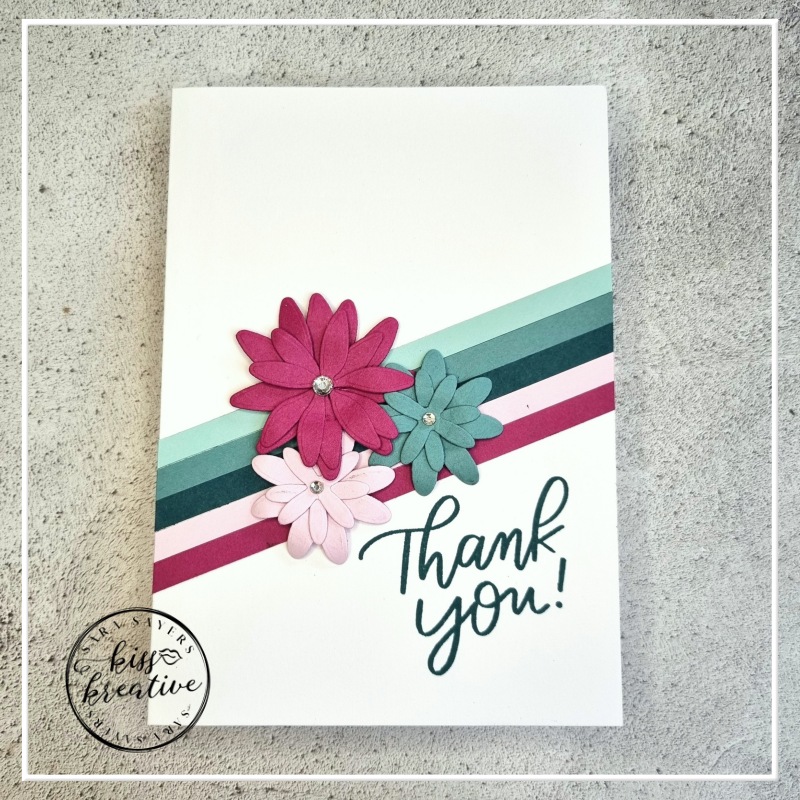
This simple card is easy to make, and makes use of some left over strips of card from one of the projects in the class.
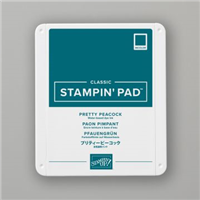
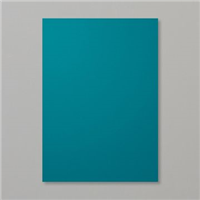
Stamp the sentiment in Pretty Peacock Ink
Glue the strips down across the card base using a tiny line of multipurpose glue, set aside and then trim off the excess paper using snips.
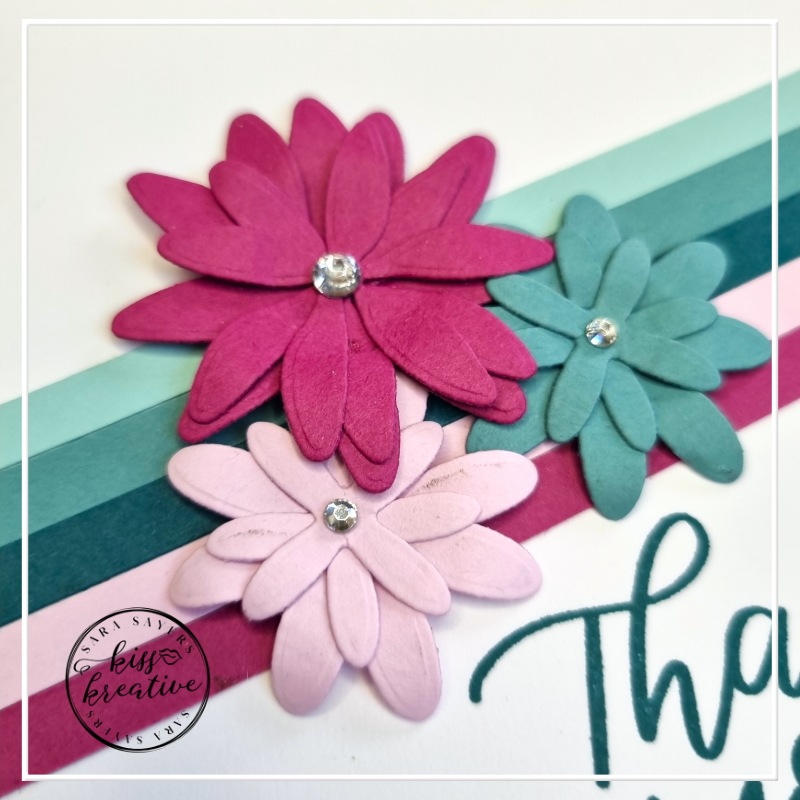
The flowers are from the Paper Florist dies cut in coordinating cardstock
Shape with a bone folder before assembly.
To finish add some rhinestone jewels.
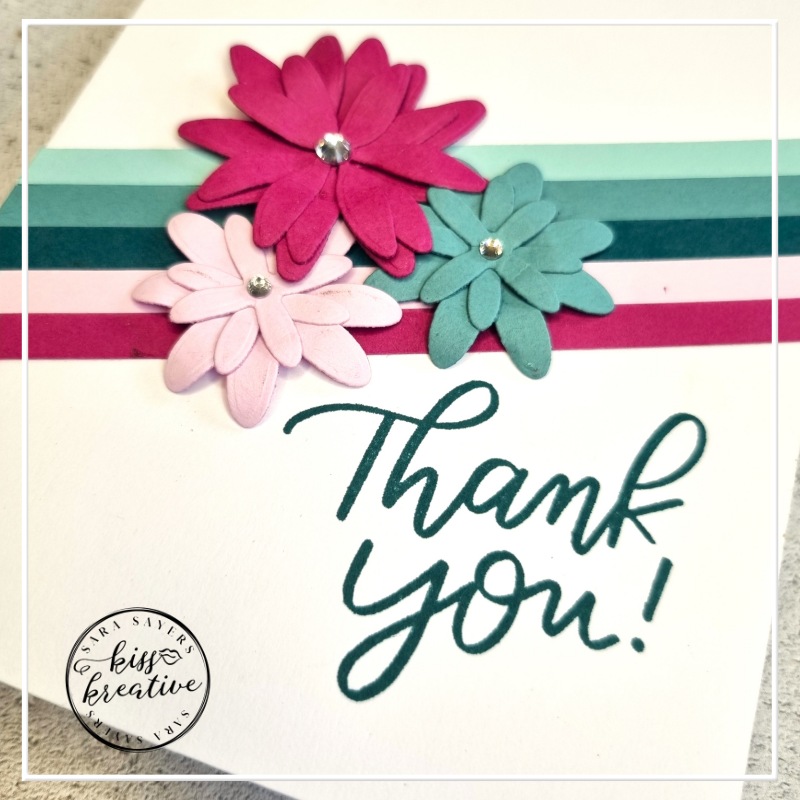
This card would work in so many different colour ways for so many different occasions and is perfect for using up scraps of card
Measurements Paper Florist Thank You Card
- Base: Thick Basic White– 21.0 cm by 14.0cm scored at 10.5 cm
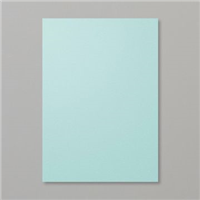
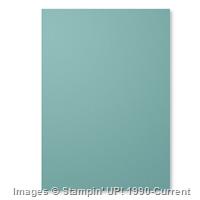
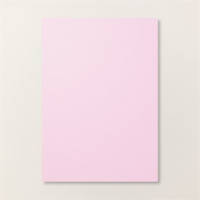
- Strips : Pool Party/Lost Lagoon/Pretty Peacock/Bubble Bath/Berry Burst – 14.8 cm x 0.7 cm
- Flowers: Berry Burst – 8.0 cm x 8.0 cm CUT TWO
- Flowers: Lost Lagoon/Bubble Bath – 9.0 cm x 4.0cm
Voila!
I had great fun making this card & coordinating box and I would love to know what you think? Please do leave me a comment.
If you would like to know more about any of my projects please do get in contact and I would love to help you.
Thanks for looking
Stamping Hugs
Sara
- Shop Stampin Up – Earn 10% rewards on all qualifying purchases over £20
- Request a catalogue
- Buy a starter Kit
- Find out about joining our group of Hugs & Kisses Stampers


Such a pretty card, Sara!
Pretty card Sara, love the colors you used.