
Welcome to the Stampin Dreams Blog hop. I am part of an amazing group of demonstrators from all around the world. We love showcasing some of the wonderful products which can found in our suite of catalogues. This month’s theme is SUMMER FUN, which gives me the perfect excuse to share this fun sunshine Bon Voyage card that I recently made for a friend who is about to take a trip around the world.

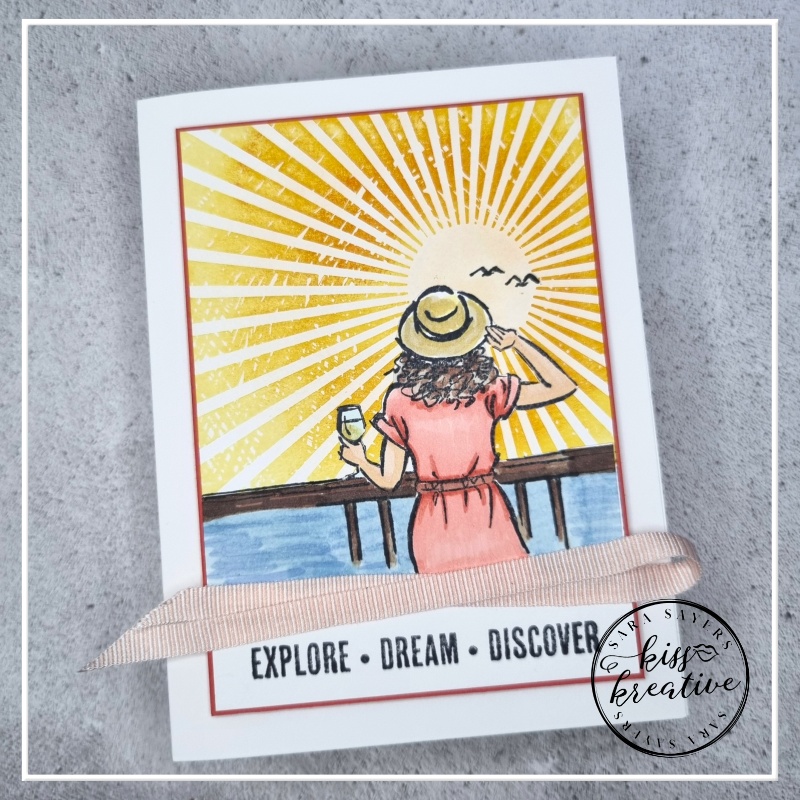
Sunshine Bon Voyage Card
I have been wanting to make this card for quite some time and my friends imminent departure was the perfect incentive.
Her first stop is Italy & I can just imagine her sipping a large glass of white whilst checking out the sunset from a lovely terrace on the Amalfi coast.
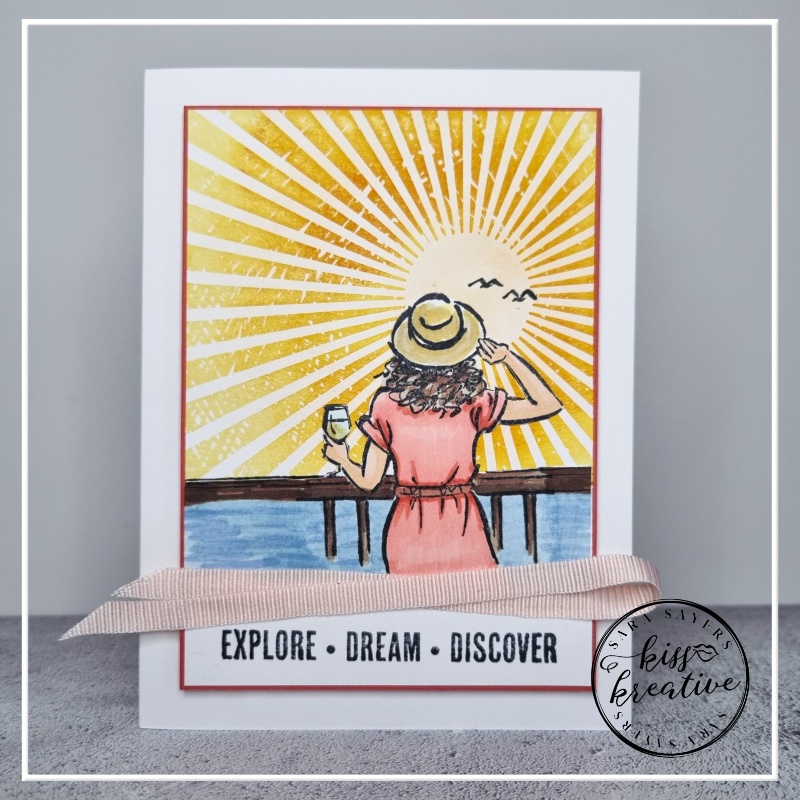
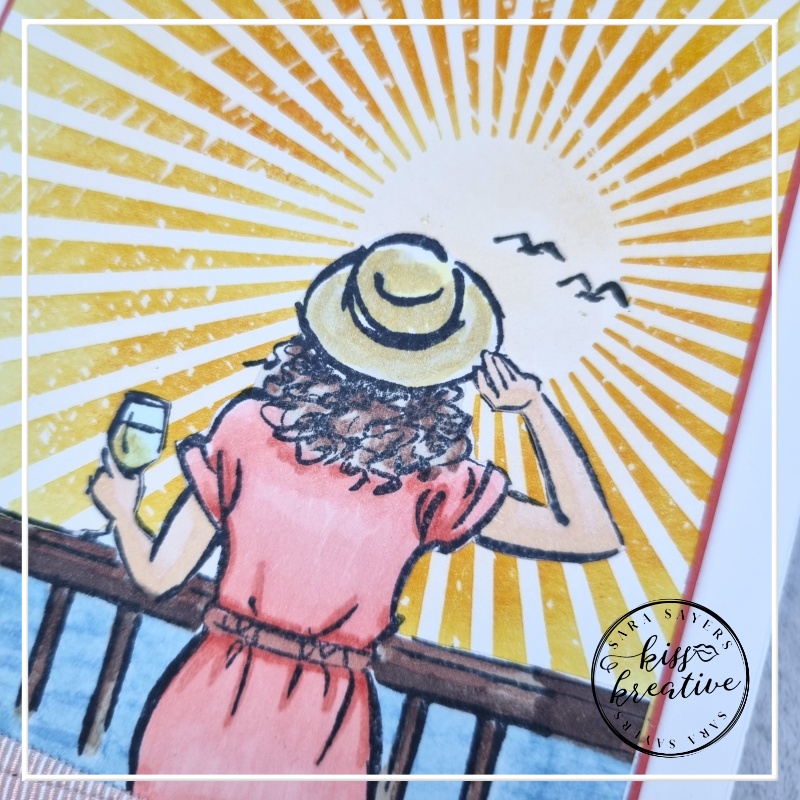
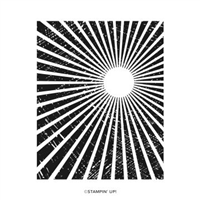
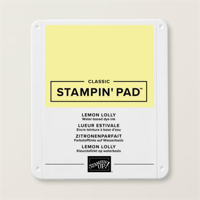
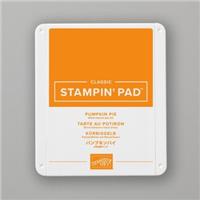
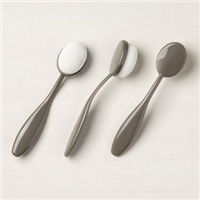
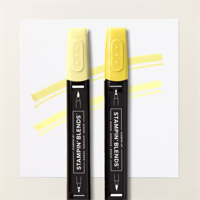
To create this card I couldn’t resist popping the Rays of Light stamp onto the piece of Basic White first. The stamp is covered in Lemon Lolly Ink with some additional Pumpkin Pie added to the central rays with a blending brush before stamping.
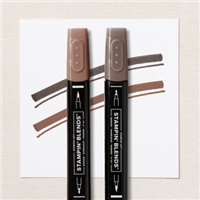
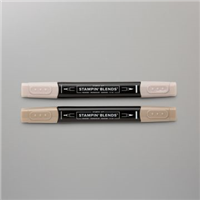
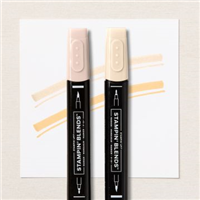
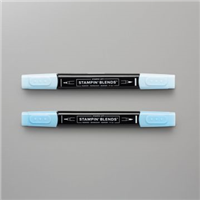
The In the Moment image is stamped twice, once onto the card and once on a separate piece of Basic White card in Memento Ink. This allowed the birds to be positioned right in the middle of the sun, but still allow the image to be coloured with Stampin’ Blends.
The coloured image is fussy cut. Yes it takes a little while, but its so worth the effort. If its not for you, then you could easily mask the image
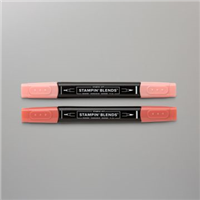
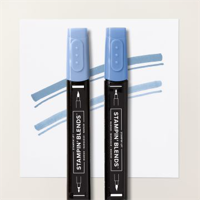
I extended the balustrade and added some blue tones for the sea
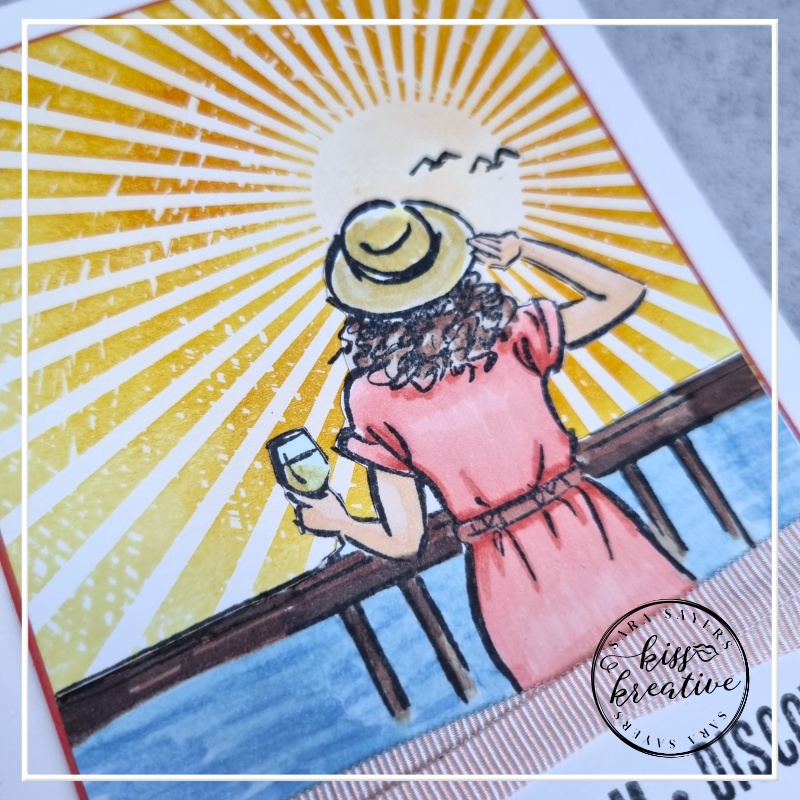

I just adore the sentiments from the Next Destination Stamp Set and this one on particular was a perfect fit for this card.
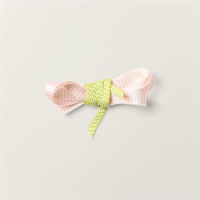
That lovely loop of ribbon creates a lovely soft transition between the image and sentiment …….. so pretty!
Sunshine Bon Voyage Card – Measurements
- Base: Thick Basic White – 21.0 cm by 14.0 cm cm scored at 10.5 cm and folded to form a card base
- First Layer: Calypso Coral – 8.8 cm by 12.3 cm
- Second Layer: Basic White– 8.5 cm by 12.0 cm
- Image: Basic White 6.0 cm by 8.0 cm
Voila!
I so enjoyed making this card and I would love to know what you think? Please do leave me a comment.
If you would like to know more about any of my projects please do get in contact and I would be happy to help you
So now it’s time to hop around the rest of the wonderful demonstrators blogs to see some more inspiration for your crafting
See the rest of the International team below!
Stampin Dreams Blog Hop Team
Thanks for looking
Stamping Hugs
Sara
- Shop Stampin Up – Earn 10% rewards on all qualifying purchases over £20
- Request a catalogue
- Buy a starter Kit
- Find out about joining our group of Hugs & Kisses Stampers


Great card. Love all the techniques you used.