")
Welcome to the Crafty Collaborations blog hop. I am part of an amazing group of demonstrators from all around the world. We love showcasing the wonderful products which can found in our suite of catalogues. This month the theme is create a Fun Fold. I’m delighted to share my Rhino Ready Silhouette Z Fold Card.
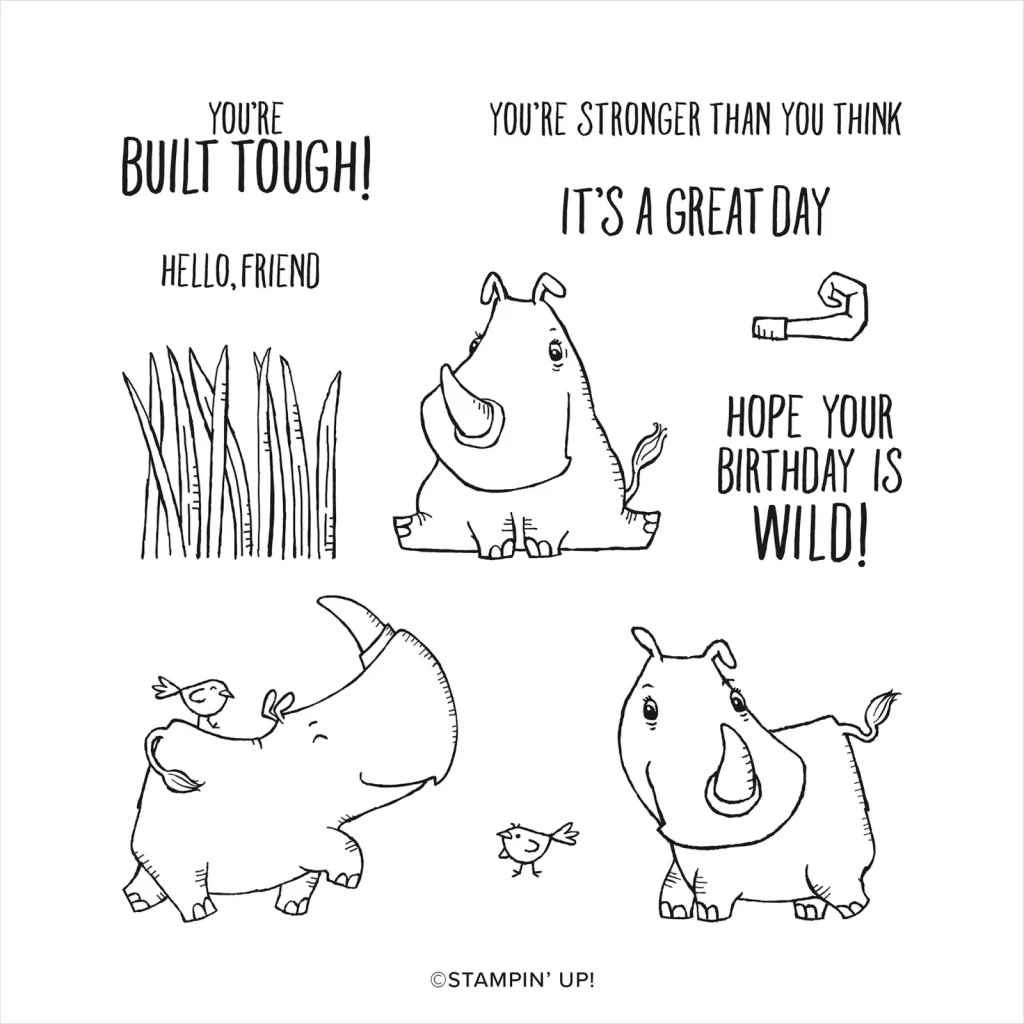
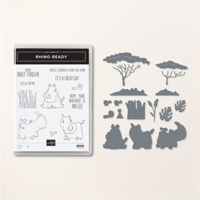
Rhino Ready
Did you know that we have a selection of product which are only available online and whilst not tied to the catalogues are only available on a whilst stocks last basis. New products are added to the collection three times a year. & next month will see a number of new products being added to the collection.
The Rhino Ready Bundle was a must have addition to my stash. We love our trips to Africa and the three little Rhino characters remind me of a wonderful trip to a Black Rhino sanctuary where we were able to get involved in some of the conservation.

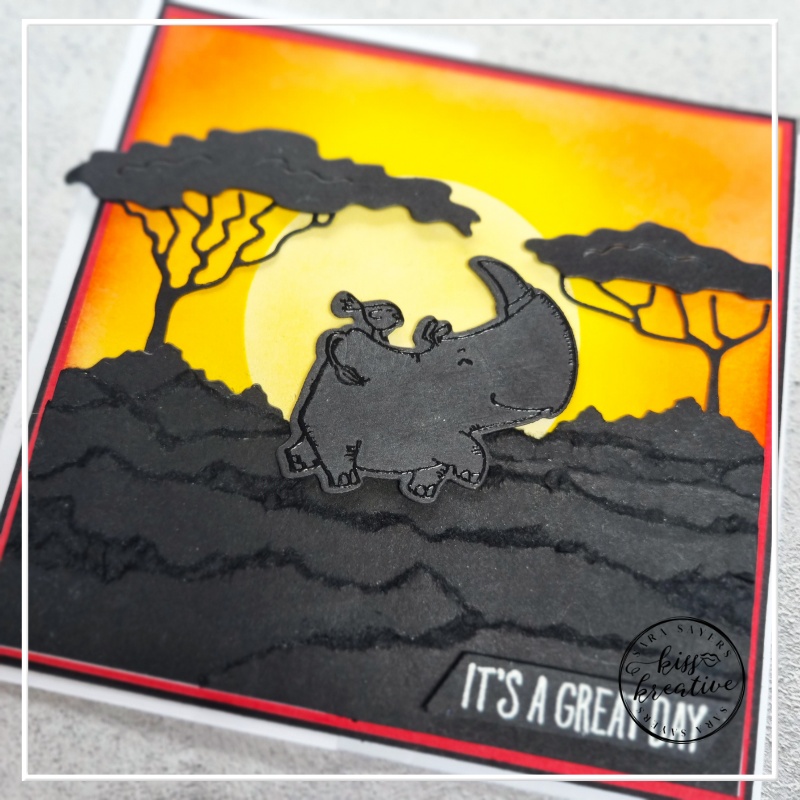
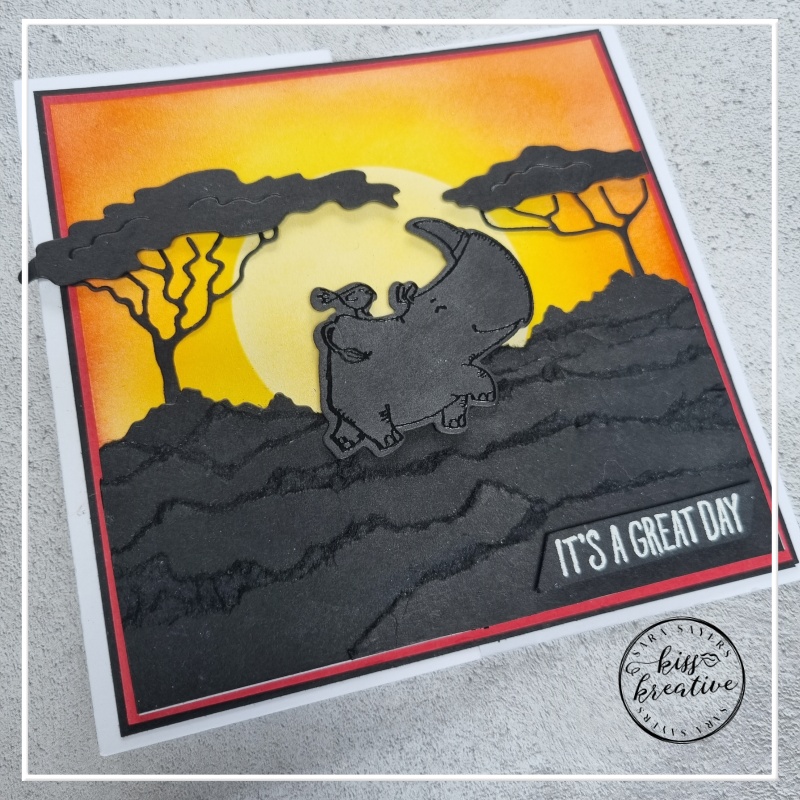
Rhino Ready Silhouette Z Fold Card
Sometimes a simple fun fold can take a lovely layout to something wow , which is why I love a Z fold card. I made this card on a recent Facebook Live alongside a cute box for small gifting.
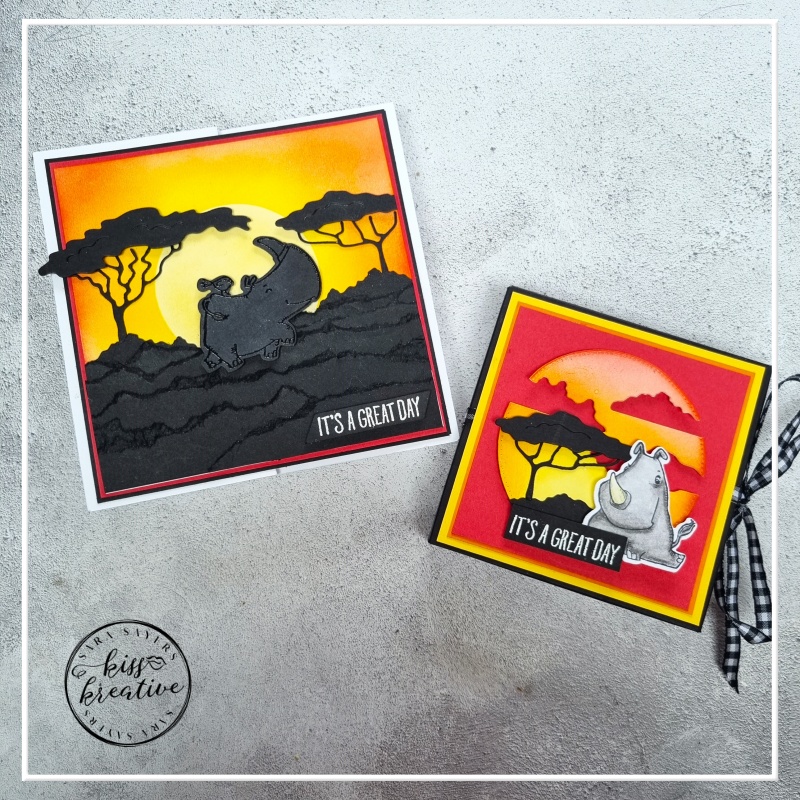
Add Lemon Lolly, Daffodil Delight, Pumpkin Pie and Sweet Sorbet Ink onto a piece of basic white card card using a blending brush to create a sunset scene
Adding a punched circle of masking paper creates the illusion of a setting sun on the African savannah
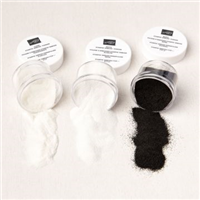
The die cut trees & branches are in basic black to create a fun silhouette. to infill the foreground add torn stripes of scrap Basic Black card
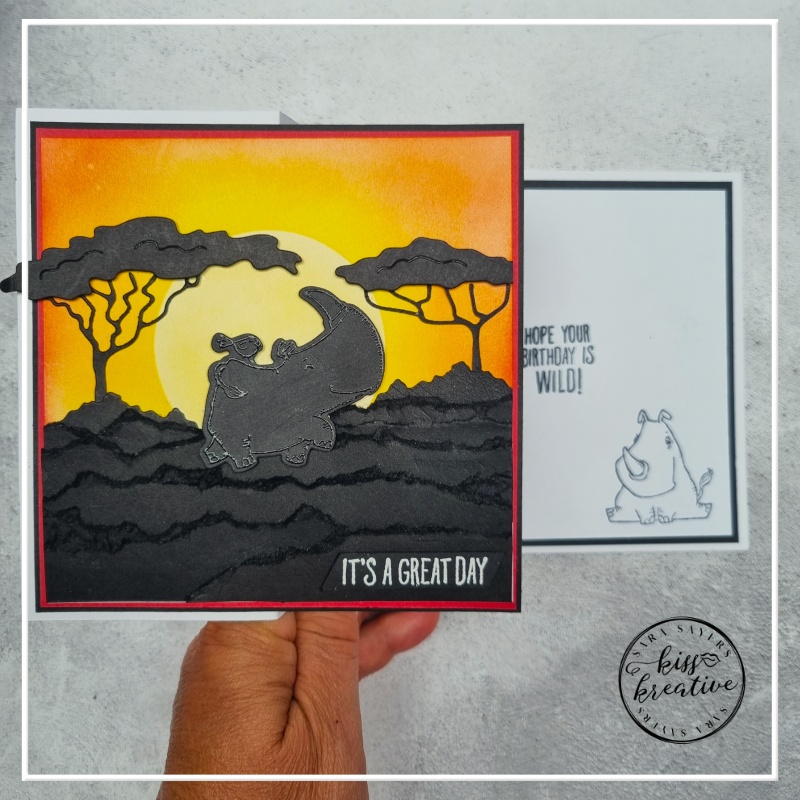
Heat Emboss the sentiment in white on a scrap of Basic Black card
Take the front & mount onto a mat of Sweet Sorbet card & then Basic Black, before adding to a square Z fold card
Finish with a heat embossed die cut Rhino. Doesn’t he look to be having a truly great day!
Measurements – Rhino Ready Silhouette Z Fold Card
- Base – Thick Basic White: 28.0 cm x 14.0 cm scored at 7.0 cm & 14.0 cm
- First Layer – Basic Black: 13.3 cm x 13.3 cm CUT TWO (One side & one for front)
- Second Layer – Sweet Sorbet: 13.0 cm x 13.0 cm CUT TWO (One side & one for front)
- Third Layer – Basic White: 12.7 x 12.7 cm
- Silhouette – Basic Black: 1/2 sheet
I also made this cute box on my Facebook live adding some different techniques with essentially the same colour palette?
How cute does this little rhino look relaxing at the end of the day?
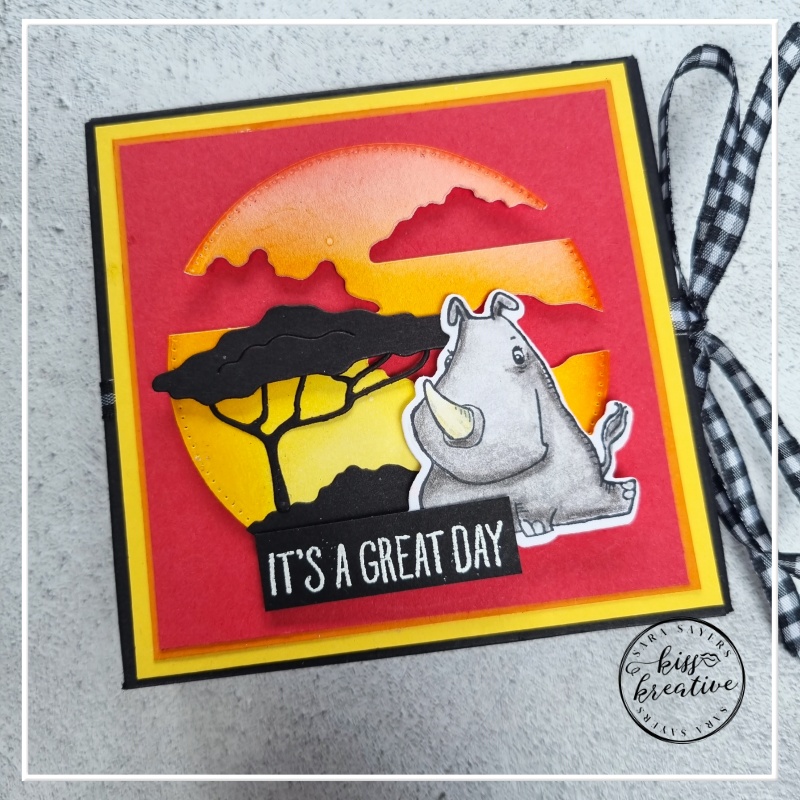
Voila!
I so enjoyed making these cards and I would love to know what you think? Please do leave me a comment.
If you would like to know more about any of my projects please do get in contact and I would be happy to help you
So now it’s time to hop around the rest of the wonderful demonstrators blogs to see some more inspiration for using these wonderful patterned papers
See the rest of the International team below!
Technique Tuesday Blog Hop Team
Stamping Hugs
Sara
- Shop Stampin Up – Earn 10% rewards on all qualifying purchases over £20
- Request a catalogue
- Buy a starter Kit
- Find out about joining our group of Hugs & Kisses Stampers


love these!
Wow, such vibrant cards, love them Sara x
Great background! Love your layers in the foreground too!
What a great card, Sara! Love the colors and silhouettes.
Very pretty projects!