")
Hello and thanks for stopping by my blog today! I’m so happy to be sharing my project with you today and to show you my Bridge Thank You Card.
I’m participating in Kylie’s monthly International Blog Highlights contest and the top 10 vote winners get to participate in an International Blog Hop. I would be so grateful if you could consider taking a moment and voting for my card? I’d really appreciate it!

How Do I Vote?
Click on the button below you. Please look for my card (It’s number 18) and click on the little heart sign on the right-hand top side of my photo. Once you’ve touched the little clear heart it will turn to Red and will confirm that you voted. You can vote up to five times, but it’s not required, you can also just vote for one. Thanks so much, I truly appreciate your support!

The theme for the International Blog Highlights is “Thank You”!
I have a couple of special thank you’s that I need to send this month and I decided a fancy fold card was the order of the day.
Now which one of the many options to pick…….
Artistically Inked Bridge Fold Thank You Card
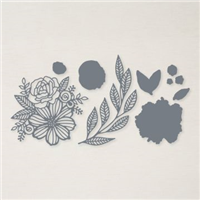
My Artistically Inked Stamp Set had been sitting forlorn and unlinked for a little while so I use this as the basis of my design
For this card I decided to create a Bride fold card, which is perfect for creating a dramatic card.
So what do you think?
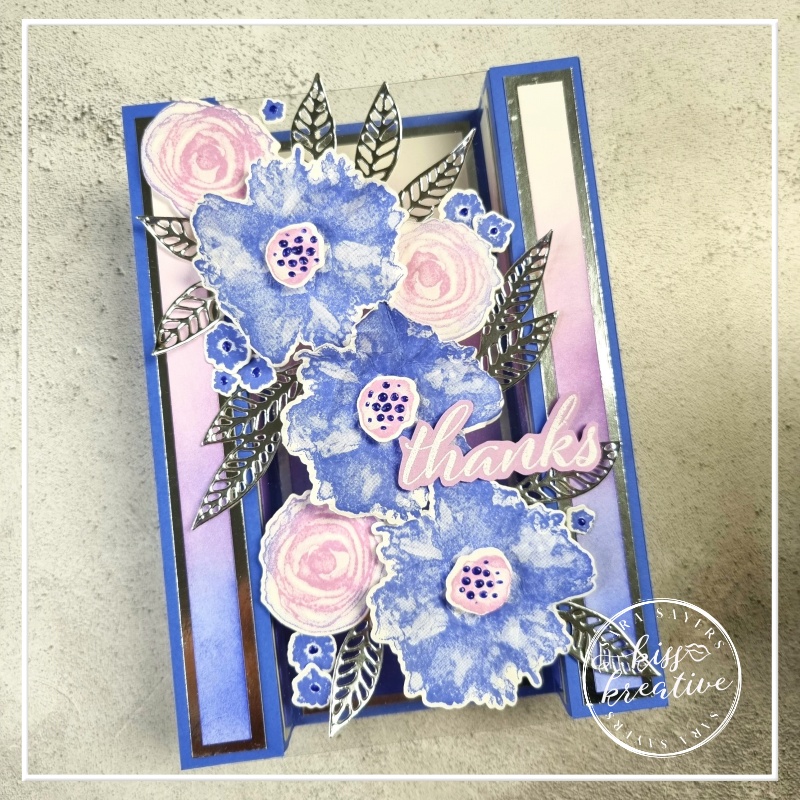
This card is one of the simplest fun folds to make but really packs a punch.
By adding a piece of window sheet across the front you can pretty much add any design you want
And check out those pretty Orchid Oasis Pearlized Enamel flower centres. I will show you how I made them below.
How to Make an Artistically Inked Bridge Fold Thank You Card
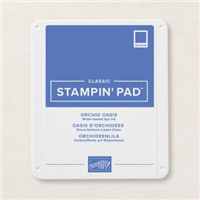
- Take the piece of Basic White (Second Layer) and gradually add Orchid Oasis ink to the bottom of the card using a blending brush.
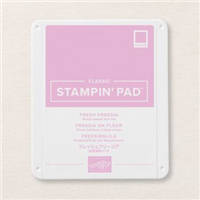
- Next add some Fresh Freesia Ink, gently blending the ink into the Orchis Oasis and upwards to create an Ombre effect.
- Cut four strip 1/2″ by 7″ on the short side of the blending card.
- Add the Silver Foil Middle piece to the centre of the card using Multipurpose Glue
- Add the larger blended Basic White piece to the centre of the card.
- Add two of the pieces of Silver foil to the inner sides using Multipurpose Glue
- Next add two of the Blended strips on top using Multipurpose Glue
- Now attach the piece of Window Sheet across the front two edges of the card using Tear Tape to form the bridge
- Cover the Window Sheet where they have been attached to the card using the two bridge cover pieces and some more Tear Tape.
- Finally add the two remaining layers of Silver foil and blended strip to the front using Multipurpose Glue
To decorate
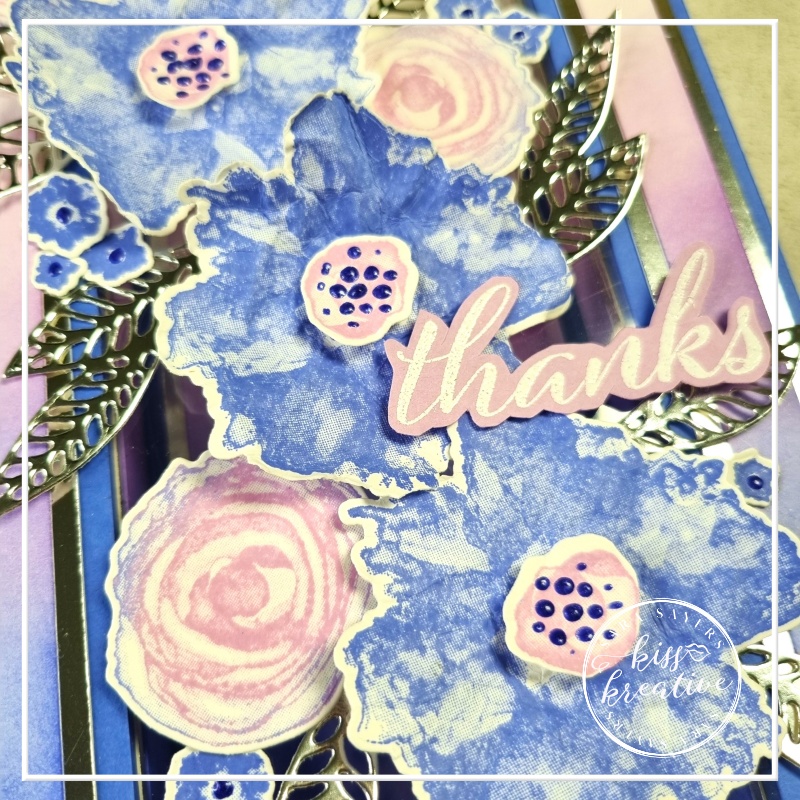
- Stamp three large flowers in Orchid Oasis Ink and die cut out
- Scrunch up a little to create some texture and attach to the front of the card using Stampin Dimensionals
- Stamp three roses in Fresh Freesia Ink, adding a little Orchid Oasis Ink with a Blending Brush to the edges before stamping
- Die cut out & attach to the card using Stampin Dimensionals
- Stamp three flower centres in Fresh Freesia Ink and die cut out
- Scrunch up a little to create some texture and attach to the centres of the large flowers using Stampin Dimensionals
- Stamp two of the trio of flowers in Orchid Oasis Ink & die cut out
- Attach to the card using Mini Glue Dots
- Die cut the large leaf in Silver Foil & snip the leaves apart
- Add to the card using Mini Flue Dots
- Stamp the sentiment in Versamark on the scrap piece of Fresh Freesia Card & heat emboss using White Embossing Powder.
- Fussy cut out using snips and add to the card using Stampin Dimensionals
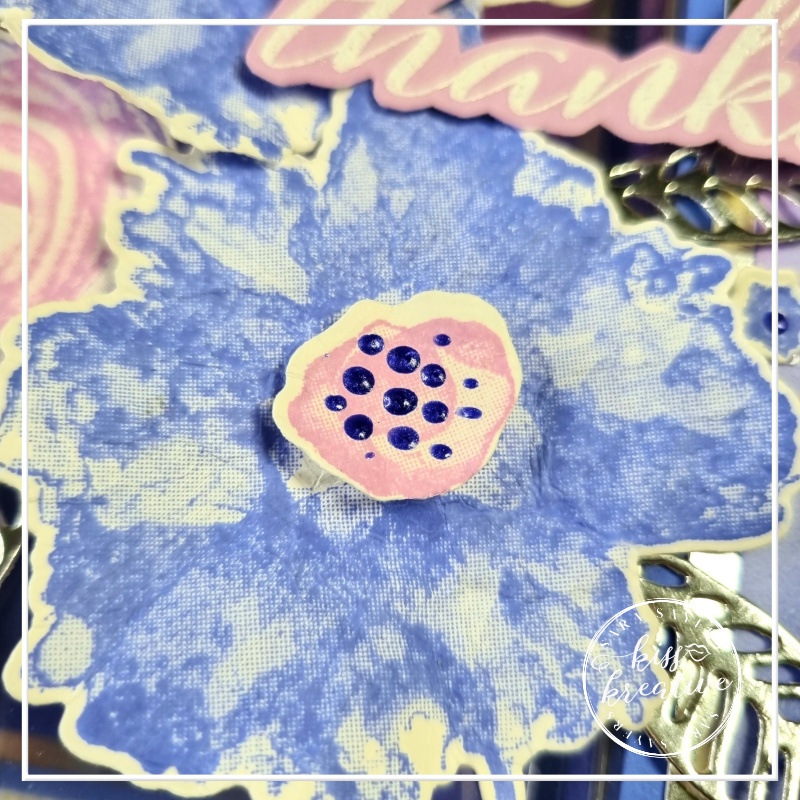
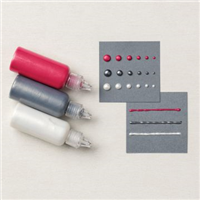
How to make the Orchid Oasis Pearlized Enamel flower centres
- Squeeze a little Pearlized Enamel Effects Basics White onto a scarp of card
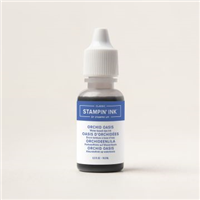
- Mix two drops of Orchid Oasis Ink Refill into the enamel using a cocktail stick
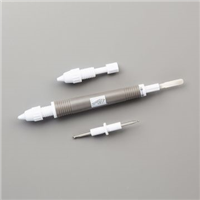
- Dip the embossing end of the take your pick tool into the mix and add the card in small dots
- Clean the end of the tool immediately to remove the enamel
- Leave to dry of about an hour.
Measurements Artistically Inked Bridge Fold Thank You Card
- Base: Orchid Oasis – 7″ by 7″ Score along one side at 1′, 2′, 5′ & 6′
- Bridge: Window Sheet – 7″ by 5″
- Bridge Cover: Orchis Oasis – CUT TWO 7″ by 1″
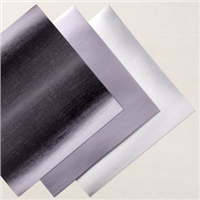
- Middle First Layer : Silver Speciality Foil – 2.3/4 by 6.3/4
- Outer First Layer : Silver Speciality Foil – CUT FOUR – 3/4′ by 6 3/4″
- Second Layer: Basic White – 2 1/2″ by 6 1/2 “
- Images – Basic White 1/2 Sheet
- Leaves – Silver Speciality Foil – 5″ by 4″
- Sentiment – Fresh Freesia – Scrap
Voila!
I had great fun making these cards and I would love to know what you think? Please do leave me a comment.
If you would like to know more about any of my projects please do get in contact and I would love to help you.
Thanks for looking
Stamping Hugs
Sara
- Shop Stampin Up – Earn 10% rewards on all qualifying purchases over £20
- Request a catalogue
- Buy a starter Kit
- Find out about joining our group of Hugs & Kisses Stampers


Lovely card! You’ve inspired me to get Artistically Inked out again and play with it more. Great fold and fun colors.
Thank you Kelley
A beautiful card, Sara! I love the colour combination!
Wow! what a gorgeous card Sara!
Beautiful Card. Good luck with the voting! Greetings from Germany Katja
Wonderful card Sara. Beautiful colours. Thanks for being part of my International Blog Highlights this month and all the best with voting!