")
Welcome to the Crafty Collaborations blog hop. I am part of an amazing group of demonstrators from all around the world. We love showcasing the wonderful products which can found in our suite of catalogues. Our theme is Anything but a card and I wanted to share a fun Advent Calendar with Santa’s Delivery

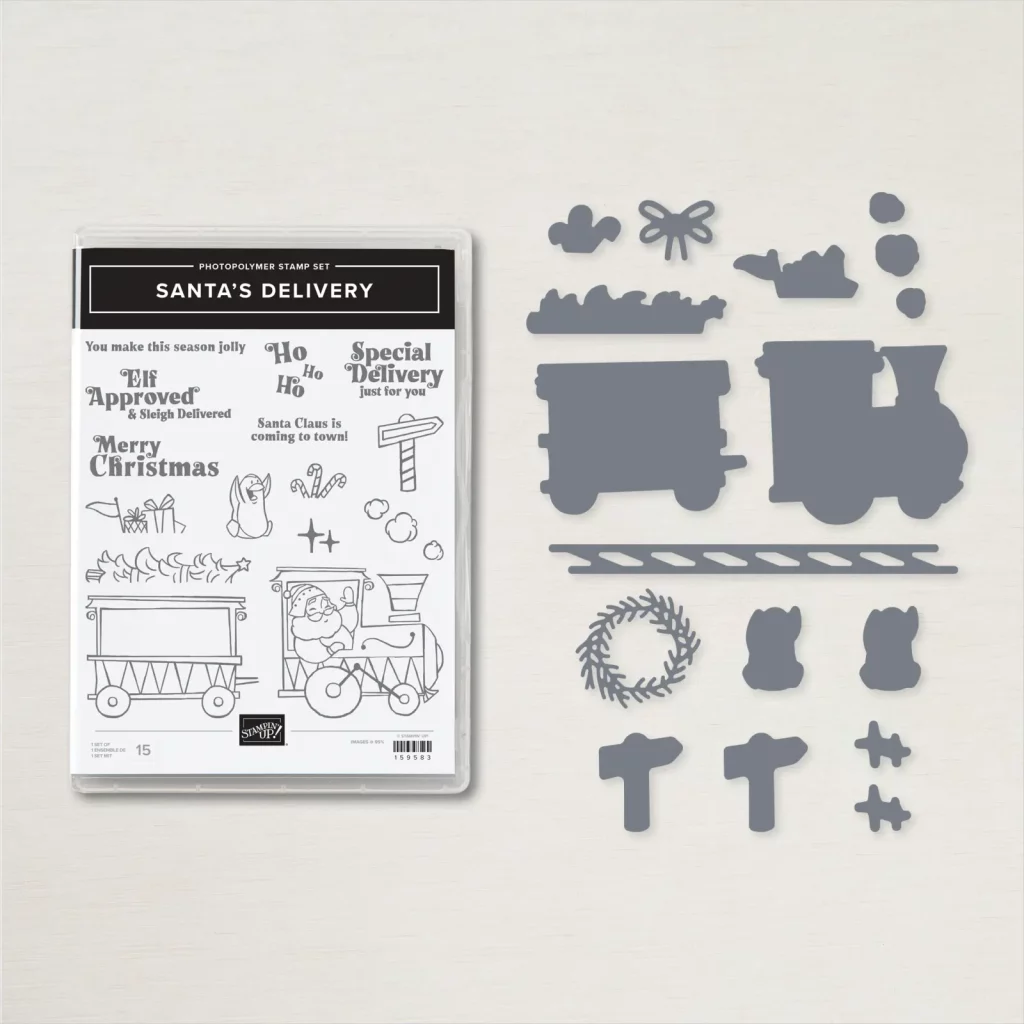
Santa’s Delivery
As soon as I saw this stamp set this idea just sprung to mind. Its such a fun Stamp set and I have plenty of ideas still to share over the coming weeks.
How cute is that little Penguin – he looks like he is participating in a Mexican wave or perhaps about to go down a roller coaster.
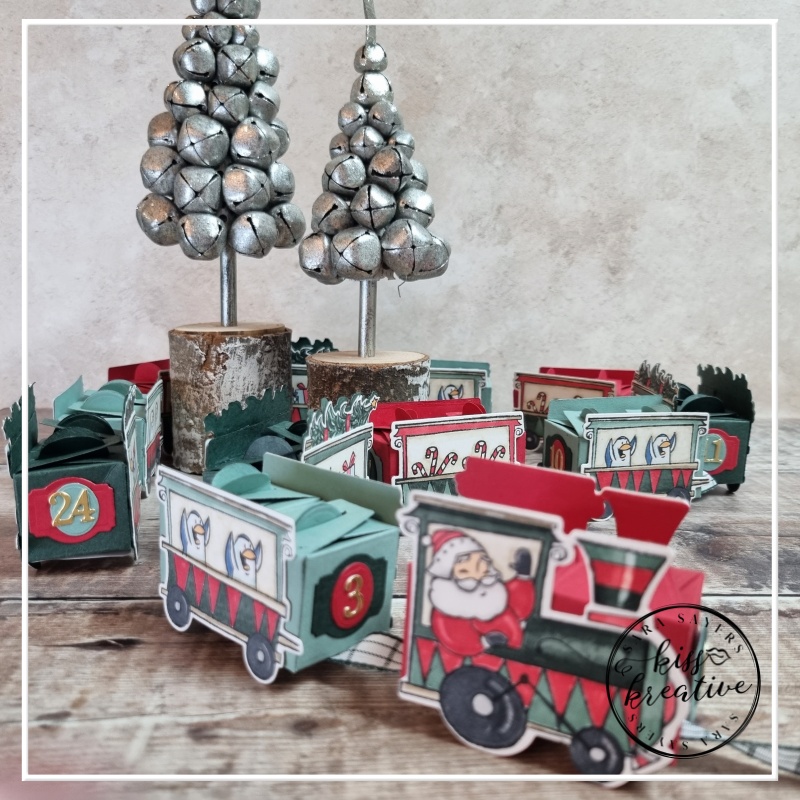
Advent Calendar with Santa’s Delivery
I made this advent calendar for my nephew and I can’t wait to share it with him
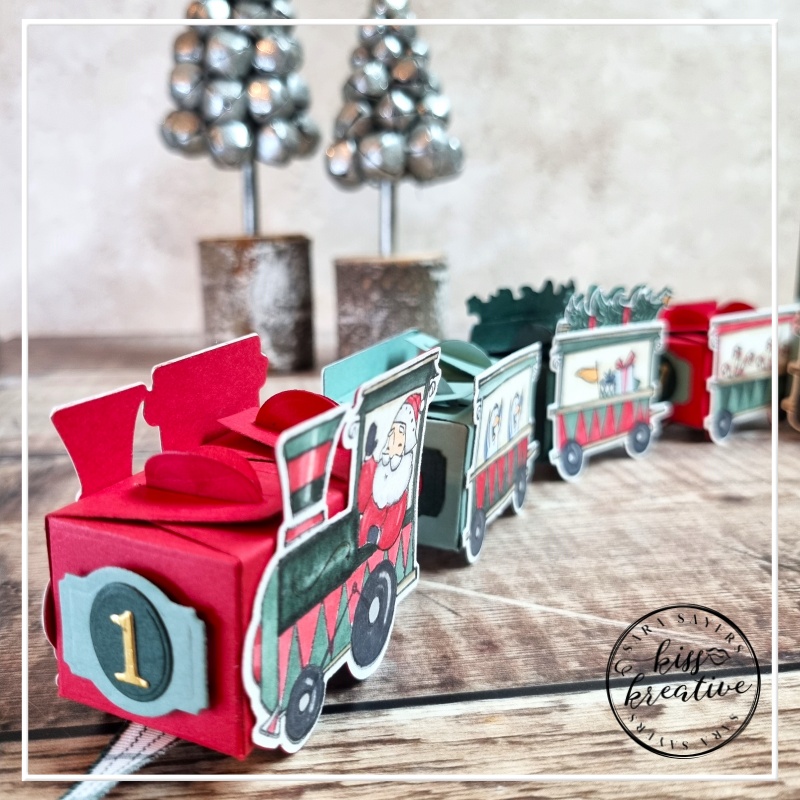
Each carriage contains two small boxes which will hold a small chocolate. The Design a treat Box dies made the box making a doddle and were are perfect fit when sandwiched between two stamped images

Constructing the Advent Calendar with Santa’s Delivery
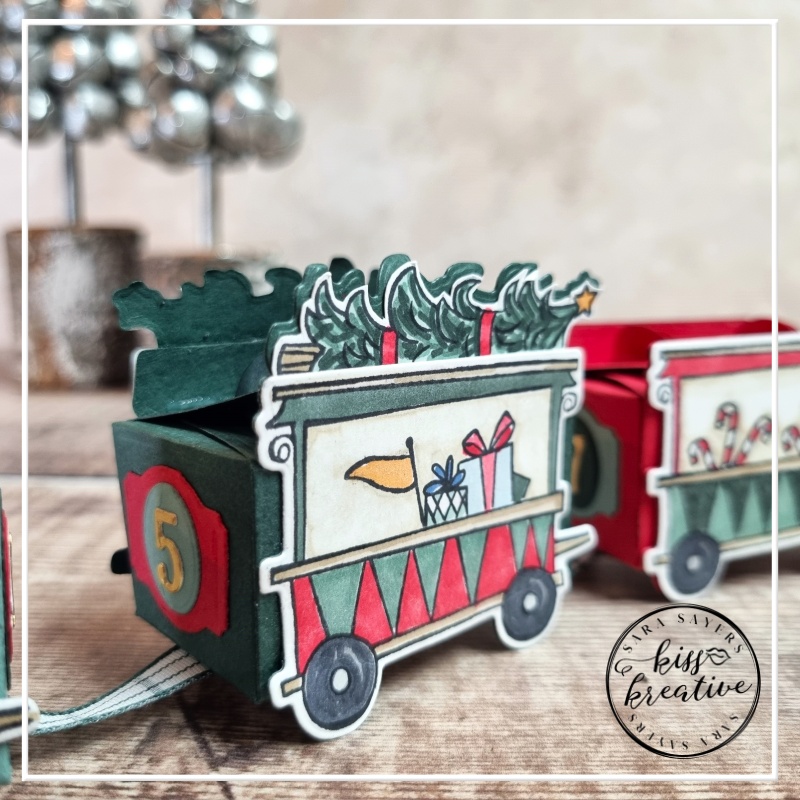
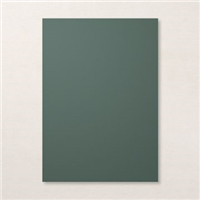
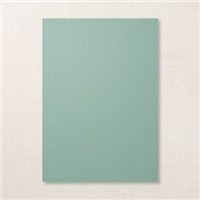
The boxes for the carriages have been die cut in Real Red, Evening Evergreen and Soft Succulent card stock
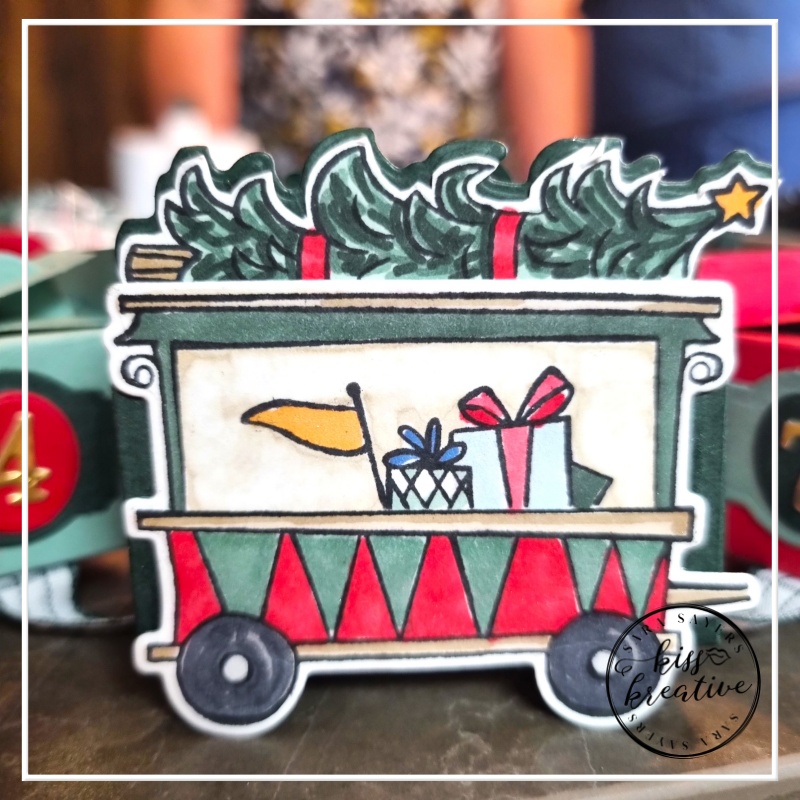
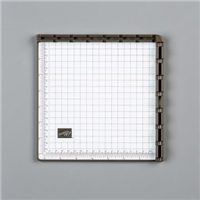
The actual carriages were die cut twice, once in basic white & once in the coordinating box colour. Each image was then stamped in Tuxedo Black Ink using the Stamperatus. The images were added afterwards with the top and bottom of the window being masked off to keep the stamping clean.
The train was stamped twice, but one side was ‘reversed using the mirror image technique.
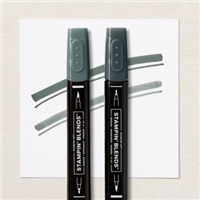
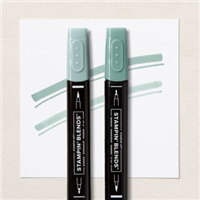
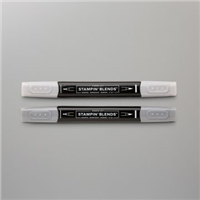
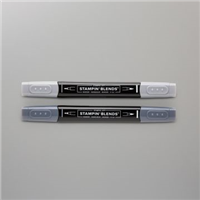
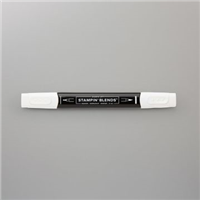
All the carriages and train were coloured using Stamping Blends and then covered in a layer of Wink of Stella Clear Glitter Pen to give a Christmassy feel.
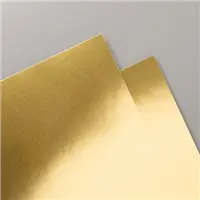
The gold foil numbers were added to the the front and back of each carriage using the dies from the Design a treat box dies.


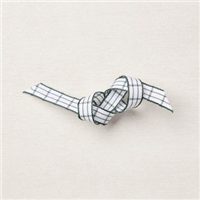
The train and carriages were linked together using a length of Evening Evergreen Windowpane Check ribbon, tied in a loop at the top so my nephew can pull it along like a toy train.
It was really hard to photograph such a long thin project so my crafty friend Barry Selwood from Mitosu crafts helped me film this little video.
It was a labour of love, but I am so pleased with the finished result
Voila!

I so enjoyed making this project and I would love to know what you think? Please do leave me a comment.
If you would like to know more about any of my projects please do get in contact and I would be happy to help you
So now it’s time to hop around the rest of the wonderful demonstrators blogs to see some more inspiration for using these wonderful patterned papers
See the rest of the International team below!
Anything but a card Blog Hop Team
Stamping Hugs
Sara
- Shop Stampin Up – Earn 10% rewards on all qualifying purchases over £20
- Request a catalogue
- Buy a starter Kit
- Find out about joining our group of Hugs & Kisses Stampers


This is outstanding and definitely a labor of love!! Love it!
oh wow I love it, please could I case it? because now you make me want to order both bundles! amazing project 👌
Wow! Wow! Wow! I love this! I need to try this. So stinking cute!
Such a darling idea. It will be an awesome way to help kids count down to Christmas. There are so many other ways it could be decorated to help the kiddos count down the days before Grandma and Grandpa come, or so many other special days.
Thanks for sharing it.💜💜💜
WOW !! What a super project – of love as you said. I have both bundles and I am sure this would be really enjoyed by “kids” of all ages. Just love it. Well done to you.