")
Welcome to our Tech 4 Stampers blog hop. I am part of an amazing group of demonstrators from around the world who are part of a Tech Academy run by the amazing Louise Sims. Her Website School and Tech Academy helps Stampin Up Demonstrators navigate their way around the world of websites and social media. Now many of us have our websites up and running, a blog hop seemed the next logical step. This month the theme is HOLIDAYS. Now I knew that the theme is quite wide, but I immediately imagined tropical beaches and sitting in the sun with a cocktail in my hand ……. Bliss. So read on to find out how my Timeless Tropical bridge fold card came about

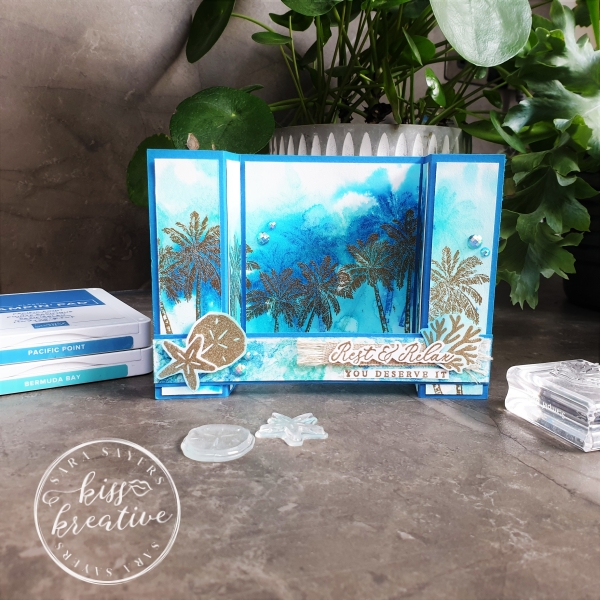
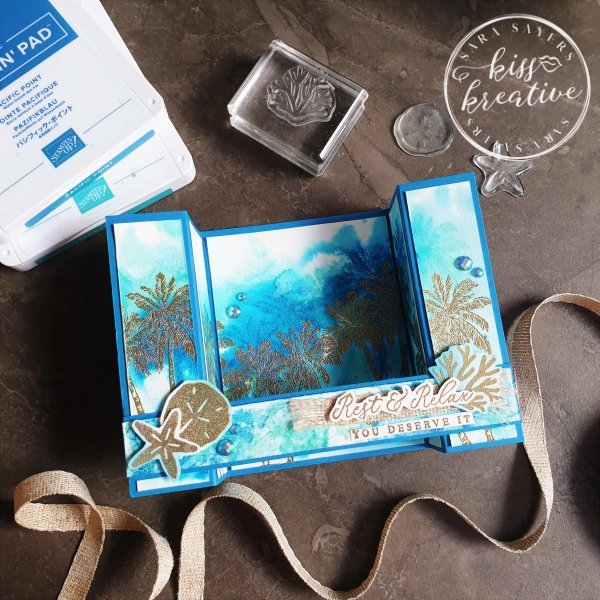
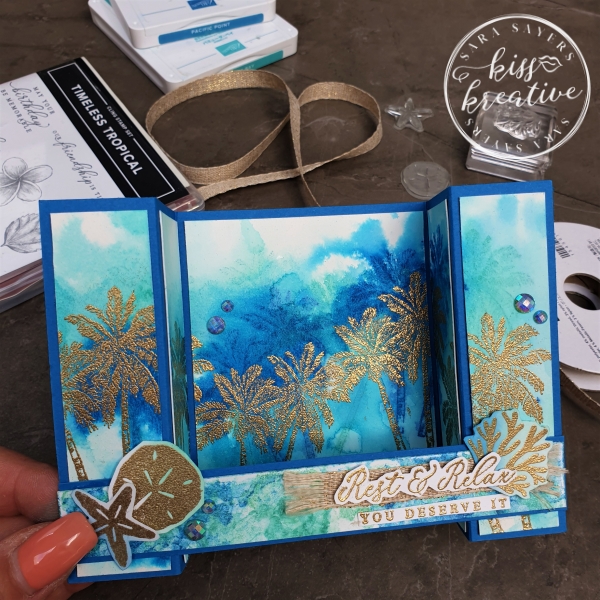
Timeless Tropical Bridge Fold Card
Sometimes cards have a funny way of evolving and this was no exception. I had just finished my monthly Kit class and had been using the A Little Smile Kit option, which has been really popular. Well all the cards had been made and I was thinking of ways I could use the stamps from the kit and this idea just popped into my head. What do you think?
Timeless Tropical Bridge Fold Card Measurements
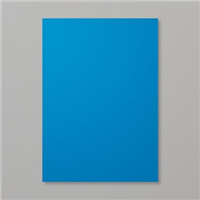
- Pacific Point card: measuring 10.5 x 20.5 cm, scored on the long side at 3cm, 6cm, 14.5 cm and 17.5 cm
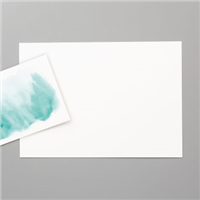
- Watercolor card: 18 cm x 10.0 cm
- Pacific Point card measuring 14.5 cm x 2.3 cm
- Fluid 100 Watercolor card: 14.5 cm x 2.0 cm
- Basic White card: Scraps for sentiment and images
How To Make This Timeless Tropical Bridge Fold Card
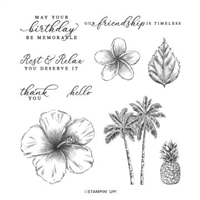
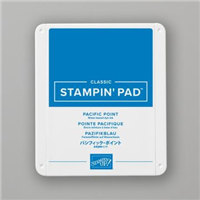
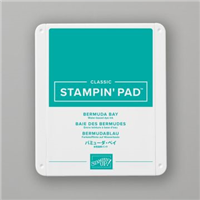
- Stamp the palm trees onto both pieces of Watercolour card in Bermuda Bay and Pacific point.
- Spritz to make the colours flow and dry with a heat gun once you have the desired effect
- Set aside the smaller piece of card.
- Heat emboss more palm trees in Gold on the larger piece.
- Cut the card into TWO 10.0 cm by 2.5 cm, ONE 10.0 cm by 8.0 cm and TWO 10.0 cm by 2.5 cm
- Adhere to the sections of the Pacific Point card
- Layer the smaller piece of watercolour card onto the bridge piece of Pacific Point card.
- Stick the bridge across the front of the card TIP: make sure the card is folded flat when you add the bridge so you know it will fit inside the envelope (ask me how I know!)
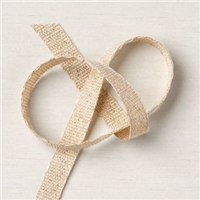
- fray the ends of the ribbon and add to the card with Seal +
- Heat Emboss the shells and sentiment in Gold and fussy cut out
- Use a blending brush to add a little colour
- Adhere to the card
- Finish with some gems
Voila!
I so enjoyed making this card and I would love to know what you think? Please do leave me a comment.
If you would like to know more about any of my projects please do get in contact and I would be happy to help you
So now it’s time to hop around the rest of the wonderful demonstrators blogs to see some more inspiration for using these wonderful patterned papers
See the rest of the design team below!
Tech 4 Stampers Blog Hop Team
Stamping Hugs
Sara
- Shop Stampin Up – Earn 10% rewards on all qualifying purchases over £20
- Request a catalogue
- Buy a starter Kit
- Find out about joining our group of Hugs & Kisses Stampers

What a lovely card and such beautiful colours. I want to go there now….
Fabulous evocative card for a tropical scene! tfs xx
Wow – love this card Sara, it’s making me want to get off to tropical islands.