Daisy Lane
Thank you for joining us for this wonderful “By Royal Appointment Guest Blog” post. This is something we do every Monday and each week we will welcome a different designer from our amazing team, the Royal Stampers. So this week our guest designers are Barry & Jay from Mitosu Crafts. A huge thank you to them for this project. All the details can be found below which will also link to Mitosu Crafts website so you can look at other beautiful creations made by them. Enjoy the amazing creativity from the wonderful Barry & Jay and if you have any questions, please drop me a message.
Daisy Lane Card Ideas
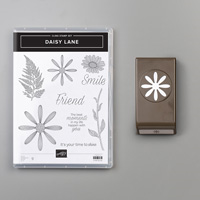
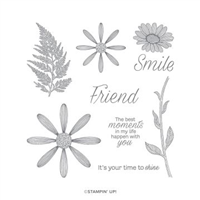
Hello and thank you for joining us. Today we’re sharing with you our Daisy Lane Card Ideas using the beautiful Daisy lane Stamp Set and some of the projects we made in class last week.
As with all of the stamp sets we’ve purchased, we’re really enjoying playing with this new set. It’s so versatile and is great for simple cards for beginners or with some imagination and practice you can create a work of art like below.

Coordinate your stamps
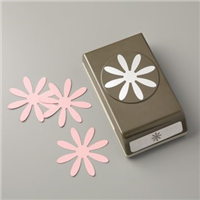
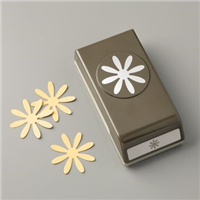
If you’re familiar with Stampin’ Up! you’ve probably noticed this stamp set also coordinates with the original Daisy Delight Stamp Set and Daisy Punch. But wait, the new Daisy lane Stamp Set also has its own medium punch for the cute little daisy in this set. So now you can put the two together to create some beautiful flowers.

What else can you do?
So below you’ll find our Daisy Lane Card Ideas for you to either CASE (copy and share everything) or use as inspiration for your future projects. We both hope you enjoy these projects, we know our ladies in class had fun creating them. Enjoy
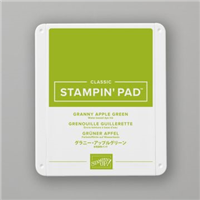
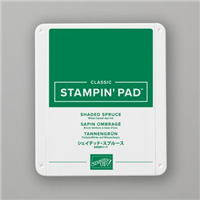
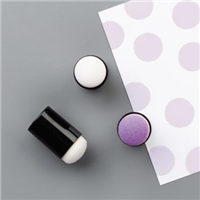
Use the Sponge Daubers the create this 2-tone effect. Stamp the leaf in Granny Apple Green and using the Sponge Daubers carefully apply Shaded Spruce ink to the centre of the leaf. Just remember to start with your lightest colour and then move to the dark to be sure you don’t get any colour contamination
Use Aqua Painters to pull out the colour from the centre of the daisy and add interest to the background by using the other stamps in the set in a lighter colour.
This has to be one of our favourite cards and it’s been one we’ve wanted to do for a while in class. It’s a card aimed at the avid crafter as you need several tools to recreate it, But it’s worth it, don’t you think? However, we would love to take full credit for this card but it’s actually been cased from a fellow demonstrator Lou Kitzelman in Australia. Thank you Lou for this wonderful idea.
So Voila and many thanks to the super talented Barry & Jay
Don’t forget
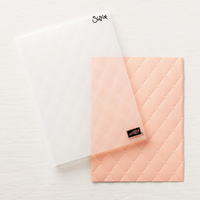
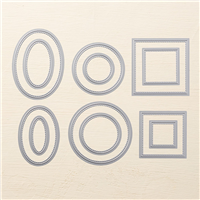
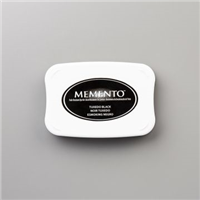
- If you would like to purchase any of the Stampin’ Up! items used for this project, click on the product photos below. You will be taken to my Online Shop where you can find more information and order craft products 24/7!
- Is your Stampin’ Up! order less than £150? If so, use the current Reward Code below and receive a free gift from me along with other perks!
- If your order is over £150 please do not use the code as you will be your own Hostess and get your own rewards to spend! That’s free stuff that you get to chose what ever you wish from the current catalogues and clearance rack
- or if your order is £99 and above consider joining my team and picking up a whole host of extras. Check it out here


DON’T MISS OUT REDEEM YOUR VOUCHERS
The Bonus Days redemption period is now open and you have a great opportunity to grab that a big-ticket item you have had your eye on at a discount, or snag fun, new products from the 2019–2020 annual catalogue! Don’t forget to place your order by 31st August before the vouchers expire. Having trouble redeeming your codes? Get in touch and I will walk you through the process.

Thanks for looking
Stampin Hugs
Sara x





0 Comments