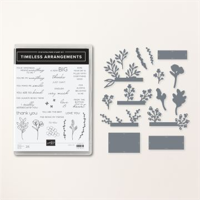
Hello and welcome to this blog post featuring my Timeless Arrangements thank you cards
So a huge thanks for joining us for our Stampin’ Up!® Demonstrator Monthly Team Blog Hop! We are so happy that you could join us today and hope you’ll find lots of ideas and inspiration. We are a group of Stampin’ Up! Demonstrators from around the world and are taking part in training to help us build successful Stampin’ Up! businesses and reach our goals. We really appreciate your support
You may be starting here or have come from another blog – either way you can find the link list at the bottom of this post so that you have the opportunity to see every blog post and idea today and believe me you want to check out all the inspiration across the world.
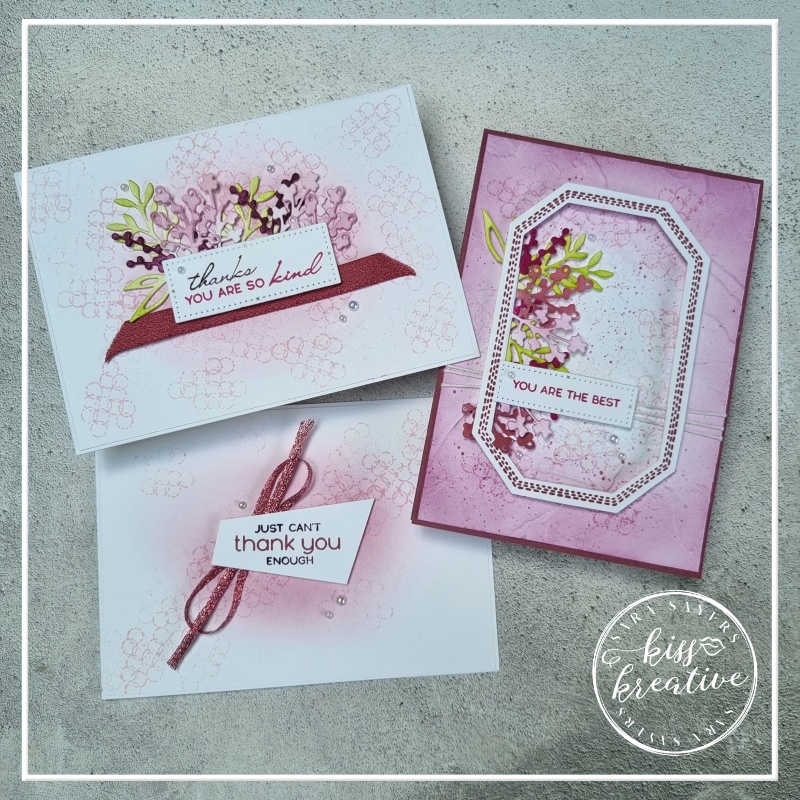
Timeless Arrangements thank you cards
As a Stampin’ Up! Demonstrator I probably make more thank you cards than any other card.
Sometimes I need a card in a hurry and sometimes I have more time to dedicate to a more stepped up card.
I am currently trying to amass a stack of ready to go cards and today I shared three easy makes with the Timeless Arrangements Bundle on my Facebook Live & Part 2 that I will be using for customer thank you cards this week.
Timeless Arrangements thank you cards – Simple Stamping
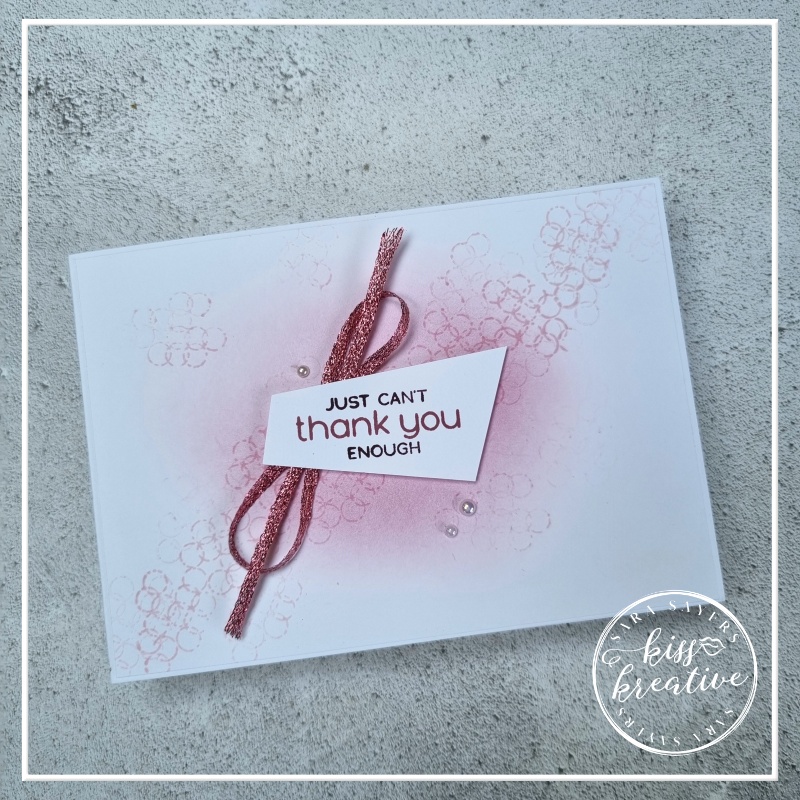
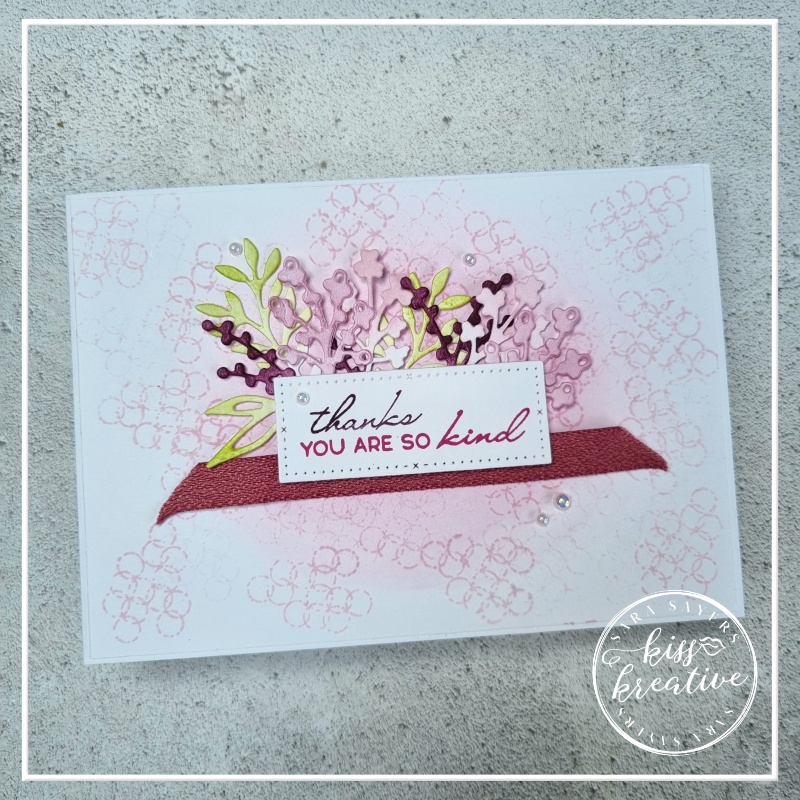
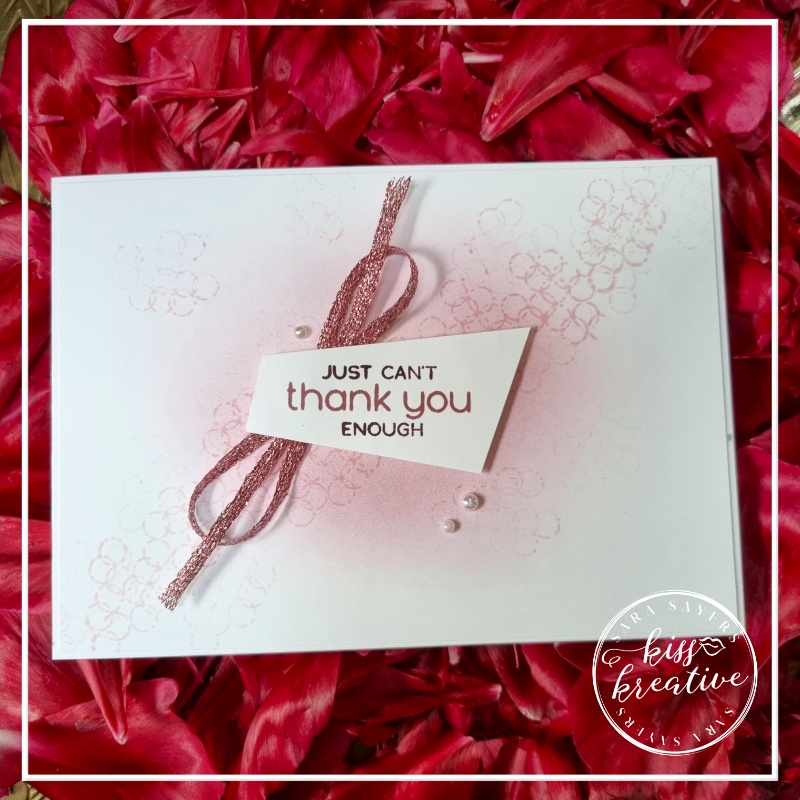
My first card uses just a simple stamped background a a little ink blending
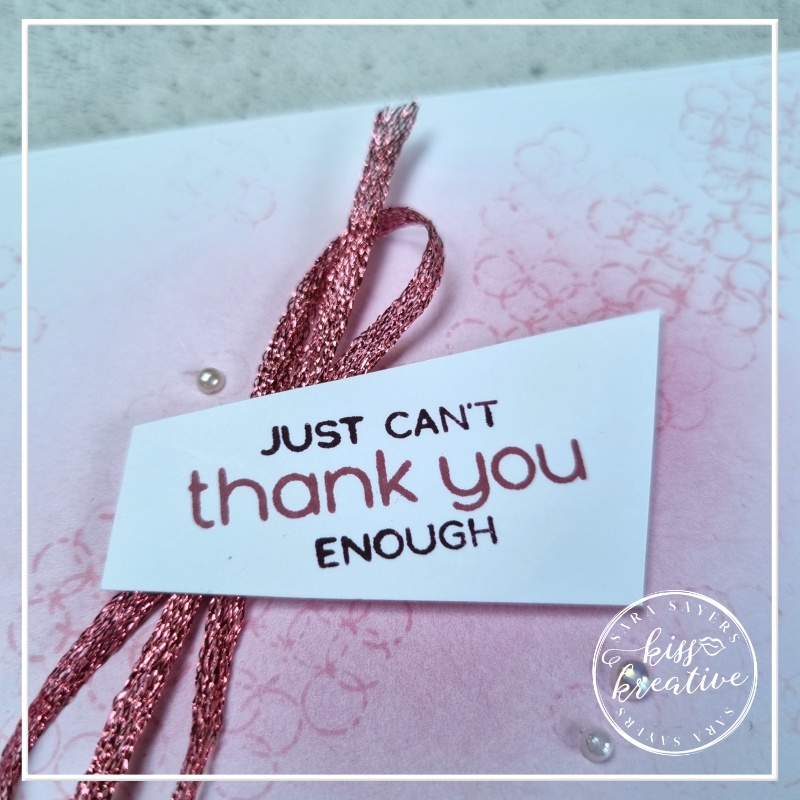
The sentiment is actually two stamps and I used two different coloured Inks to add contrast
Randomly trim down the sentiment and add to the card with some Dimensionals and a twist of ribbon
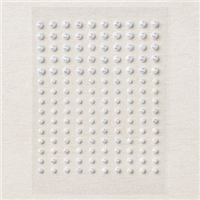
To finish add some Iridescent Pearls
Timeless Arrangements thank you cards – Stepped up!
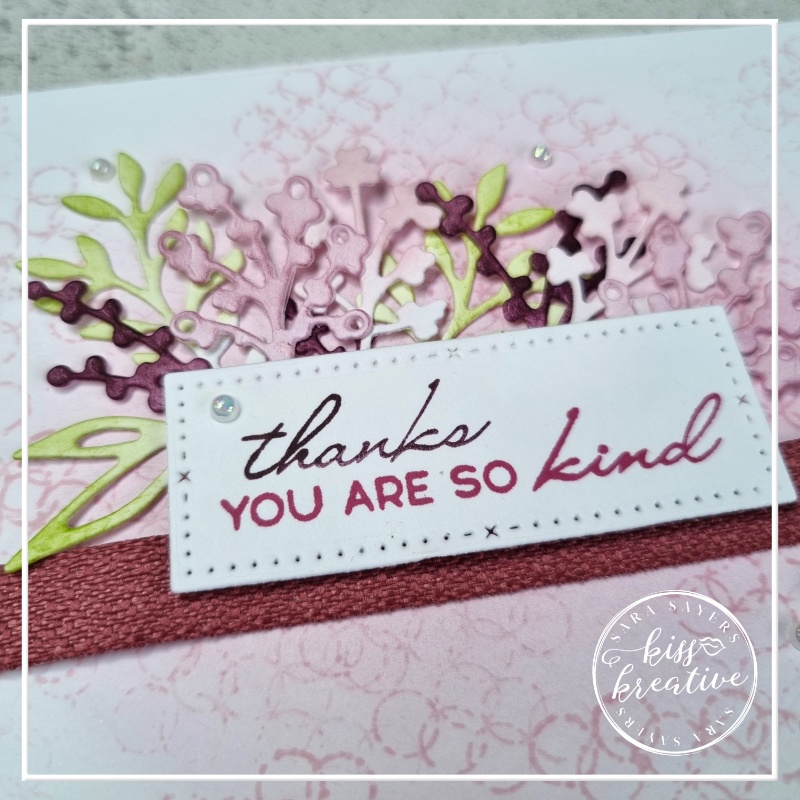
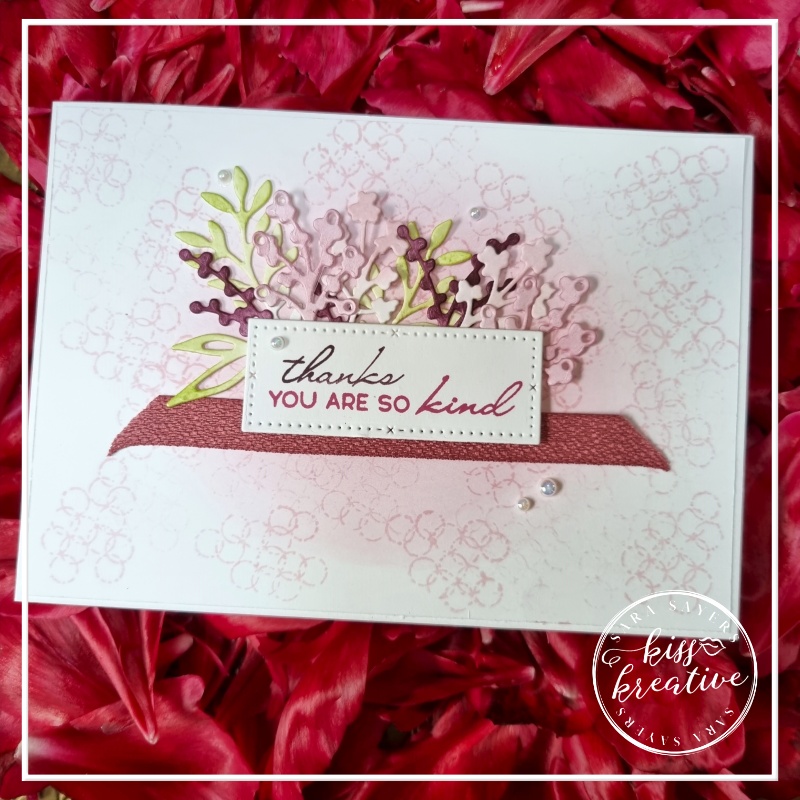
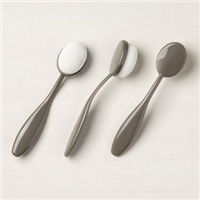
The second card uses the same basic stamping and blending, but this time the sentiment has been die cut and then layered onto some of the beautiful die cuts in Basic white. The colour has been gently added using Blending Brushes & Ink
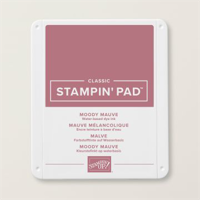
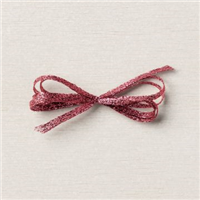
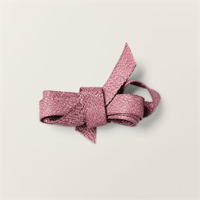
To finish add a simple strip of Moody Mauve Textured Ribbon and some Iridescent Pearls
Timeless Arrangements thank you cards – Super Stepped up!
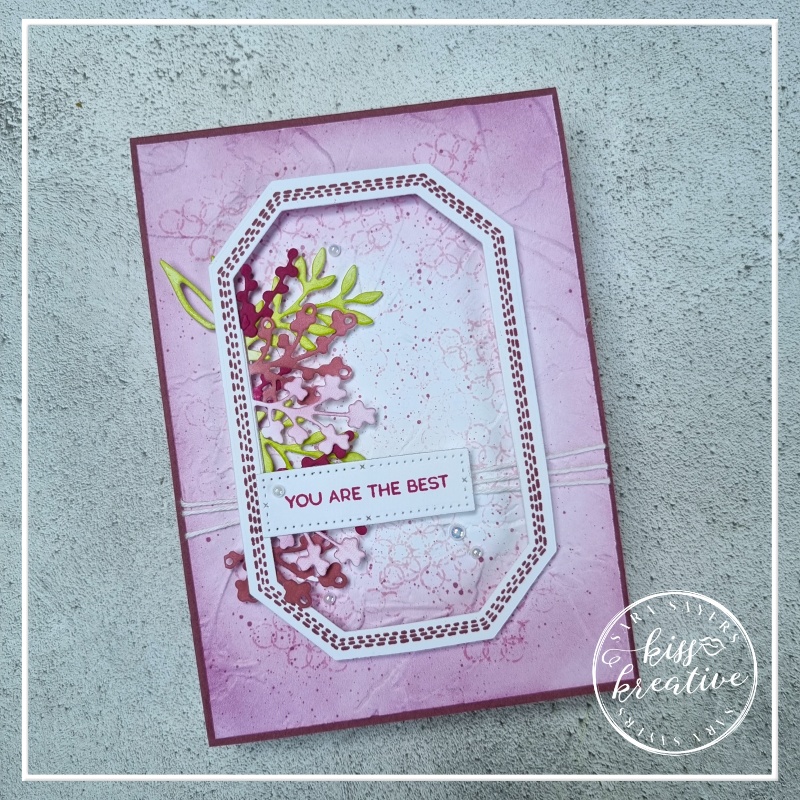
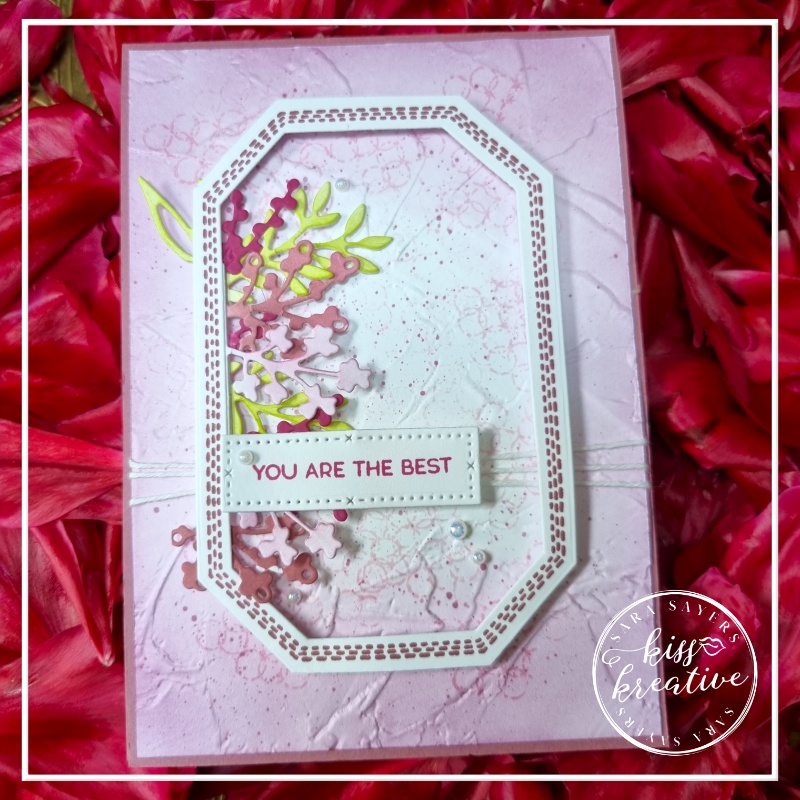
For the final card pretty much everything was changed to give produce a pretty framed card
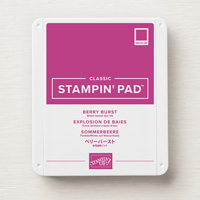
- Add a bright Berry Burst card base
- The first layer has been stamped all over in bubbles, using the Bubble bath Ink
- This time the Ink was blended around the edges of the layer to create a vignette
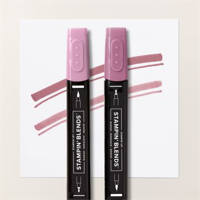
- Splatter Moody Mauve Stampin Blends over the layer & then emboss using the Painted Texture frame
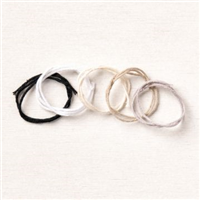
- Wrap some bakers twine around before adding to the card base
- Stamp the frame in Moody Mauve and die cut out
- Die cut the four floral layer in Basic White card and colour with ink using blending brushes
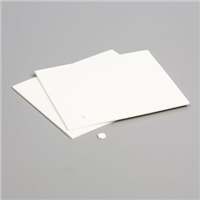
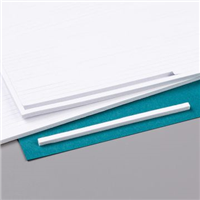
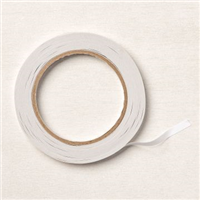
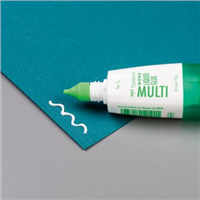
- Add to the back of the frame and attach to the card using Mini Dimensionals and an Adhesive Strip
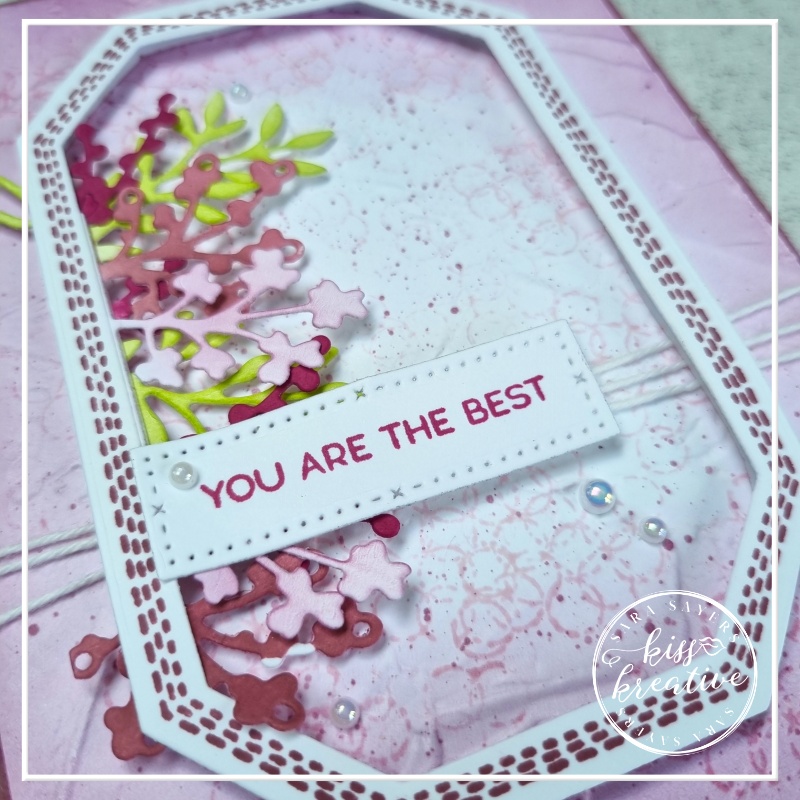
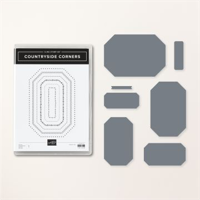
- Stamp the sentiment in Berry Burst and die cut using the pretty label frames
- Finish with some Iridescent Pearls
Measurements – Timeless Arrangements thank you cards
- Card Base: Shaded Spruce– 29.7 cm by 10.5 cm score at 14.9 cm
- First Layer: Distressed Gold – 14.9 cm by 9.0 cm
- Second Layer: Shimmery White card – 14.9 cm by 8.5 cm
- Sentiment: Shaded Spruce – scrap
- Image: Shimmery White card – 14.9 cm by 10.5 cm
- Inner: Basic White 14.5 cm by 10.2 cm
Don’t forget you can see exactly how I made these cards on my Facebook Live Part 1 & Part 2 (sadly it is in two parts!)
Voila!
I had great fun making these cards for my customers this month and I would love to know what you think? Please do leave me a comment.
If you would like to know more about any of my projects please do get in contact and I would be happy to help you.
Thank you so much for stopping by today! I’m sure you are going to love all the amazing projects that you will see today. If you have time show us some love in the comments section, it makes our day. You are currently on my page – Sara Sayers, see who is below me to know where to go next.
Kylie’s Demonstrator Training Support Program Blog Hop May 2023 – Blog hop participant list
Thanks for looking
Stamping Hugs
Sara
- Shop Stampin Up – Earn 10% rewards on all qualifying purchases over £20
- Request a catalogue
- Buy a starter Kit
- Find out about joining our group of Hugs & Kisses Stampers


Beautiful Job!
Love the colors you used on your cards. So pretty!
Such pretty cards. Thanks for sharing.
Beautiful cards !
Stunning!
Very pretty cards
Great cards! Love the variety.
Pretty cards Sara. Thank you for taking part in our Demonstrator Training Blog Hop this month.