Welcome to our Tech 4 Stampers blog hop. I am part of an amazing group of demonstrators from around the world who are part of a Tech Academy run by the amazing Louise Sims. Her Website School and Tech Academy helps Stampin Up Demonstrators navigate their way around the world of websites and social media. Now many of us have our websites up and running, a blog hop seemed the next logical step. This month the theme is Favourite techniques, and I though I would Share how to create heat embossed images in any colour you wish.

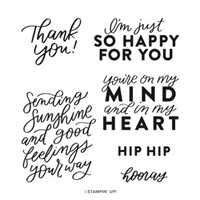
Good Feelings
I do love a large sentiment Stamp set. Ideal for simple, quick to make cards and this stamp set really fits the bill with a fabulous assortment of positive words.

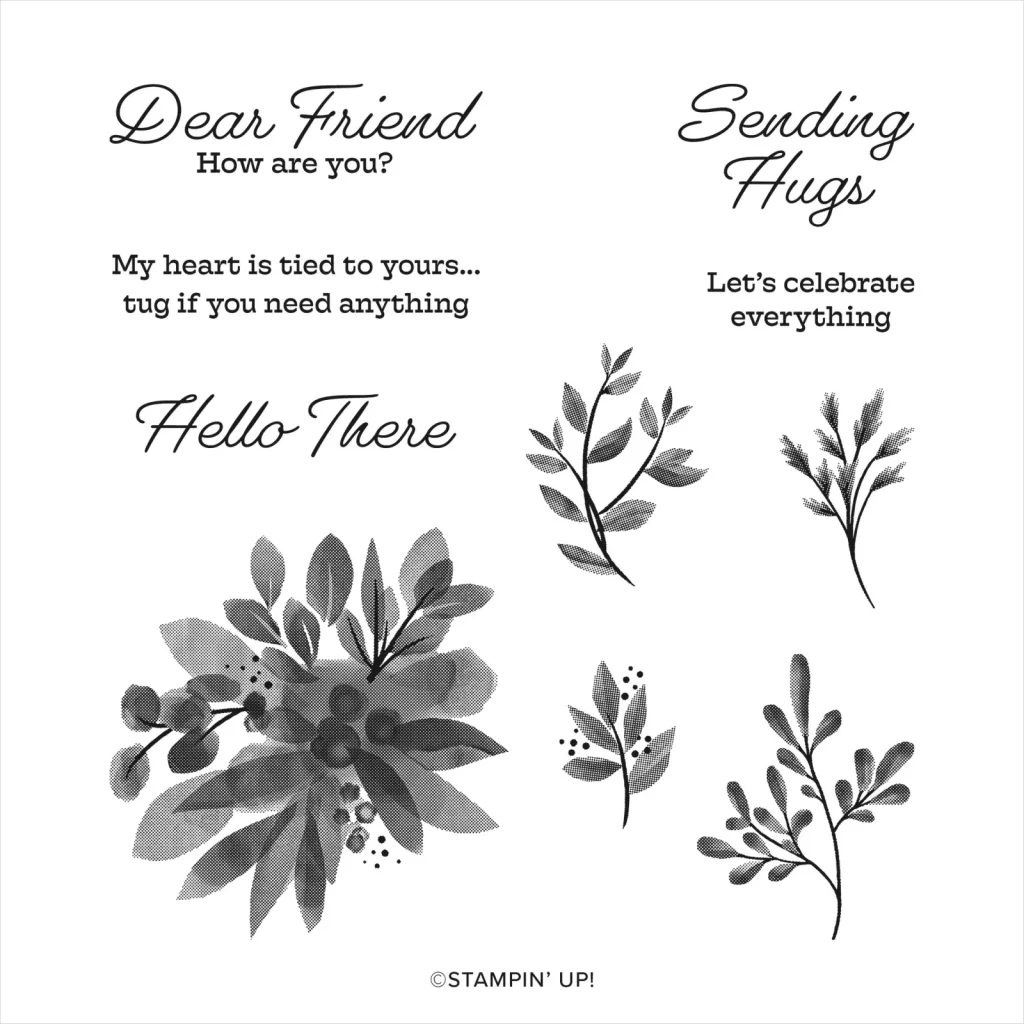
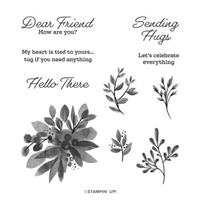
Eden’s Garden
Whilst the stamp set above could simply be paired with some patterned paper (DSP) for your cardmaking Its lots of fun to make your own backgrounds! Eden’s Garden is perfect for creating one sheet wonder backgrounds and backgrounds, but also includes some great sentiments.
How To Create Heat Embossed Images In Any Colour
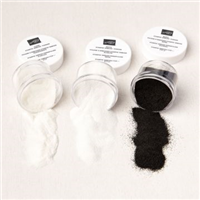
Stampin up have 6 wonderful options for Heat Embossing – the Metallics Embossing powders set includes Gold, Silver & Copper. Whilst the Basics Embossing powders include Black, White and Clear.
its a great array of colours, but what do you do when you wish to create an embossed image or sentiment in one of our other amazing 50 colours? Well let me show you how!
- Firstly use an Embossing buddy to remove any static from the card.
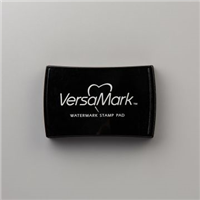
- Stamp the image/sentiment in Versamark Ink. Make sure all the image has a light inking .
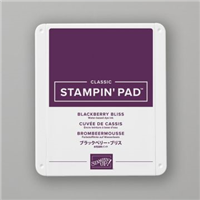
- Next tap the image in the colour of your choice
- Stamp the image/sentiment and then add some clear embossing powder
- Tap away any excess powder
- Use a heat gun to set the powder
- You are done!
- TIP: For a really solid image you could use a Stamparatus and repeat steps 2 & 3 **
**NOTE: Remember to ensure that the image is clean when stamping in the Versamark Ink to avoid contaminating the ink pad. So its not possible to reverse the order of adding the ink.
How To Create Heat Embossed Images In Any Colour – I’m just so happy for you Card
I shared this fabulous technique on one of my recent Facebook Live using the Stamp Sets shown above.
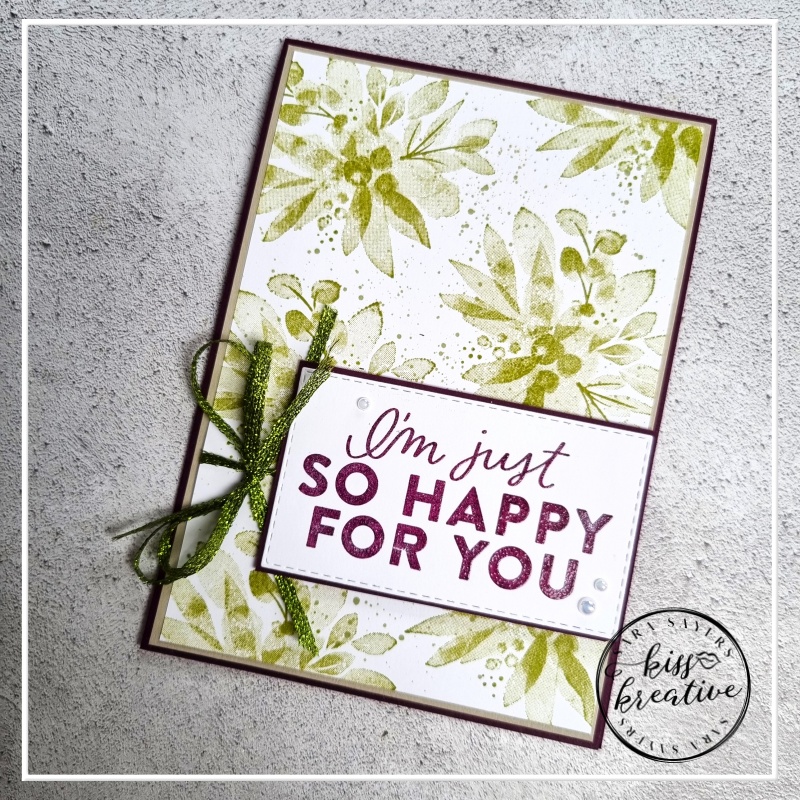
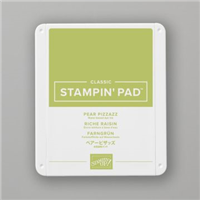
The large, beautifully detailed Distinktive floral image in the Eden’s Garden Stamp set makes a perfect background. Simply stamped in Pear Pizzazz Ink on a piece of Basic White card and then layered onto Sahara Sand and Blackberry Bliss card.
Using the technique above the sentiment has been stamped in Versamark and then Blackberry Bliss before heat embossing in the clear powder.
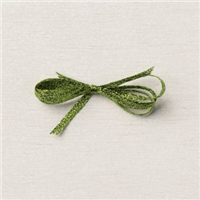
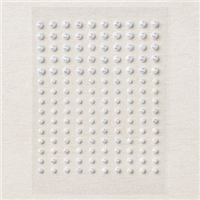
The Parakeet Party Metallic ribbon has been tied in a double bow and the card finished with some Iridescent Pearls
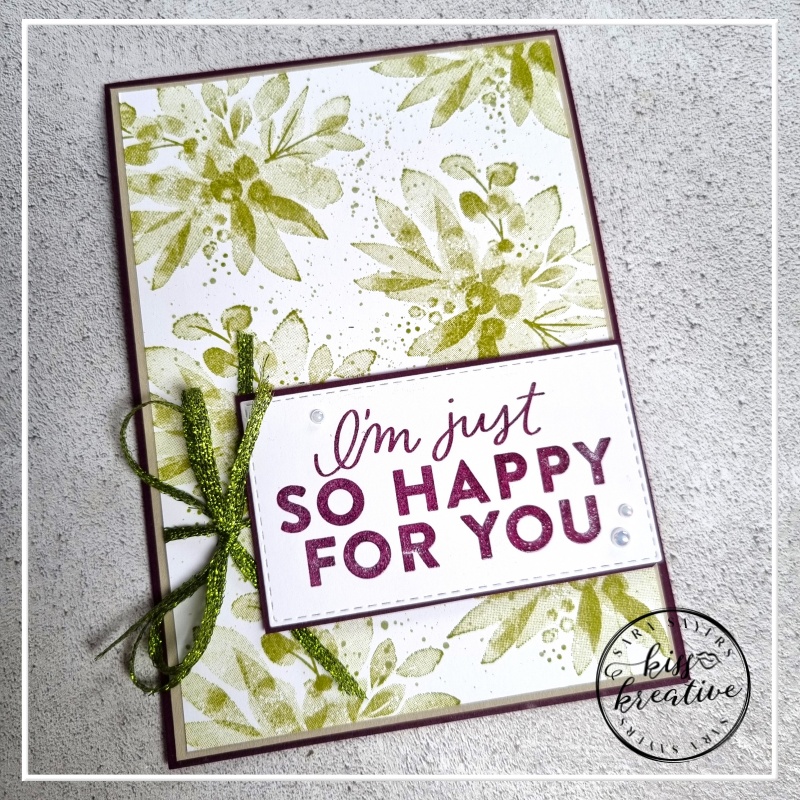
Measurements – I’m just so happy for you Card
- Base Card (Blackberry Bliss): 29.7cm by 10.5cm, scored and burnished at 14.8cm
- First Layer (Sahara Sand): 14.5 cm by 10.2 cm
- Second Layers (Basic White): 14.2 cm by 9.9 cm
- Third Layer (Blackberry Bliss): 8.4 cm by 4.9 cm
- Fourth Layer (Basic White) 9.0 cm by 5.5 cm die cut with Stitched rectangle Die
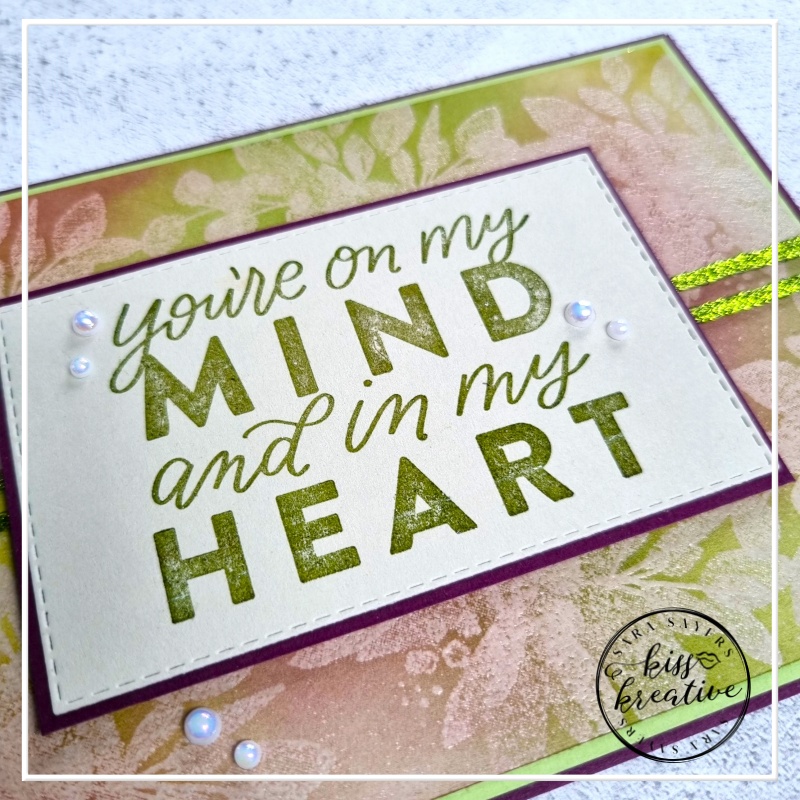
How To Create Heat Embossed Images In Any Colour – You’re on My Mind
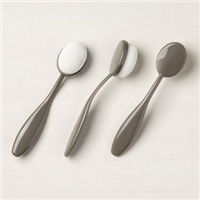
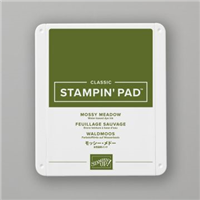
The second card has been created using another technique. Taking a piece of Sahara Sand Card the large floral image from the Eden’s Garden Stamp Set has been heat embossed in Clear Powder before adding Mossy Meadow, Pear Pizzazz & Blackberry Bliss ink using a Blending Brush.
Tip: Once you have finished adding the colour, gently wipe over the embossed areas to remove any ink and make those images pop!
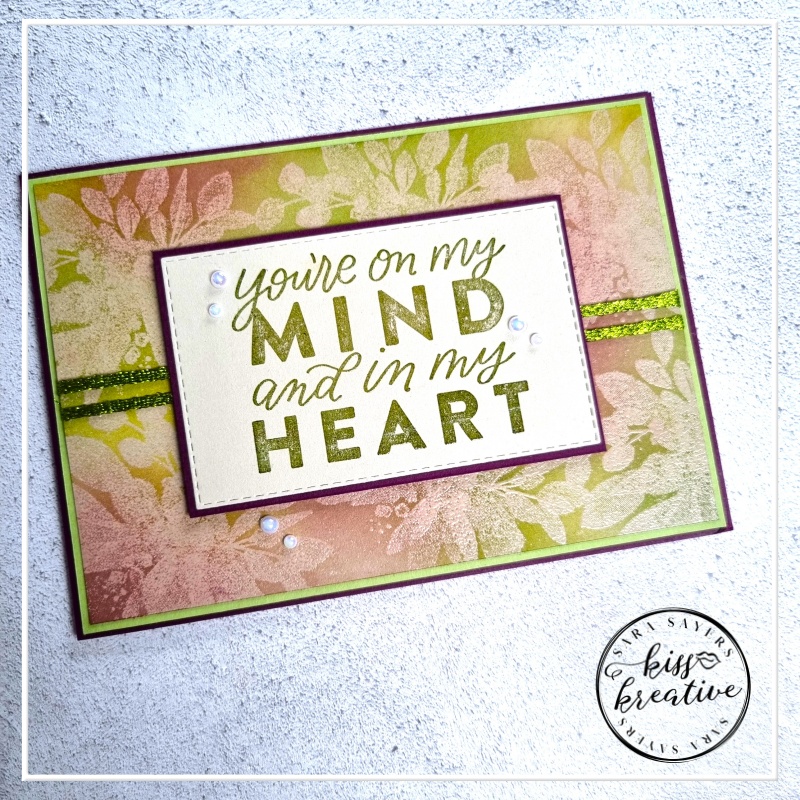
Measurements – You’re on My Mind
- Base Card (Blackberry Bliss): 29.7cm by 10.5cm, scored and burnished at 14.8cm
- First Layer (Pear Pizzazz): 14.5 cm by 10.2 cm
- Second Layers (Sahara Sand): 14.2 cm by 9.9 cm
- Third Layer (Blackberry Bliss): 9.3 cm by 6.0 cm
- Fourth Layer (Sahara Sand) 9.0 cm by 5.7 cm die cut with Stitched Rectangle Die
Voila!
I so enjoyed making these cards and I would love to know what you think? Which one is your favourite? Please do leave me a comment.
If you would like to know more about any of my projects please do get in contact and I would be happy to help you
So now it’s time to hop around the rest of the wonderful demonstrators blogs to see some more inspiration for using these wonderful patterned papers
See the rest of the design team below!
Tech 4 Stampers Blog Hop Team
Stamping Hugs
Sara
- Shop Stampin Up – Earn 10% rewards on all qualifying purchases over £20
- Request a catalogue
- Buy a starter Kit
- Find out about joining our group of Hugs & Kisses Stampers
Love this technique, lovely cards, Sara – tfs
Wonderful cards and a great technique. Another I forget about x