
Hello there Crafty friends. Welcome to this month’s Stamp Impressions Europe Blog Hop. I am part of an amazing group of demonstrators from all around Europe and we will be sharing some wonderful ideas based around a monthly theme. This month we are sharing some Fun Fold Projects & I am sharing my Fun Fold Floral Pocket Card that I recently shared on my Facebook Live
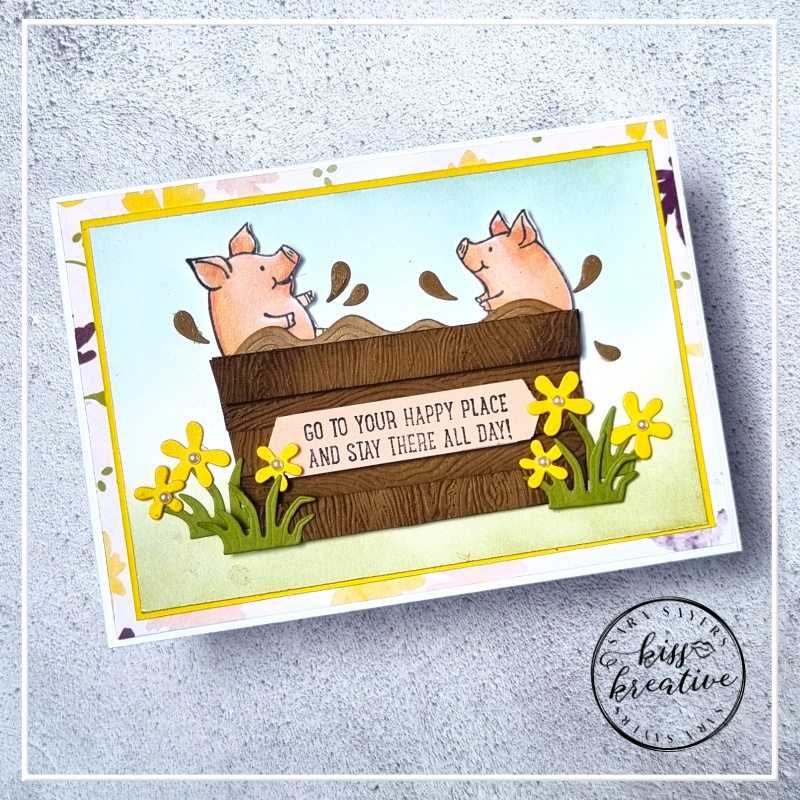
This Birthday Piggy Hot-tub Card
I made this fun card on a recent Facebook live.
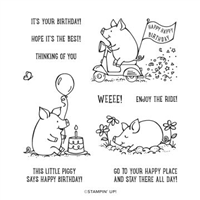
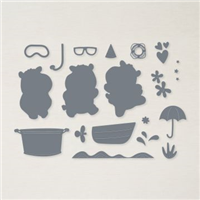
The This Birthday Piggy is a must have stamp set with such fun images, perfect for colouring with all of our mediums
This Birthday Piggy Hot-tub Card Measurements
- Thick Basic White Base: 29.7cm x 10.5 cm & score at 14.8 cm
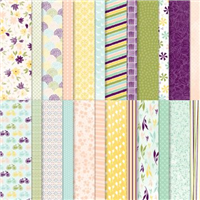
- Design a Daydream Designer Series Paper: 14.5 cm x 10.2 cm
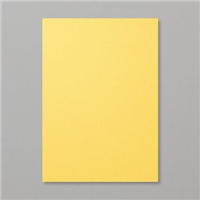
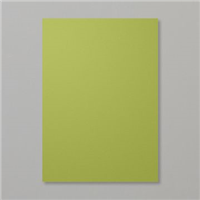
- Daffodil Delight: 13.5cm x 9.2 cm
- Basic White: 13.2 cm x 8.9 cm
- Early Espresso: 8.5 cm x 6.5 cm
- Basic White, Soft Suede, Old Olive, Petal Pink & Daffodil Delight scraps
This Birthday Piggy Hot-tub Card Directions
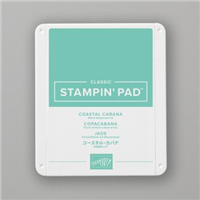
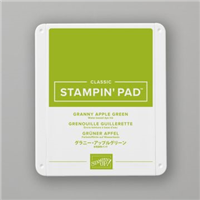
- Take the piece of basic white card and add Coastal Cabana and Granny Apple Green ink to simulate the sky and grass
- Stamp the pigs using memento Ink & colour with Stampin Blends.
- Fussy cut out the images
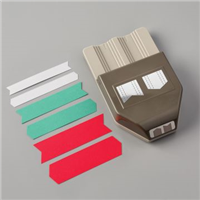
- Create the hot tub – cut off 2 x 1cm stripes from the long side
- Emboss the pieces using the Timer 3D Embossing Folder
- Shape the sides of the main piece using a trimmer
- Add to the card with Stampin Dimensionals
- Add the pigs to the hot tub with Stampin Dimensionals
- Cut waves and splashes from some scraps of Soft Suede card from the Hippo dies & add to the card using Multi purpose glue
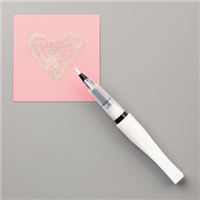
- Add some Wink of Stella Clear Glitter pen to simulate wet mud.
- Die cut the flowers in Daffodil Delight & cu the Grass in Old Olive
- Stamp the sentiment in Petal Pink using Tuxedo Black Memento Ink and use the Pick a Banner Punch
- Add to the card using Stampin’ Dimensionals
- Add the grass and flowers using Multipurpose glue
- Finish with some Iridescent Pearls in the centres of the flowers
- Don’t forget to decorate the inside and the envelope
Don’t forget you can watch me making this card on my Facebook live.
Voila!
I so enjoyed making this card and I would love to know what you think? Please do leave me a comment.
If you would like to know more about any of my projects please do get in contact and I would be happy to help you. I go live on Facebook every Monday and Wednesday at 11.00 am UTC +1 (BST) showing lots of cardmaking tips and tricks
Stamp Impression Design Team Blog Hop
So now it’s time to hop around the rest of the wonderful demonstrators blogs to see some more inspiration for using these wonderful patterned papers. You should have arrived here from Yolanda’s post. Wasn’t her project fabulous?

Click on the button above to go to Martina’s post. You can see the rest of the Design Team below!
- Sara Sayers – KISS Kreative That’s me!
- Martina Auer – Fräulein Erdbeerli
- Judith Gryspeerdt : Les petits papiers d’Ilse
- Sigrid Joch- Sigridsmeinart
- Yolanda Pastercamp
Stamping Hugs
Sara
- Shop Stampin Up – Earn 10% rewards on all qualifying purchases over £20
- Request a catalogue
- Buy a starter Kit
- Find out about joining our group of Hugs & Kisses Stampers


0 Comments