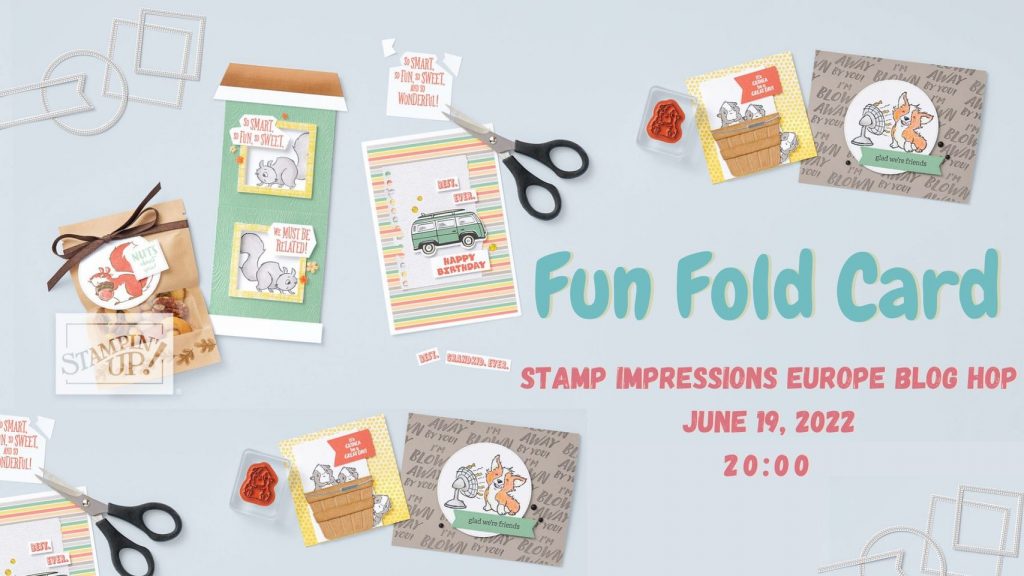
Hello there Crafty friends. Welcome to this month’s Stamp Impressions Europe Blog Hop. I am part of an amazing group of demonstrators from all around Europe and we will be sharing some wonderful ideas based around a monthly theme. This month we are sharing some Fun Fold Projects & I am sharing my Fun Fold Floral Pocket Card that I recently shared on my Facebook Live
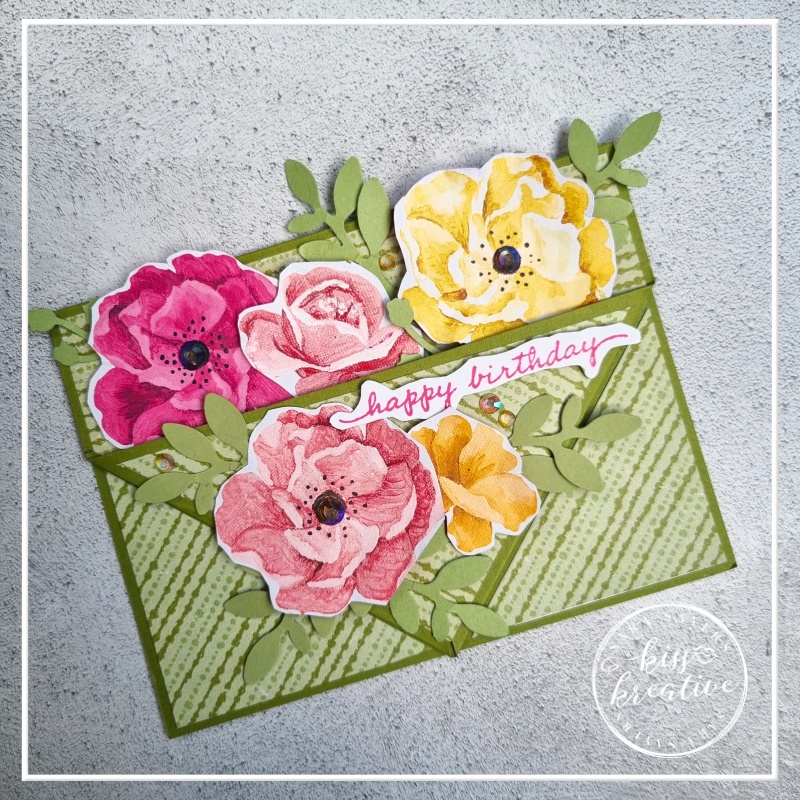
Fun Fold Floral Pocket Card
I made these pretty cards on a recent Facebook live and you won’t believe how easy they were.
This cute fun fold card was inspired by one I made for our Team Gathering last month. Everyone loved it some much I decided it to share it.
Fun Fold Floral Pocket Card Measurements
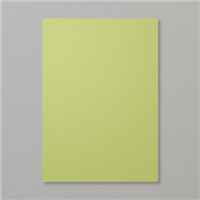
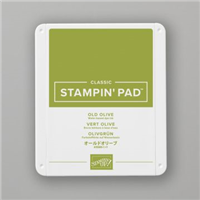
- Old Olive Base: 21.0cm x 14.0cm & Trim 10.0cm x 1.0 cm
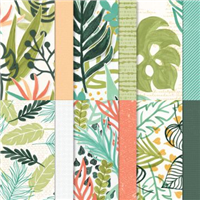
- DSP: 9.0 cm x 9.0 cm and 13.5cm x 3.3 cm
- Basic White: 13.5cm x 10.0cm
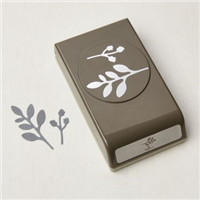
- Grab yourself some floral & Leaf punches for decorating your pocket or try something different
- Don’t forget ribbon and embellishment
Fun Fold Floral Pocket Card Directions
- Mark the card base at 7cm & up each side at 7.0 cm
- Score from each side to the middle mark
- Fold each corner to the centre and burnish the edges
- Glue the DSP strip across the top of the card front
- Cut DSP square from corner to corner to create two triangles
- Stick one of the DSP triangles to the upturned triangles on the card front to create a pocket
- Take the other DSP triangle and in half again
- Add the old olive strip to the underside of the long edge of the triangle
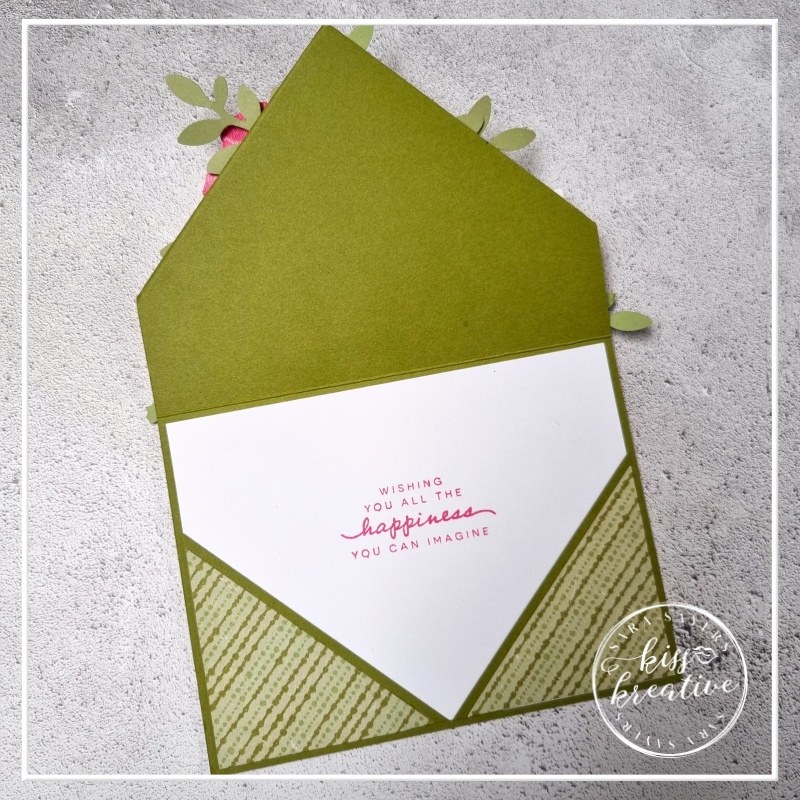
- Stamp your inner sentiment on the piece of Basic White
- Glue the triangles to the corners of the piece of Basic White card & add to the inside of the card with glue
- Now you are ready to decorate your fun fold card!
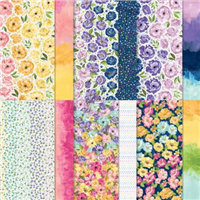
- Use some of the Hues of Happiness DSP
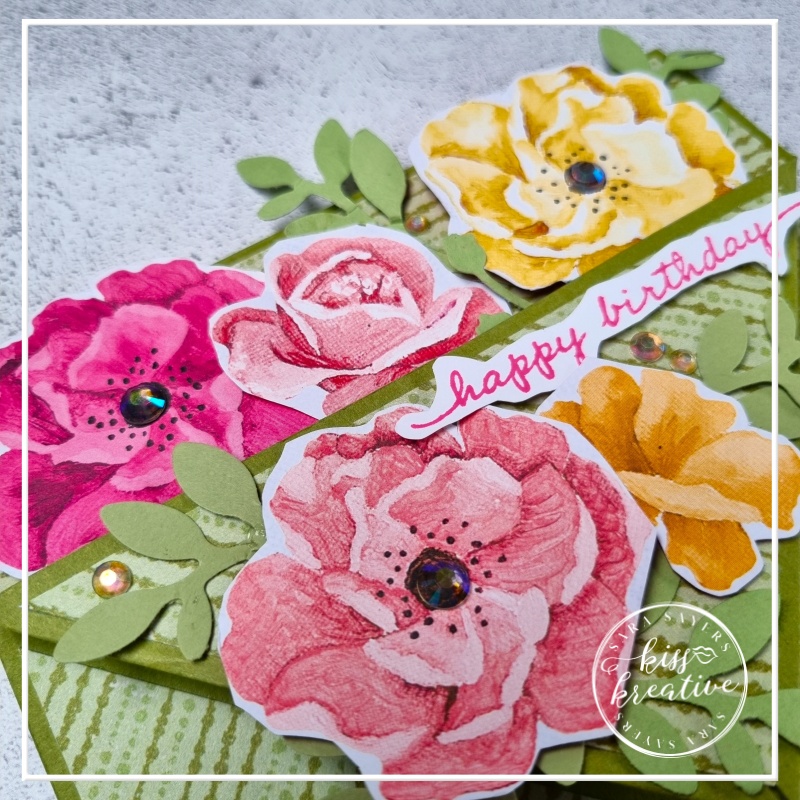
Or how about stamping your own flowers’ Here is a card using the Pansy Patch Stamps – they look so gorgeous on this card
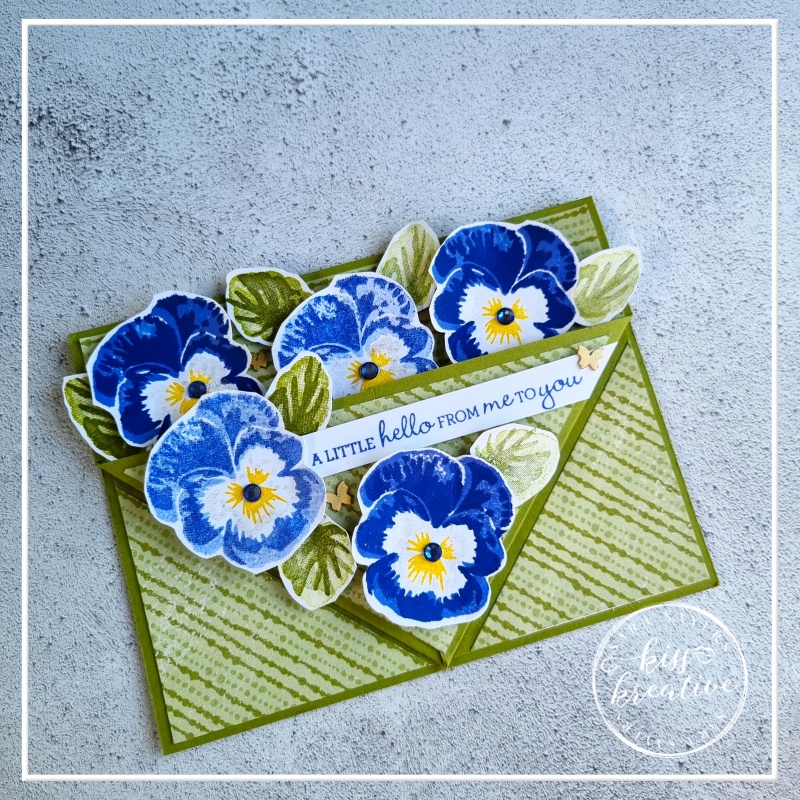
Don’t forget you can watch me making these cards on my Facebook live.
Finally here are the cards we made at our team gathering for some alternate ideas using punches
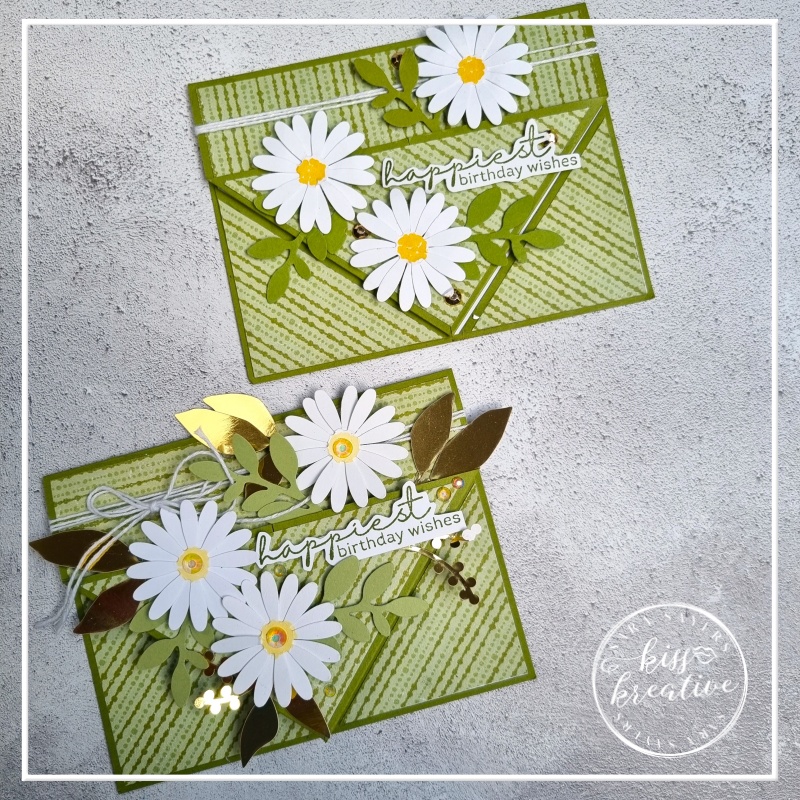
Voila!
I so enjoyed making these gift bags and I would love to know what you think? Please do leave me a comment.
If you would like to know more about any of my projects please do get in contact and I would be happy to help you. I go live on Facebook every Monday and Wednesday at 11.00 am UTC +1 (BST) showing lots of cardmaking tips and tricks
Stamp Impression Design Team Blog Hop
So now it’s time to hop around the rest of the wonderful demonstrators blogs to see some more inspiration for using these wonderful patterned papers. You should have arrived here from Sigrid’s post. Wasn’t her project fabulous?

Click on the button above to go to Martina’s post. You can see the rest of the Design Team below!
- Yolanda Pasterkamp-de Jonge
- Sara Sayers – KISS Kreative That’s me!
- Martina Auer – Fräulein Erdbeerli
- Belinda Wenke – Beliskreativewelt
- Judith Gryspeerdt : Les petits papiers d’Ilse
- Martina Duchkowitsch
- Yvonne Spikmans-van Bruggen- The Creative Teacup
- Salina van den Nieuwenhuizen
- Sigrid Joch- Sigridsmeinart
Stamping Hugs
Sara
- Shop Stampin Up – Earn 10% rewards on all qualifying purchases over £20
- Request a catalogue
- Buy a starter Kit
- Find out about joining our group of Hugs & Kisses Stampers

Your card is so pretty. I just love flowers on a card! And I love your choice of colours.
Great cards! Thanks for the tutorial!
xo Martina
Wat a pretty sophisticated card you made! Love the tutorial with it, tnx!
Such a cute model and love all different cards you made with it!! xx