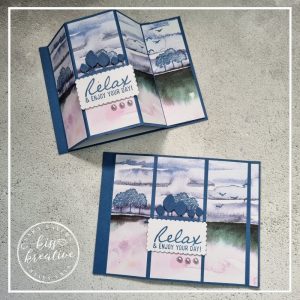
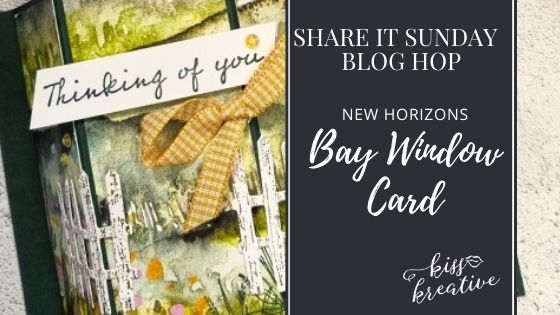
Welcome to another Crafty Collaborators blog hop. I am part of an amazing group of demonstrators from all around the world. Each month we will be showcasing some of the wonderful products which can found in our suite of catalogues. Today’s Monthly hop is called Share it Sunday, where we will be sharing a recent project. I want to share with you a set of Bay Window cards I made for my recent 200th Facebook Live!

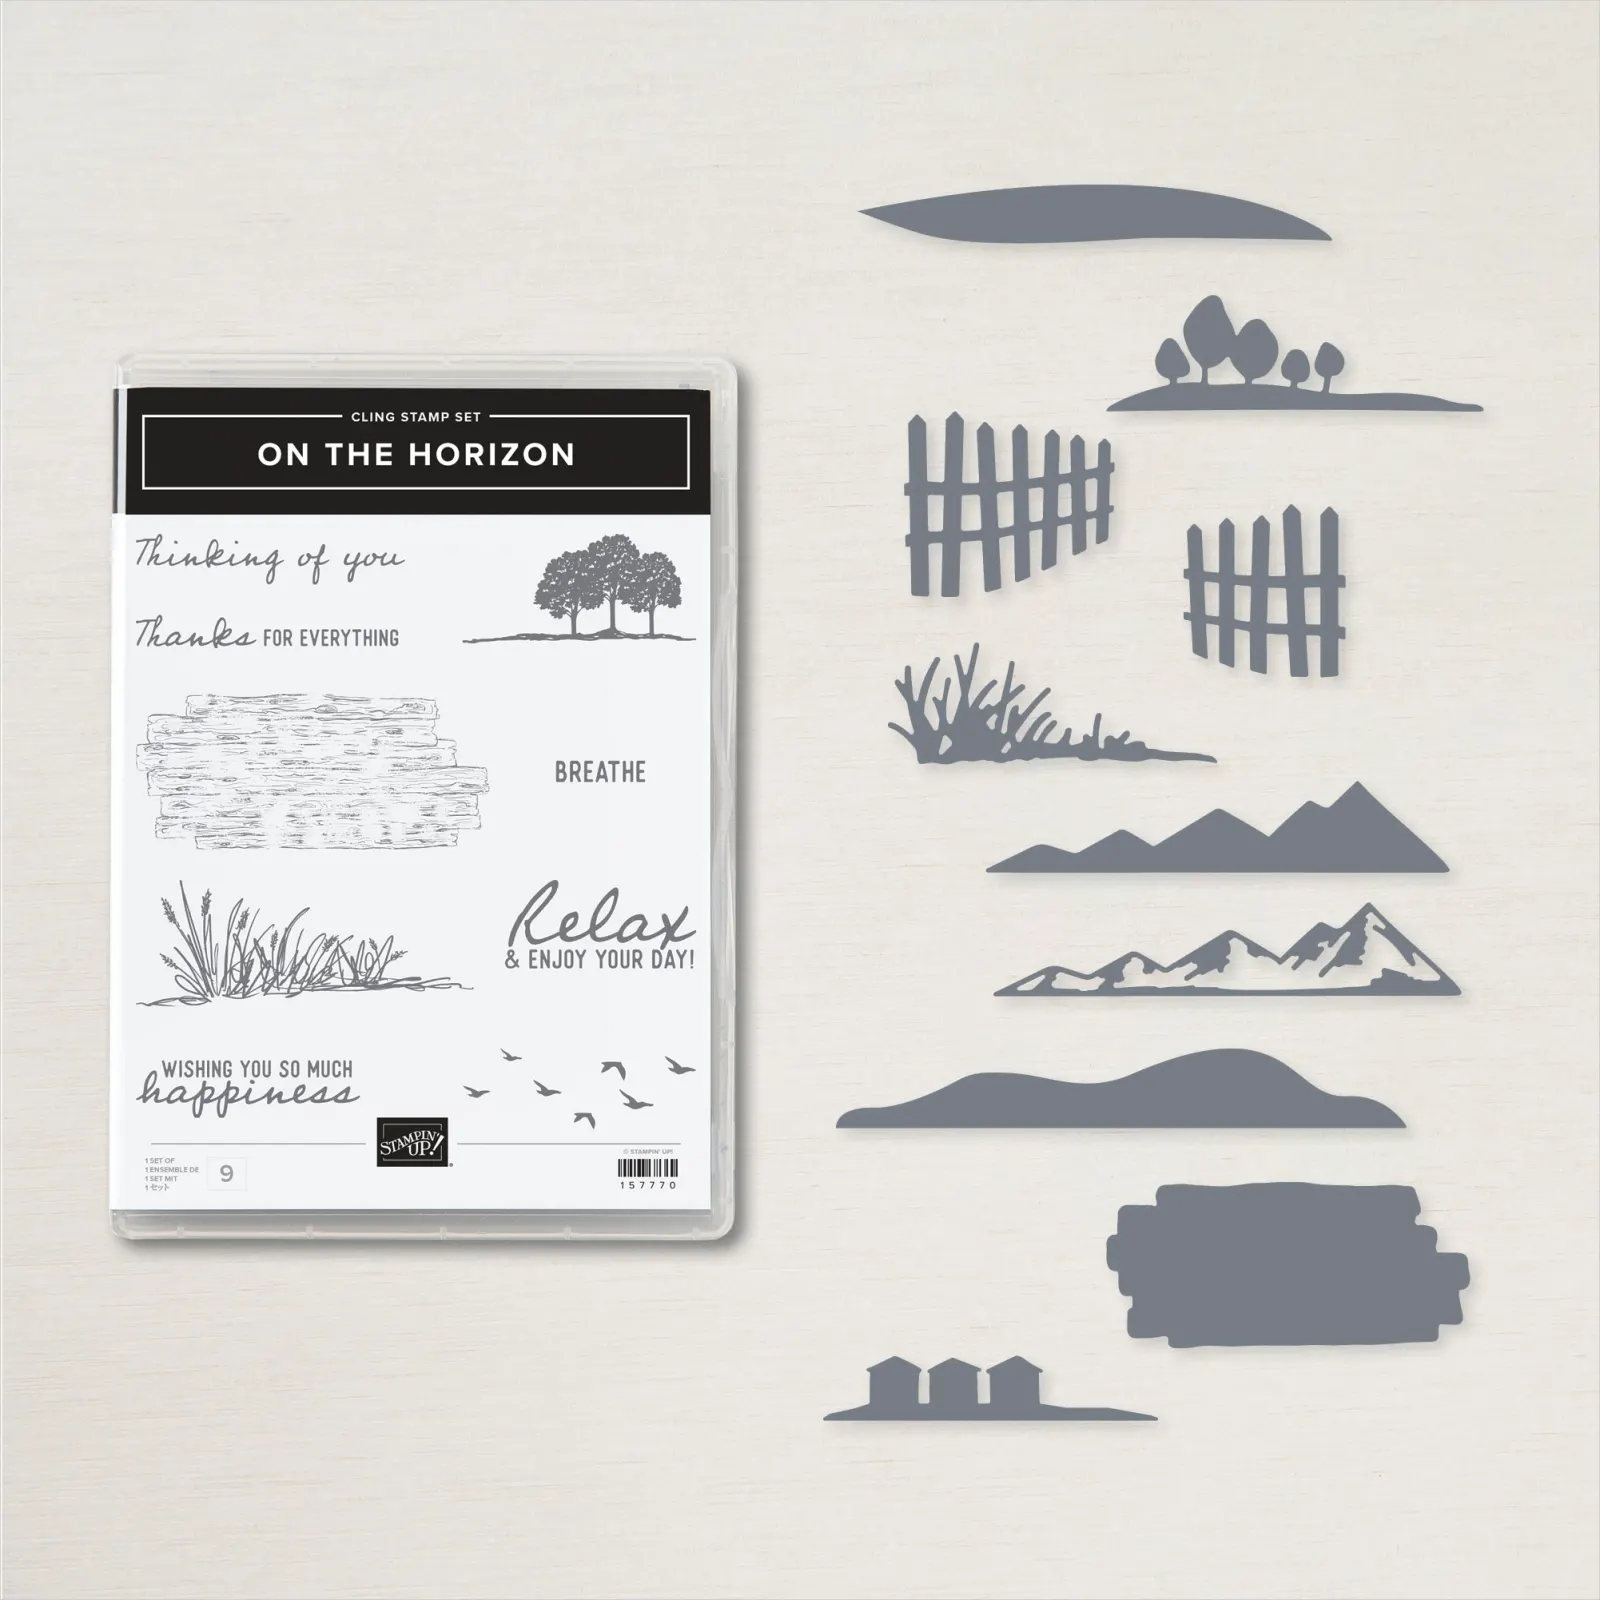
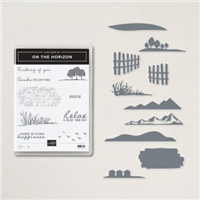
On the Horizon
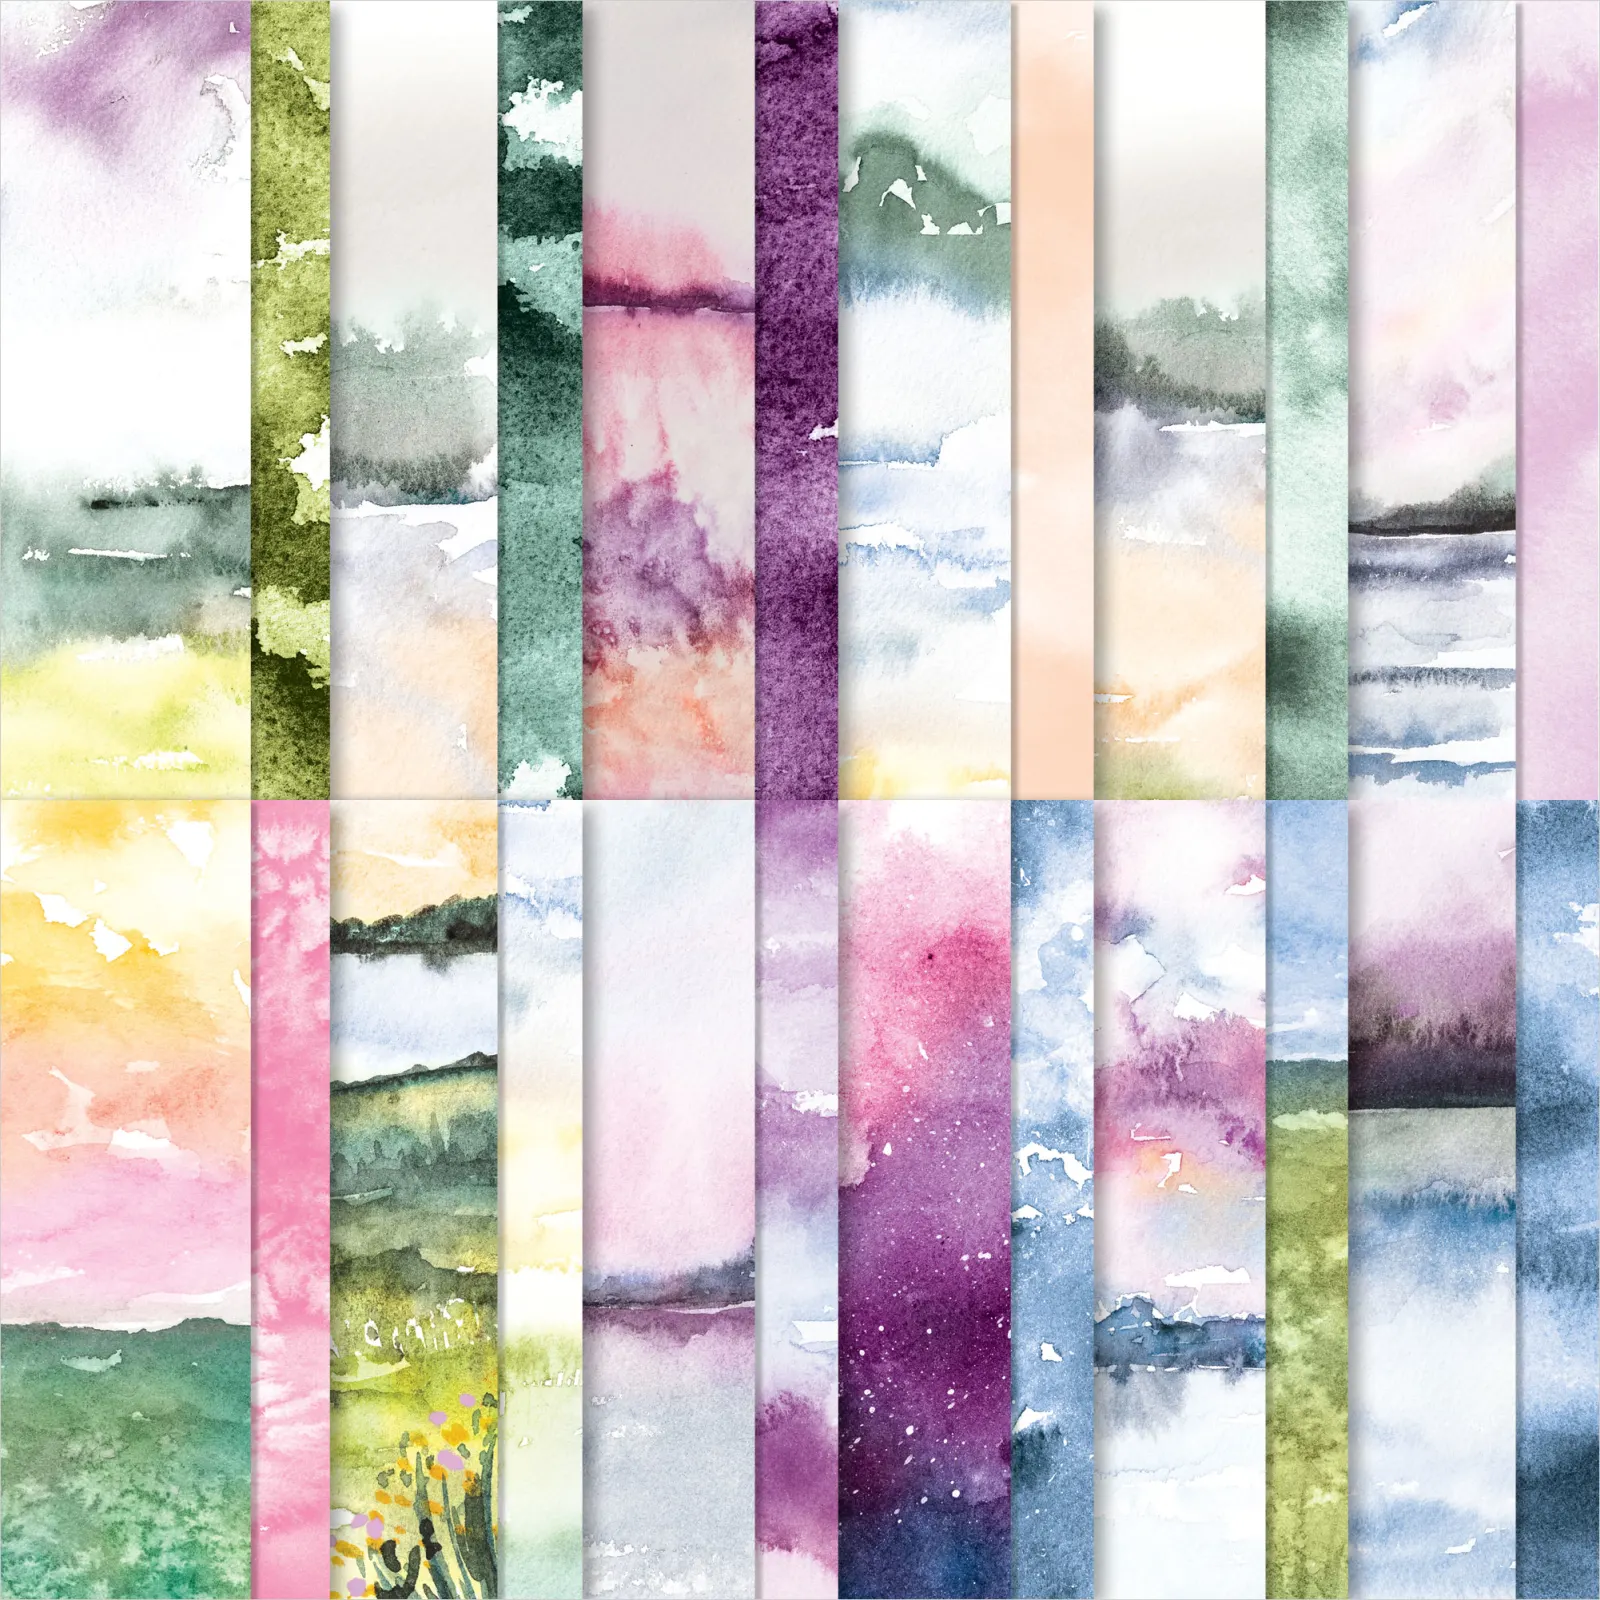
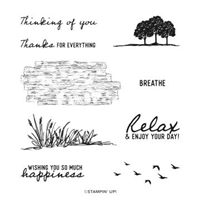
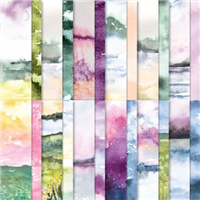
I just love the New Horizon Suite on Page 42 of the January to June Mini Catalogue. The images are perfect for simple scene cards but can also be used for a whole host of other techniques and projects with the dies. However it’s the papers that really sold this suite to me. Perfect for so many occasions.
Bay Window Cards
As soon as I saw these papers I knew they would be perfect for this style of fun fold card. I mean who would want to cover up these beautiful watercolour style pieces?
I has such fun making these cards on my 200th Facebook live and you can see how I made them here
They are much easier to make than they look and once you have mastered the fun fold it so easy to adapt for other papers and embellishments.
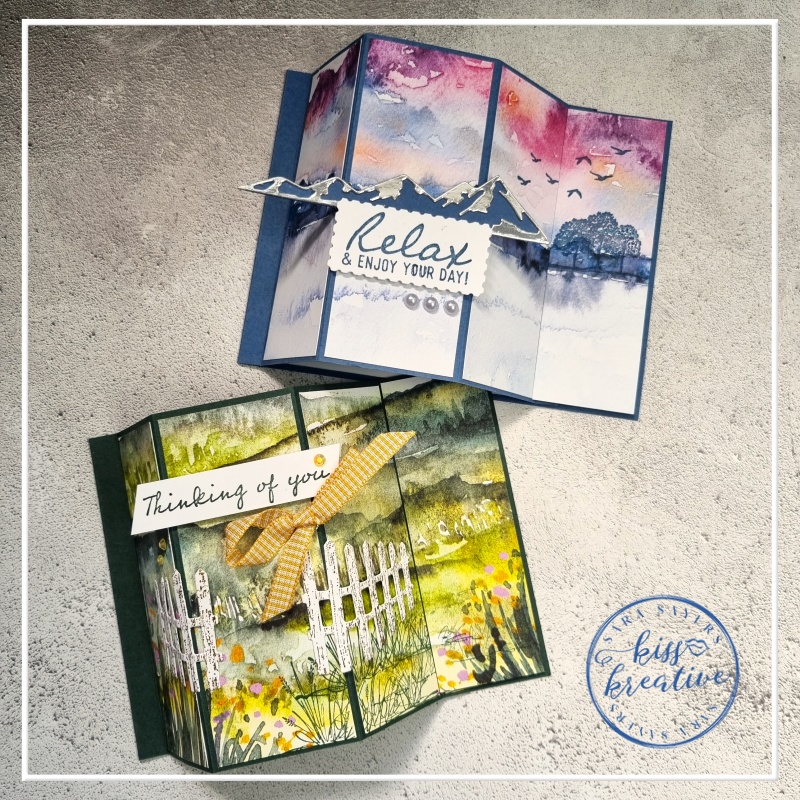
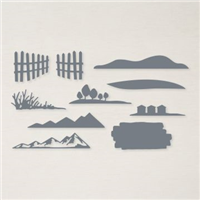
Its amazing how easy it is to finish these cards with just a few dies cut using scraps of cardstock from my stash
How to Make a Bay Window Card
- Take the base card and fold at the 5-1/2 score line to create the card shape.
- Next valley fold the two outer score lines and mountain fold the two middle score lines to form the Bay window
- Add glue or tear tape to the narrow piece at inner front left of the card and attach to the back of the card. This will form a narrow book fold spine.
- Take the piece of DSP and depending on the design stamp some of the birds/trees or grasses using coordinating Ink
- Cut the DSP on the long side at 4-5/8″, 4-3/8″, 3″, 1-3/8″ so you will have five pieces all cut across the scene in order to fit perfectly across the card.
- Add the four stripes of DSP to the card front using Multi Purpose Glue
- For the fifth piece add to the right hand side of the inside of the card using Stampin Dimensionals on the middle and right hand edge only/ This will allow you to slip the small ‘lip’ edge of the front of the card to create the bay window.
- Stamp the inner piece of Basic white with the tree or grass image and a sentiment
- Add to the inside of the card with Multi Purpose Glue
- Now you are all ready to decorate the front
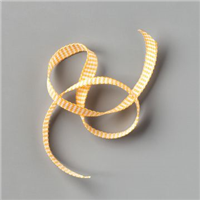
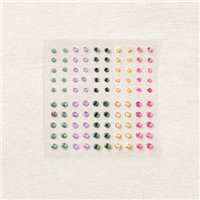
- Finish with some ribbon or embellishments
Bay Window Card Measurements
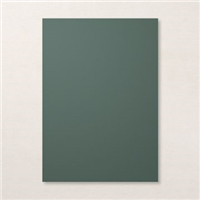
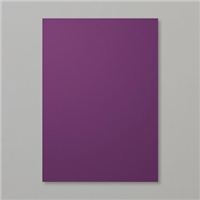
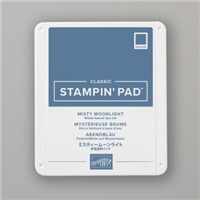
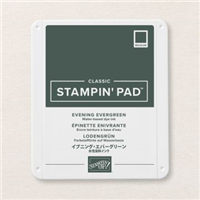
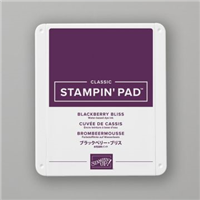
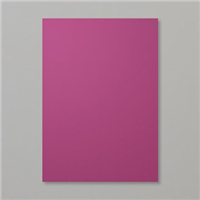
- Base: Misty Moonlight/Evening Evergreen/Blackberry Bliss – 11″ by 4-1/8″ score at 3/8″, 1-7/8″, 3-5/8″, 5-1/8″ & 5-1/2″
- First Layer: New Horizons – 4″ by 6″
- Inner Layer: Basic White – 4″ by 3-1/2″
Bay Window Card – Alternatives
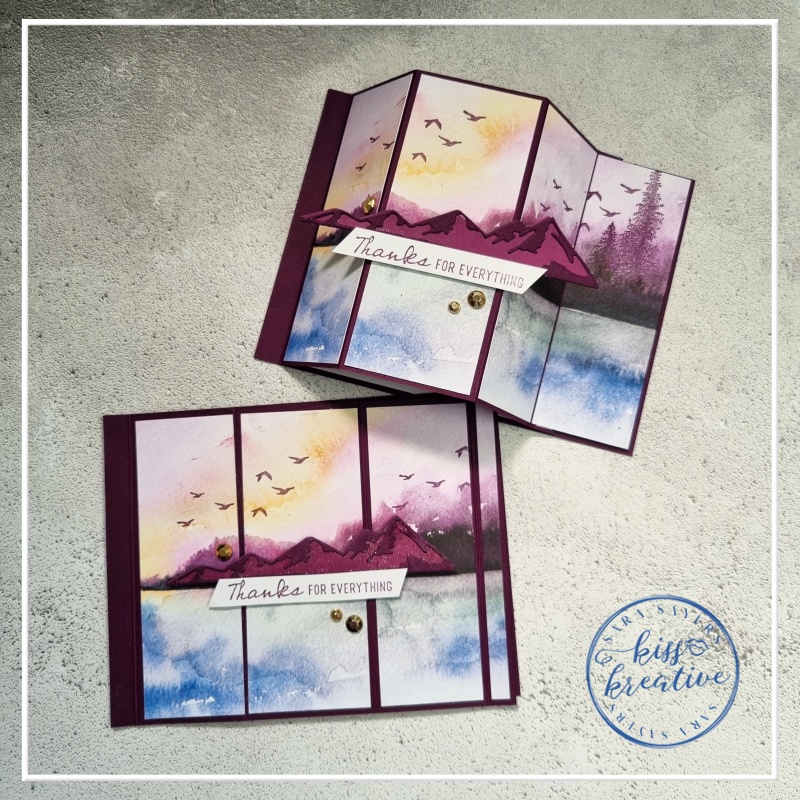
Once you have the fun fold mastered its really easy to make alternatives with this gorgeous paper.
This set looks the same but the background papers are slightly different
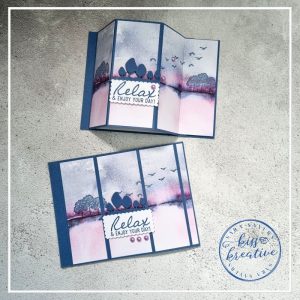
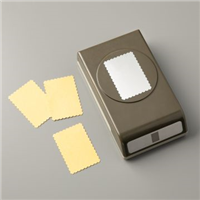
The sentiment is stamped onto a scrap of Basic white card and punched out using the Postage Punch. To make it fit the sentiment use a post it note to feed the punch sentiment back into the punch to cut down to size.
You can see how I do it on my Facebook live
Voila!
I had great fun making these cards and I would love to know what you think? Please do leave me a comment.
If you would like to know more about any of my projects, then please do get in contact and I would be happy to help you
So please hop around the rest of the wonderful demonstrators blogs to see some more inspiration for using these wonderful patterned papers
See the rest of the International team below!
Share it Sunday Blog Hop Team
Thanks for looking
Stamping Hugs
Sara
- Shop Stampin Up – Earn 10% rewards on all qualifying purchases over £20
- Request a catalogue
- Buy a starter Kit
- Find out about joining our group of Hugs & Kisses Stampers

Gorgeous cards Sara, love this dsp and this is a lovely fun fold x
Love the addition of the mountains to the bay window!
Beautiful cards!
I love the bay window fold with this DSP. Great cards!
These are beautiful!
Love the Bay Window Cards. The DSP is perfect for this. Very pretty!
Sara, what a great card. Thanks for sharing.
That is really cool. TFS.
Pretty card need to try the fancy fold!