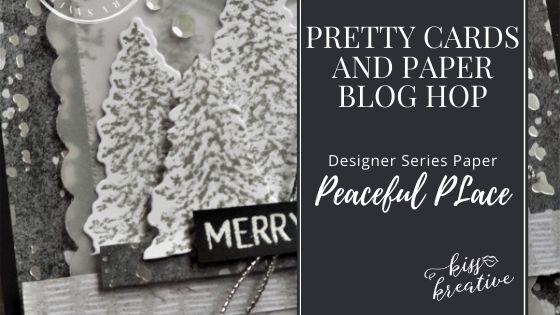
Welcome to the Pretty Cards and Paper International Blog hop. I am so fortunate to be joining this group of amazing demonstrators from all around the world. Each month we will be showcasing some of the Designer series papers which can found in our suite of catalogues. Today I’m excited to share with you a set of stunning papers from our Jul- Dec Mini Catalogue and how to make this Elegant Peaceful Place Christmas card .

Peaceful PLace
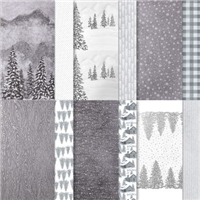
Now this month we have chosen the stunning Peaceful Place Designer Series Paper. The papers form part of the wonderful same named suite that is available and proving very popular
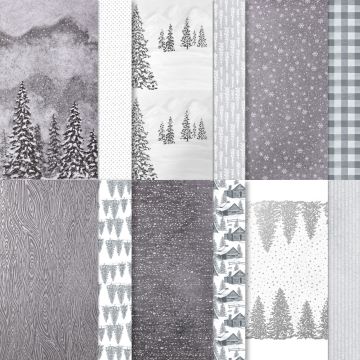
Now the designs in this pack are have all been created to coordinate with the suite images . With this uber cool contemporary colour palette & an array of patterns that have so many options. There are 2 each of 6 double sided designs in a useful 12″ x 12″ format giving 12 sheets.
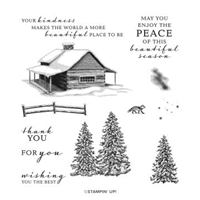
Peaceful Cabin
I just had to chose the coordinating stamp set for the suite for my cards. just love the whole suite and it is currently rooted firmly on my desk! Expect to see many more projects using this suite over the coming days.
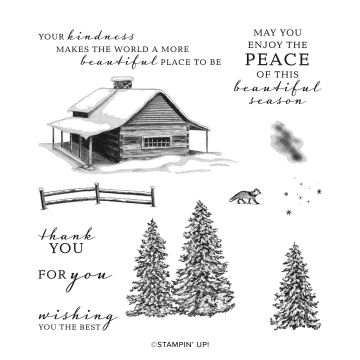
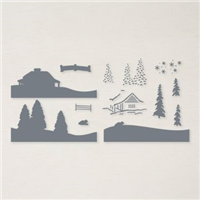
Of course there is a coordinating set of die which you can purchase as a bundle
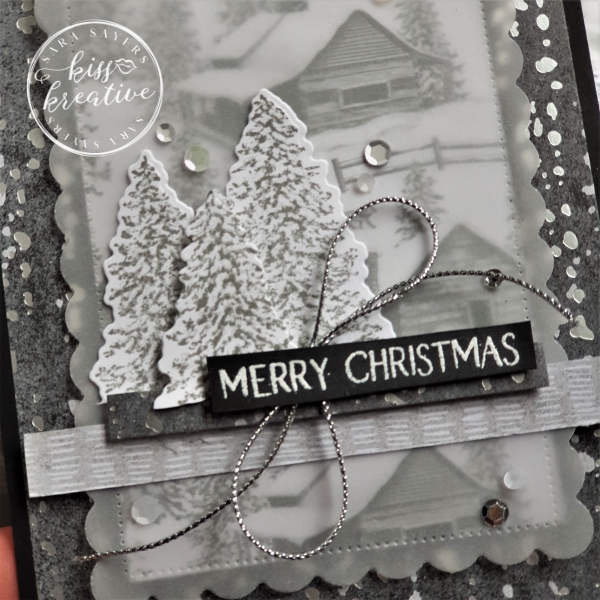
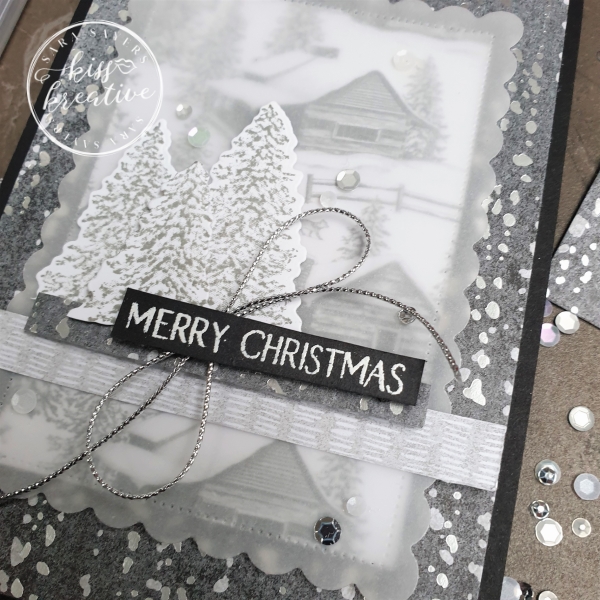
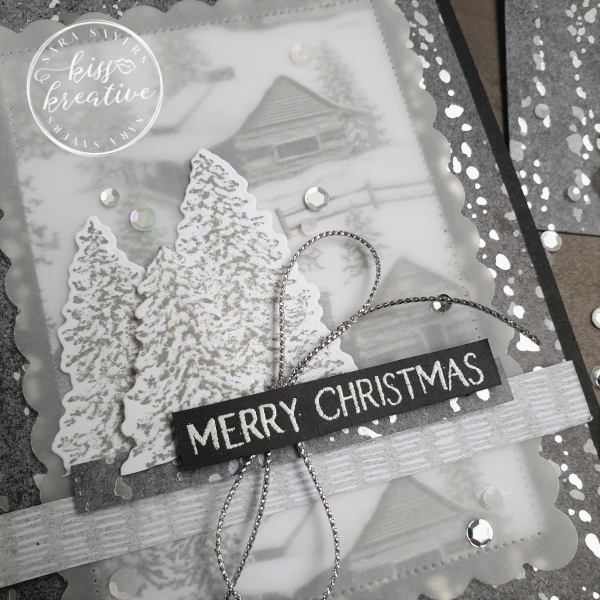
Elegant Peaceful Place Christmas card
I love all the papers in the suite, but some of them are a little busy for my taste.
That doesn’t mean I don’t use them…..
There are a number of ways to use them in a restrained way and here are just two of them!
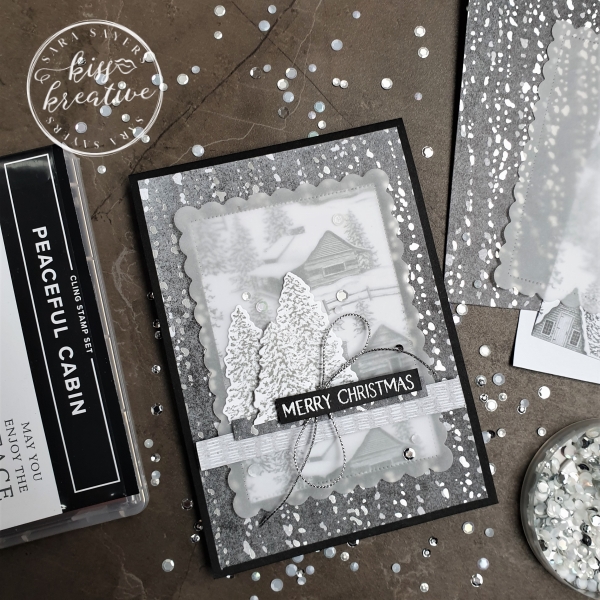
This is a great way to let the pretty DSP take centre stage & let’s be honest we all have lots of pretty papers sitting in our craft room and this is the ideal project to use them with.
How to Elegant Peaceful Place Christmas card
- Glue Layer 1 to the base card
- Add Layer 2 to the base card with Dimensionals
- Adhere Layer 3 to the base card with Mini Glue Dots
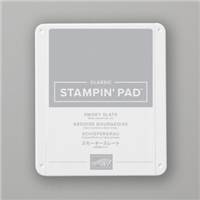
- Stamp the trees onto a piece of Basic white using Smoky Slate ink and die cut out
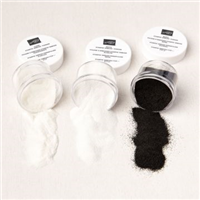
- Add a heat embossed sentiment in White
- Add a couple of scraps of DSP to ‘ground’ the trees
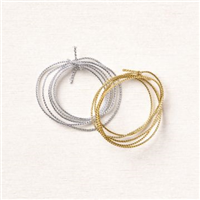
- Finish with some sequins & a little silver trim
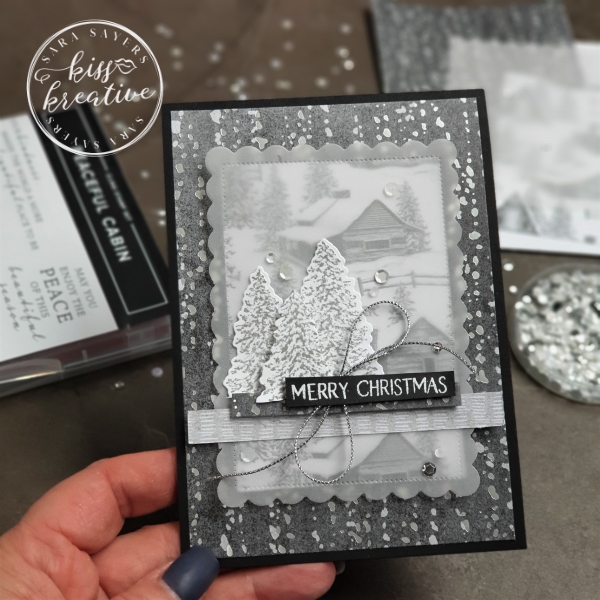
So I have used the busier DSP for the back piece and the other I have covered with Vellum, which gives a much softer look
Measurements for all cards
- Base Card; Basic- 29.7 cm by 10.5 cm scored & burnished at 14.9 cm
- First Layer:Peaceful Place DSP- 14.5 cm by 10.2 cm
- Second Layer : Peaceful Place DSP – 10.3 cm by 7.0 cm
- Third Layer: Vellum – 12.0 cm by 9.0 cm (Die cut with the Second largest scalloped contour die)
- Image: Basic White – 10.0 cm by 7.0 cm
- Sentiment: Basic Black – Scrap
- Scraps – Peaceful Place DSP
Voila!
I had great fun making this card and I would love to know what you think? Please do leave me a comment.
If you would like to know more about any of these projects please do get in contact and I would be happy to help you
So please hop around the rest of the wonderful demonstrators blogs to see some more inspiration for using these wonderful patterned papers
See the rest of the International team below!
Pretty Card and Papers International Blog Hop Team
Thanks for looking
Stamping Hugs
Sara
- Shop Stampin Up – Earn 10% rewards on all qualifying purchases over £20
- Request a catalogue
- Buy a starter Kit
- Find out about joining our group of Hugs & Kisses Stampers






I like your card very much!
I just saw that we both are in two same blog hops today!
Greetings from Austria