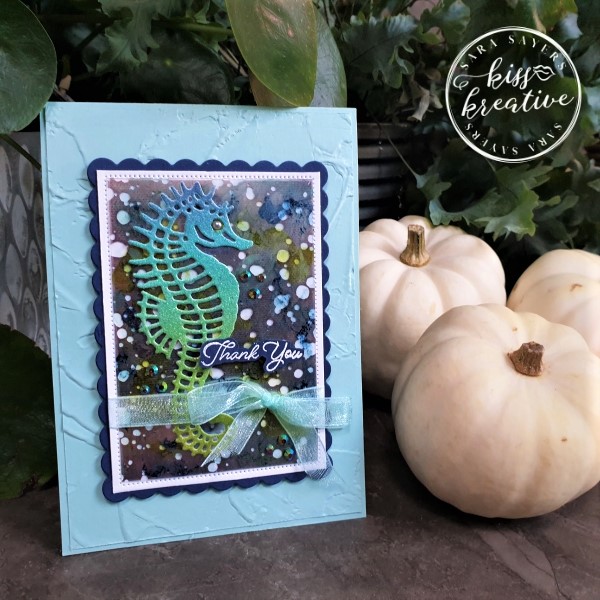
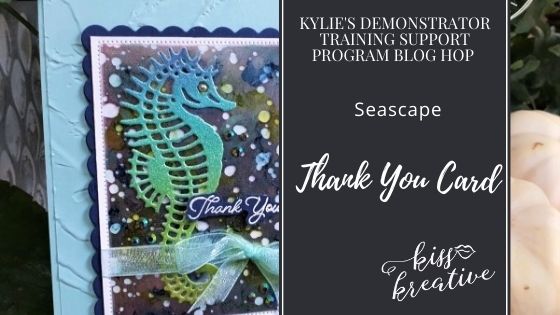
Hello and welcome to this blog post featuring my Acetate Glass Seahorse thank you cards.
So a huge thanks for joining us for our Stampin’ Up!® Demonstrator Monthly Team Blog Hop! We are so happy that you could join us today and hope you’ll find lots of ideas and inspiration. We are a group of Stampin’ Up! Demonstrators from around the world and are taking part in training to help us build successful Stampin’ Up! businesses and reach our goals. We really appreciate your support
You may be starting here or have come from another blog – either way you can find the link list at the bottom of this post so that you have the opportunity to see every blog post and idea today and believe me you want to check out all the inspiration across the world.
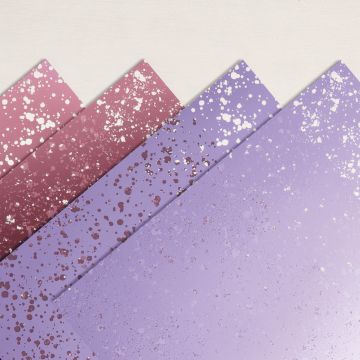
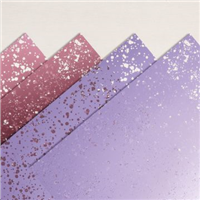
I love finding different wats to use my stash of products and recently I have been playing with my Hydrangea Hill Mercury Glass Designer Acetate. Finding different ways to use the sheets
Hydrangea Hill Mercury Glass Designer Acetate
You can find this amazing, coloured acetate on Page 135 of the Annual Catalogue
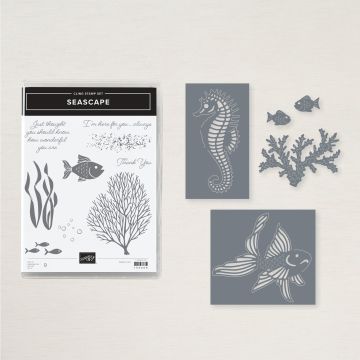
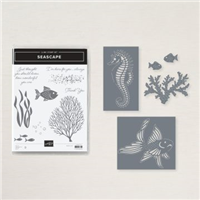
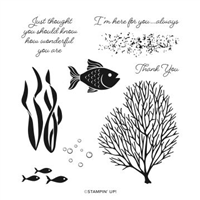
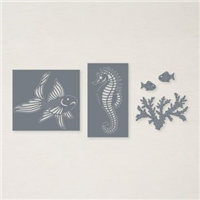
Seascape
The pattern on the acetate looked very much like underwater bubbles. So pairing the acetate with the Seascape bundle seemed an obvious choice.
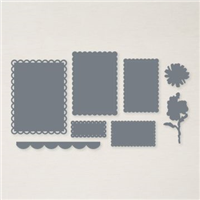
Check out those wonderful dies
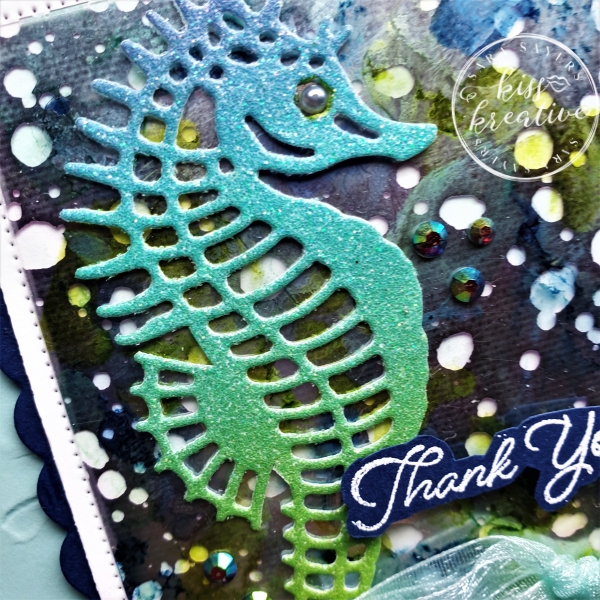
Acetate Glass Seahorse thank you cards
By adding some additional dies cut and embossed layers you can really imagine that cute little seahorse bobbling about in the ocean.
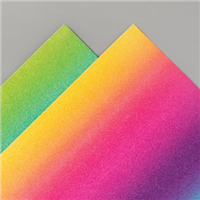
It was a no brainer to chose some of the Rainbow Glimmer paper for the seahorse. He loos so cute in those sparkly tropical ocean colours
How to make These Acetate Glass Seahorse thank you cards.
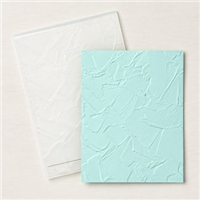
- Emboss Layer 1 with the Painted Texture 3D embossing folder.
- Add to the card with glue
- Die cut layers 2 & 3 with the second largest Scalloped Contour Label dies
- Trim off the Scallops around the second layer of basic Basic White
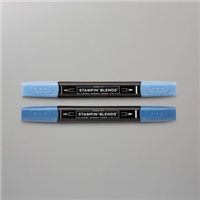
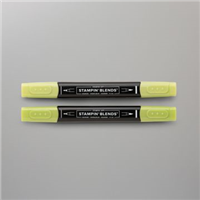
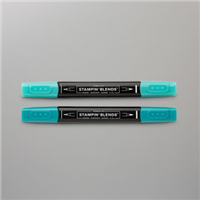
- Take your piece of Glass Acetate and using the non coloured side scribble some Stampin’ Blends over the the surface.
- Then take a little rubbing alcohol and dab over the blends to create a mottled effect
- Die cut the seahorse (NB the die won’t cut out a whole shape so you will need to snip out the three areas where the image is still attached.
- Add the the glass acetate with mini glue dots
- Attach the acetate to the basic white layer with mini glue dots strategically placed behind the Seahorse.
- Wrap some ribbon around and tie in a bow.
- Adhere to Layer 2 with glue
- Add the whole topper to the base card with Dimensionals
- Head emboss the sentiment in White on a scrap of Night of Navy card
- Fussy cut the sentiment and add to the card with mini Dimensionals
- Add a little metallic pearl ‘eye’
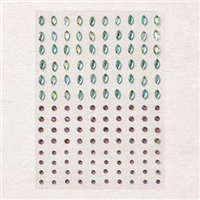
- Finish with some gems
- Don’t forget to decorate the inside!
Measurements – Acetate Glass Seahorse thank you cards.
- Card Base: Pool Party – 29.7 cm by 10.5 cm score at 14.9 cm
- First Layer: Pool Party – 14.2cm by 10.2cm
- Second Layer: Night of Navy – 12.0 cm by 9.0 cm
- Third layer : Basic White – 12.0 cm by 9.0 cm
- Fourth Layer: Hydrangea Hill Mercury Glass Designer Acetate – 10.0 cm by 6.8 cm
- Sentiment: Night of Navy – scrap 5.0 cm by 2.0 cm
- Image: Rainbow Glimmer Paper 10.0 cm by 5.0 cm
- Inner: Basic White 14.5 cm by 10.2 cm
Voila!
I had great fun making these cards for my customers this month and I would love to know what you think? Please do leave me a comment.
If you would like to know more about any of my projects please do get in contact and I would be happy to help you.
Thank you so much for stopping by today! I’m sure you are going to love all the amazing projects that you will see today. If you have time show us some love in the comments section, it makes our day. You are currently on my page – Sara Sayers, see who is below me to know where to go next.
Kylie’s Demonstrator Training Support Program Blog Hop NOvember 2021 – Blog hop participant list
Thanks for looking
Stamping Hugs
Sara
- Shop Stampin Up – Earn 10% rewards on all qualifying purchases over £20
- Request a catalogue
- Buy a starter Kit
- Find out about joining our group of Hugs & Kisses Stampers

This card definitely has that WOW factor, The use of the acetate for the background was brilliant.
Such a pretty card.
Love the layers in your card!! Looks amazing with all the details 😍
Great idea. I love your card!
Absolutely beautiful card Sara, I love it x
Beautiful card. Thanks for sharing
Gorgeous!
What a terrific technique Sara! Love the texture!🙂👏👏
Amazing card Sara! So many good choices from the embossing, acetate and rainbow glimmer paper. Thank you for taking part in our Demonstrator Training Blog Hop this month.
Wow. Gorgeous
Beautiful card! Love the 2 specialty paper working together.
This is just stunning! I just adore this card. I think I will be trying a few ideas this week 😉 Thanks for the inspiration.