Welcome to the Stampin Dreams Blog hop. I am part of an amazing group of demonstrators from all around the world. We love showcasing some of the wonderful products which can found in our suite of catalogues. This month’s theme is Step it Up! So I decided to share three water coloured Artistically Inked cards I made recently on my Facebook Live

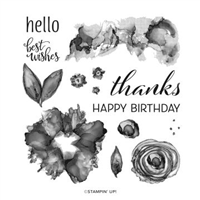
Artistically Inked
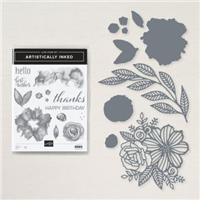
The Artistically Inked Stamp Set appears to be one of those stamp sets that you look at, think its pretty, but are not quite sure where to start. Well that’s how my customers have been feeling. So I decided to share a lovely technique with three cards on a recent Facebook live and now they are flying!
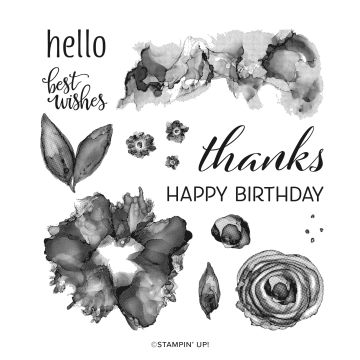
Water colour your own backgrounds
All the backgrounds on these cards were made using the same technique.
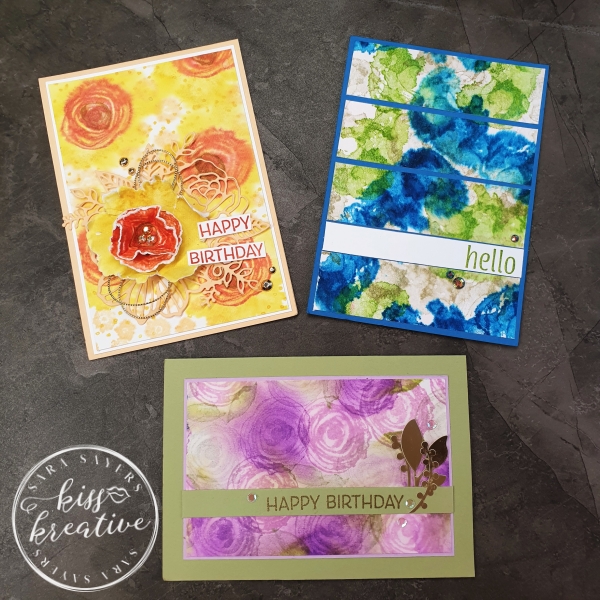
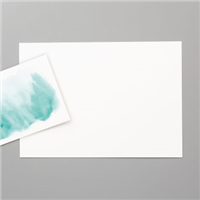
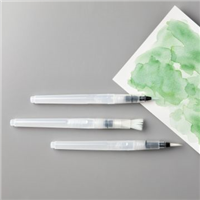
Simply use the Stamping Spritzer or Water Painters to add water to our Fluid 100 Watercolour paper, then stamp away! This technique creates such a lovely soft and ethereal look. You can see how I did it here on my Facebook Live
simple Step It Up Cards With Artistically Inked
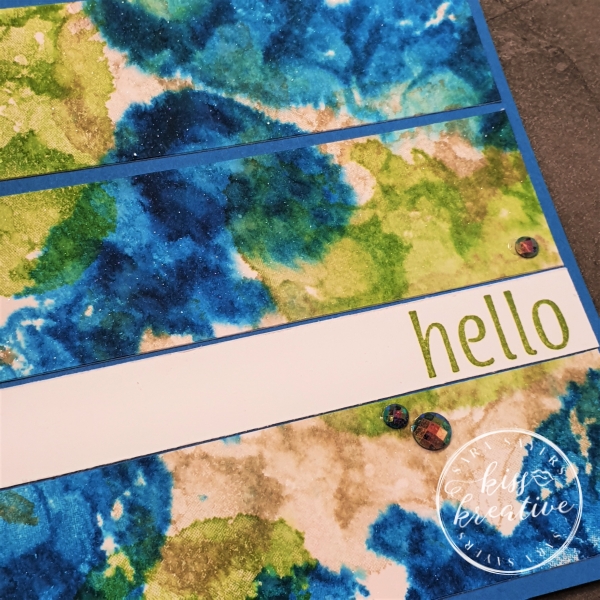
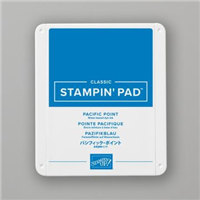
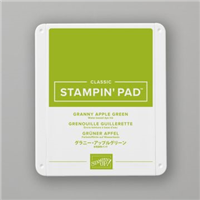
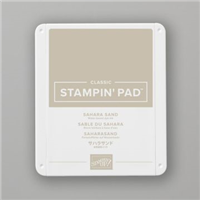
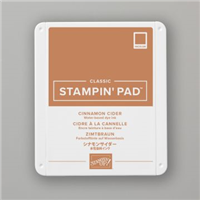
For my first card I spritzed a piece of watercolour card with water and then stamped the image with Pacific Point, Granny Apple Green & Sahara Sand Inks. It creates a lovely effect as the colours spread and merge a little.
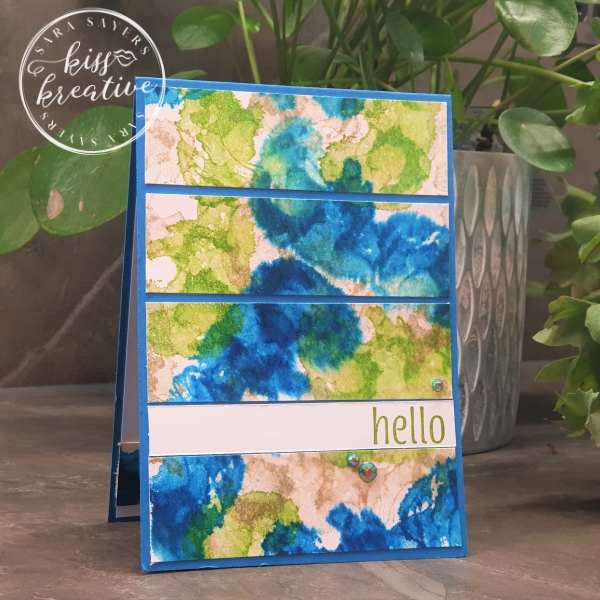
Once dry cut into four equal strips and arranged onto the base card. The sentiment was stamped onto a scrap of basic white card.
intermediate Step It Up Cards With Artistically Inked
For my next card I created another watercolor background & then added more layers and technical elements
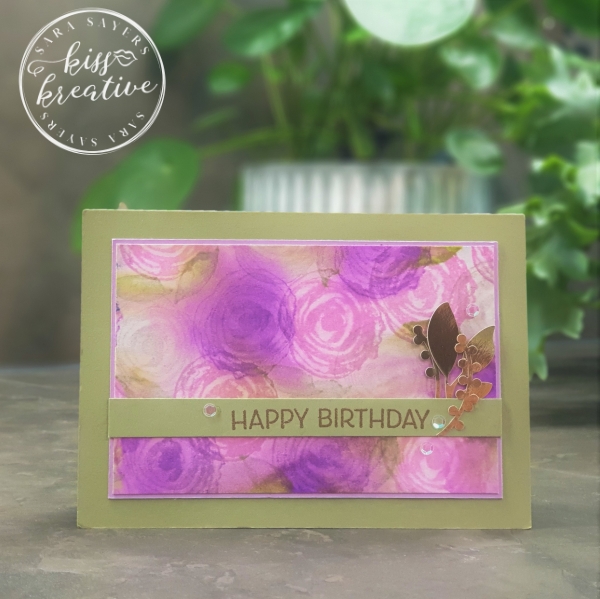
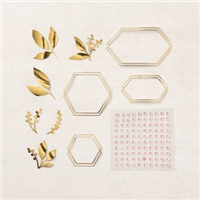
The sentiment has been heat embossed in gold and the card is decorated with some of the stunning elements from the Expressions in Ink Ephemera Pack. A must have if you don’t own a die cutting machine or just love pretty accents.
Wow Step It Up Cards With Artistically Inked
For my final card I took off al the stops and really went to town with layers and details
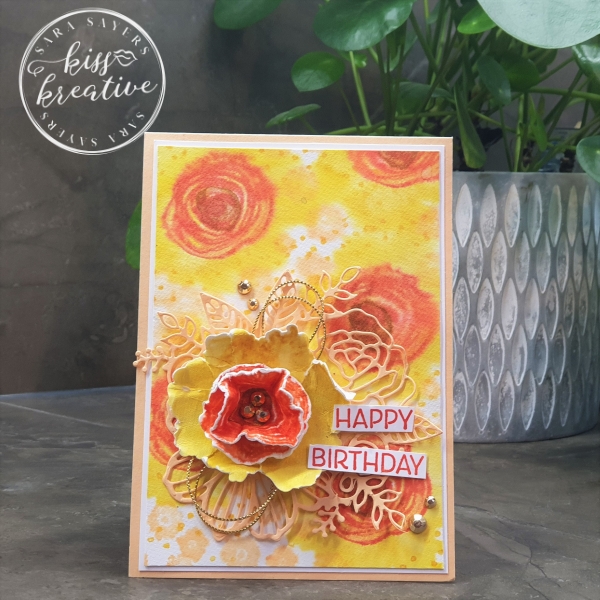
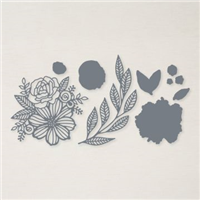
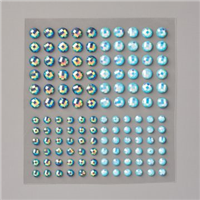
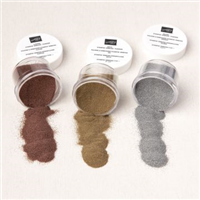
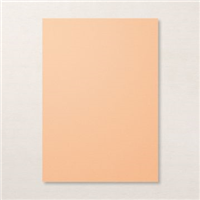
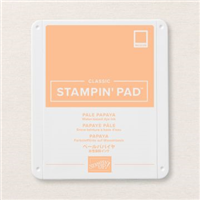
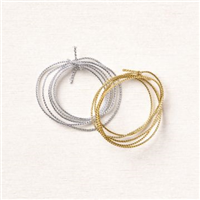
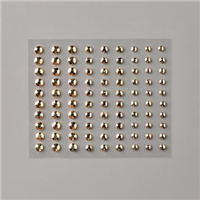
The Pretty Pale Papaya die cut is from the companion Artistic Dies. The flower was made by stamping each element onto watercolour paper. Once dry, die cut, distress the edges and scrunch to create lots of shape and texture. Some Gold twine and Gilded gems really add some shine to this beautiful sunny card.
Voila!
I so enjoyed making these cards and I would love to know what you think? Please do leave me a comment.
If you would like to know more about any of my projects please do get in contact and I would be happy to help you
So now it’s time to hop around the rest of the wonderful demonstrators blogs to see some more inspiration for your crafting
See the rest of the International team below!
Stampin Dreams Blog Hop Team
Thanks for looking
Stamping Hugs
Sara
- Shop Stampin Up – Earn 10% rewards on all qualifying purchases over £20
- Request a catalogue
- Buy a starter Kit
- Find out about joining our group of Hugs & Kisses Stampers

Very pretty cards x
Wow – awesome colour combinations, they really make the cards pop.