Welcome to another Crafty Collaborators blog hop. I am part of an amazing group of demonstrators from all around the world. Each month we will be showcasing some of the wonderful products which can found in our suite of catalogues. Today’s Monthly hop is called Share it Sunday, where we will be sharing a recent project. I have been away for the last few days so decided to share a pop up birthday card I made last year on our Summer Holiday one day retreat.

Rest & Relax pop up Birthday card
Given the weather has been so lovely recently I thought it would be fun to have a look back at this card
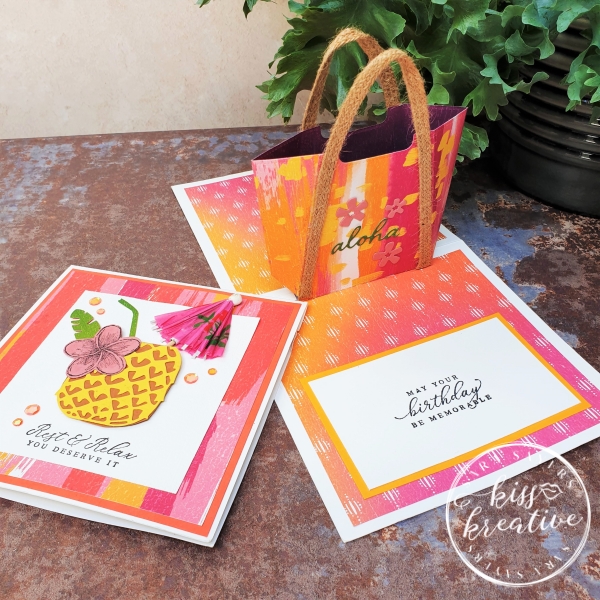
The front of the card I decorated to look like a pineapple cocktail, complete with a little paper umbrella that makes it look so tropical. Makes me think of drinking sundowner pina coladas on holiday.
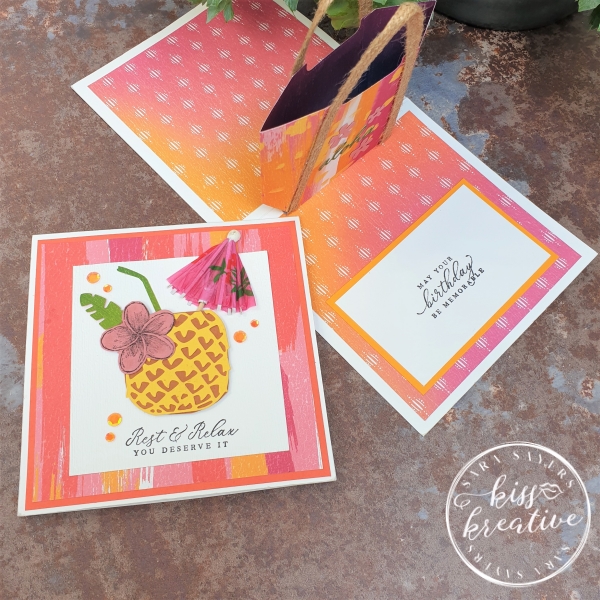
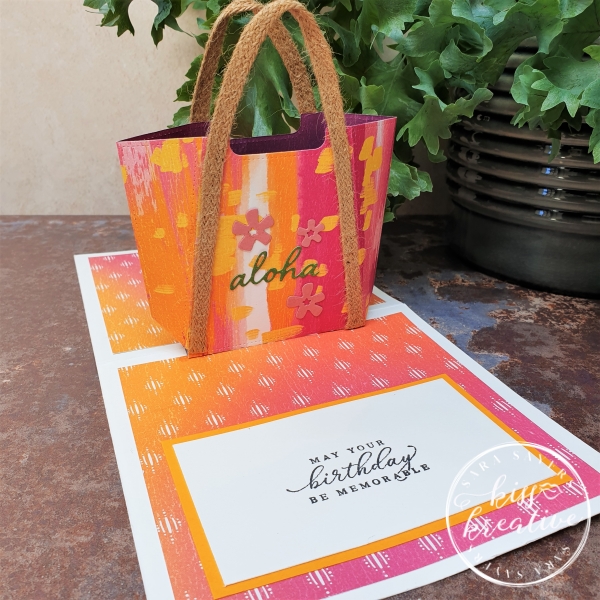
Rest & Relax pop up Birthday card – Inside
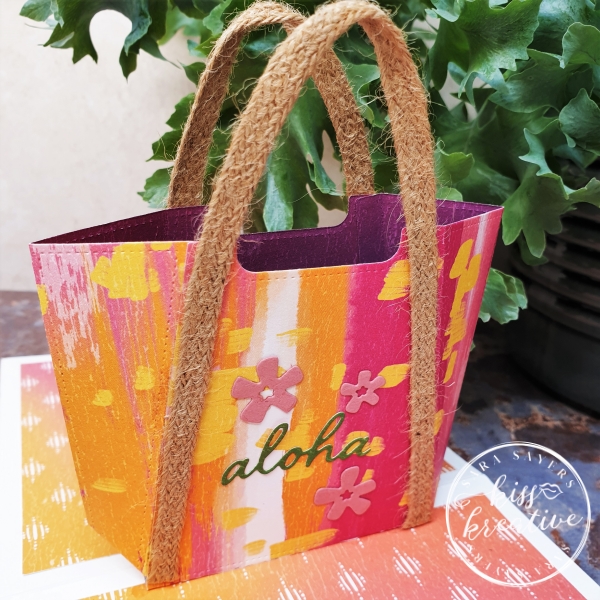
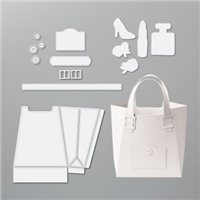
For the inside I used the all dressed up dies to create the pop up beach bag inside the card. It creates a lovely wow when you open up the card. Plus you could easily pop a gift card inside for an extra surprise|!
Measurements for the card
- Thick Basic White
- Card Base: 5 ¾” x 11 ½” – scored and folded at 5 ¾”
- Inside Sentiment: 4 ¼” x 2 ½”
- Mango Melody or Calypso Coral
- Front Layer 1: 5 ½” x 5 ½”
- Inside Sentiment – 4 ½” x 2 ¾”
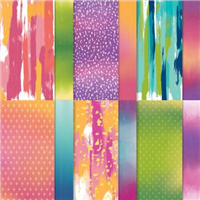
- DSP
- Front Layer 1: 5 ¼” x 5 ¼”
- Inside top – 5 ¼” x 5 ¼”
- Inside Bottom 5 ¼” x 5 ¼”
- Bag: 12” x 5”
- Various scraps (Daffodil Delight, Rococo Rose, Cinnamon Cider, Garden Green)
- Basic White
- Front Layer 4: 4” x 4”
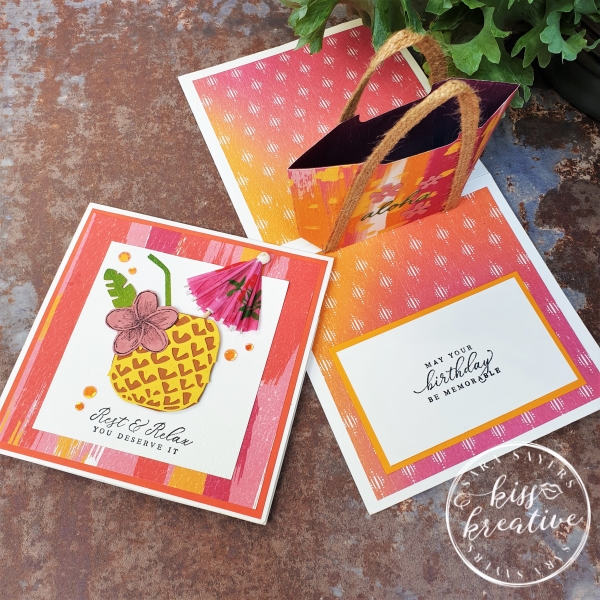
How to Make a Pop Up Birthday card
- Fold and burnish card and set to open from the bottom
- Front – Add layers 1 & 2 using Multi purpose Glue
- Stamp sentiment on layer 3, then Emboss using the Subtle 3D E, glue to card
- Stamp flower in Black onto Rococo Rose Card and Die cut
- Die Cut Pineapple (Daffodil delight), Leaf (Scrap DSP)
- Hand cut Pineapple backing (Cinnamon Cider), Straw (scrap DSP)
- Assemble and glue to base using Dimensionals and Glue.
- Add some Wink of Stella to the flower, umbrella and sequins.
- Inside – Add DSP layers to top and bottom
- Stamp sentiment on Whisper White piece, Layer onto Calypso Coral and adhere to card using Glue.
- Die cut two pieces of the Best Dressed and cut off the small tab and half of the longer Tab at the bottom of the bag.
- Carefully burnish bag so it folds flat
- Decorate the bag and add rope handles
- Glue each tab to one side of the centre fold and close the card and press firmly
- Open and check the mechanism is working!
Voila!
I had great fun making these cards and I would love to know what you think? Please do leave me a comment.
If you would like to know more about any of my projects, then please do get in contact and I would be happy to help you
So please hop around the rest of the wonderful demonstrators blogs to see some more inspiration for using these wonderful patterned papers
See the rest of the International team below!
Share it Sunday Blog Hop Team
Thanks for looking
Stamping Hugs
Sara
- Shop Stampin Up – Earn 10% rewards on all qualifying purchases over £20
- Request a catalogue
- Buy a starter Kit
- Find out about joining our group of Hugs & Kisses Stampers
Great card ❤️
What a great project! Wow!
These aee amazing x
Wow! Such a cool project!
What can I say but WOW! Great idea, beautifully executed.
Love, love these projects Sara x