Welcome to our monthly Casually Crafting Blog Hop! I am so excited that this month we are welcoming some amazing demonstrators from around the world in our newly formatted Casually Crafting Blog Hop. To start off gently the Theme is anything goes so I thought it would fun to create a Scrappy Strip Slimline Card
Casually Crafting Design Team Blog Hop
Who are we? The Casually Crafting design team are a group of Stampin’ Up demonstrators, that just love to stamp when ever we can.
It’s no secret, that we particularly love the type of projects that are simple and easy to make with just a few products, so they are ideally suited to a beginner or casual crafter. Sometimes, we will add a wow project that is a little more stepped up.
We will be sharing our ideas on the 3rd Saturday of each month and you can hop around the group and gather loads of inspiration. So grab yourself a cup of your favourite beverage, sit back & enjoy the hop!
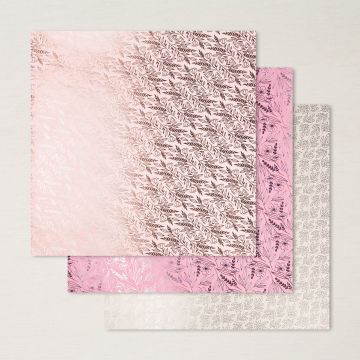
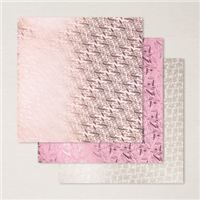
Love you Always Speciality Designer Series Paper
You can use any of our fabulous Designer series papers for this technique but for my card I chose the stunning Love You Always Speciality DSP. Three different foiled designs in Blushing Bride, Rococo Rose and Sahara Sand. I find it impossible to pick a favourite.
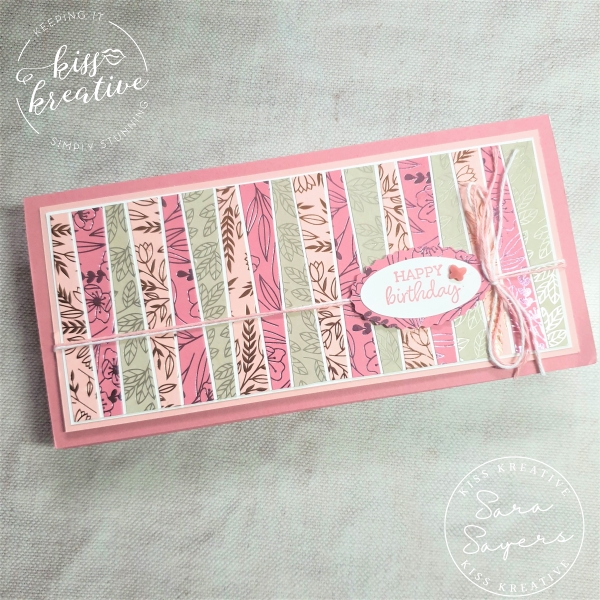
Scrappy Strip Slimline Card
These cards look so bright and vibrant, but you won’t believe how easy they are to make. This card was originally made for one of my wonderful Hugs and Kisses team members for a recent celebration. We love celebrating everything in our fun group with a hand made card.
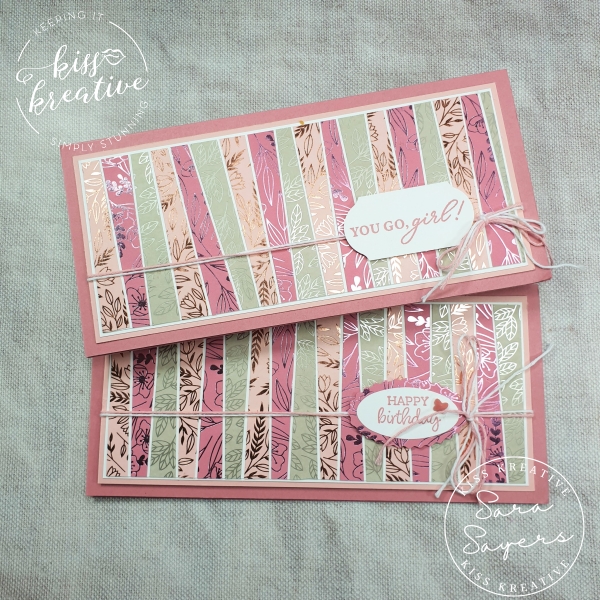
The style of this card was originally created by a fellow Stampin Up demonstrator, Bruno Bertucci, who was inspired by a piece of artwork hanging in his home. It has now been replicated all around the world, but I have not yet seen it attempted with these papers.
For this technique, take a piece of each of the foil designs and cut stripes at 1/2″ at one tapering to 1/4″ at the other end so each piece looks like a blunt wedge.
Repeat the same process for each colour until you have enough strips to cover the card
Next take the piece of Basic White (Layer 3) and glue each strip down leaving a couple of mm’s between each piece.
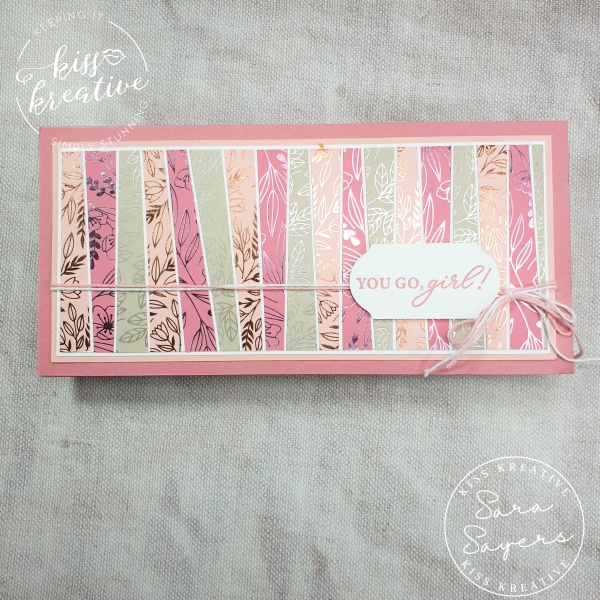
Once the card layer is covered then trim off any excess paper from the scrappy strips and glue to the Basic White (Layer 2) . This layer frames the stripes perfectly so it’s better to use the same colour card for Layers 2 & 3 when recreating the project.
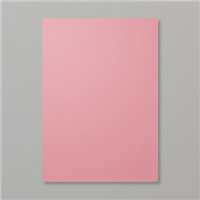
To assemble mount the frame onto a piece of Blushing Bride Cardstock (Layer 1)
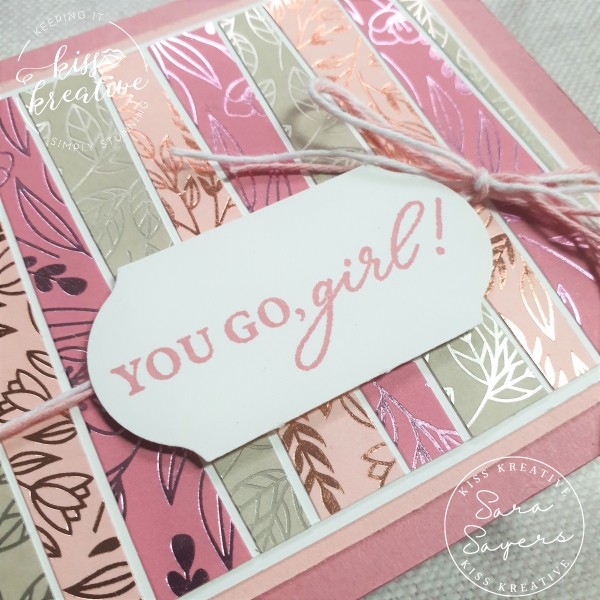
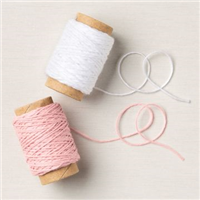
Wrap some of each of the twine from the Snail Mail Twine Combo Pack and tie in a bow.
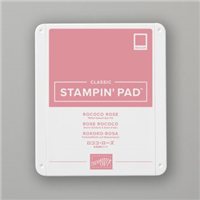
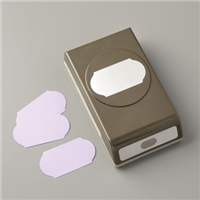
Finally stamp the sentiment onto a scrap of Basic White card in Rococo Rose Ink and then punch out the sentiment using the Timeless Label Punch and attach to the card using Dimensionals near to the twine bow.
Simple, but stunning.
Measurements
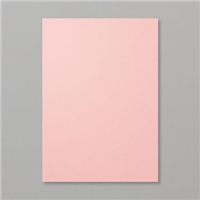
- Base: Rococo Rose – 21.0 cm by 20.0 cm scored at 10.0 cm
- First Layer: Blushing Bride – 20.0 cm x 9.0 cm
- Second Layer: Basic White – 19.3 cm by 8.3 cm
- Third Layer: Basic White – 19.0 cm by 8.0 cm
- Fourth Layer: Basic White scrap – 6.5 cm by 3.5 cm
Scrappy Strip Slimline Card – Alternate Slightly Stepped Up Card
Just like colouring, I find the process of sticking down the strips very mindful so I made a whole batch of strips and then assembled them in front of the TV one evening. Easy peasy!
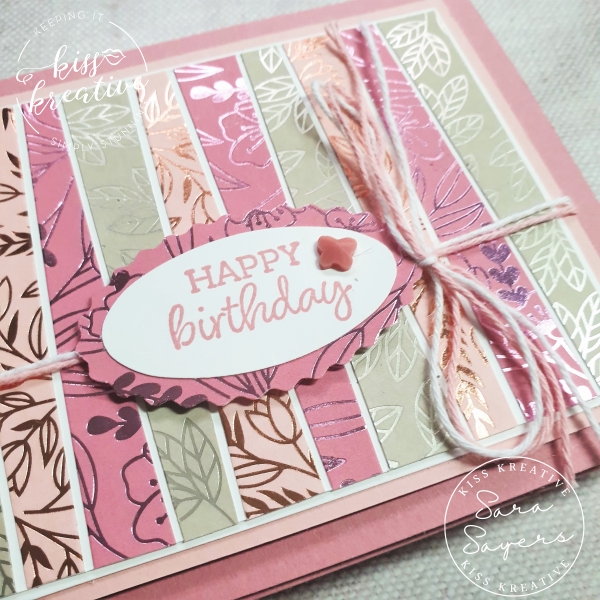
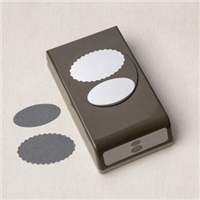
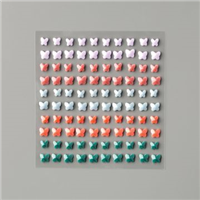
This time I used the double oval punch to add an additional layer of the foils to the sentiment and finished off with a Butterfly Gem. Pretty!
I used three full sheets of the foil and made 20 cards from all the pre-cut the strips!! Woo Hoo I thought, that’s my birthday card box filled again, but oh no hubby swooped in and took 6 and then the rest of the family all wanted cards and then there was just one….. So just proves this card is a crowd pleaser!
Oh well I guess that means I have to go back in the craft room again to replenish my box!
I had great fun making these cards. So, please do leave me a comment, because I would love to know which one is your favourite.
If you would like to know more about any of my projects please do get in contact and I would be happy to help you
So now it’s time to hop around the rest of the wonderful demonstrators blogs to see some more inspiration
Casually Crafting Design Team
Stamping Hugs
Sara
- Shop Stampin Up – Earn 10% rewards on all qualifying purchases over £20
- Request a catalogue
- Buy a starter Kit
- Find out about joining our group of Hugs & Kisses Stampers


amazing
I love what you have made, I am now itching to start making these cards again.
Love your card!
Love the scrappy strip look in this DSP Sara! I’ve put off buying it but I may have to give in, after seeing your card!! 🙂
Always love a Scrappy Strip card, but the addition of the foil paper gives it a real wow.
Beautiful card! I love the paper you used for the strips.
Love the scrappy strip technique and I love how you used the DSP. Thank you for sharing this!
Great Card Sara. I forget about this technique for the casual stampers
What a pretty card! I need to try this technique!
So so pretty Sara!! Love it with these foiled papers 🙂
Gorgeous card, such pretty colours. I’ve seen this technique a few times but I think your card is my favourite example.
Both of these cards are beautiful! I love the foil with this technique!
Lovely Card…always like a strippy card
I just love how those colors look together! Beautiful cards, Sara!
Beautiful Card Sara
Love the card and the very useful instructions
Can’t find a link to Sunday 2pm
Hi Sara, I love the foil on your card! It takes the Scrappy Stripe technique to a whole new level.
GORGEOUS!! I have yet to make a Strappy Strip Technique card, but now you’ve inspired me! Love it with this DSP.