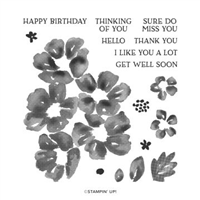
Welcome to our monthly Casually Crafting Blog Hop! This month’s theme is Hello and I chose to use some more of those wonderful blended backgrounds using the Wild Roses Background Stamp. So let me show you how to make pretty blended Wild Roses cards.
Casually Crafting Design Team Blog Hop
Who are we? The Casually Crafting design team are a group of Stampin’ Up demonstrators, that just love to stamp when ever we can.
It’s no secret, that we particularly love the type of cars that are simple and easy to make with just a few products, so they are ideally suited to a beginner or casual crafter. Sometimes, we will add a wow project that is a little more stepped up.
We will be sharing our ideas on the 3rd Friday of each month and you can hop around the group and gather loads of inspiration. So grab yourself a cup of your favourite beverage, sit back & enjoy the hop!
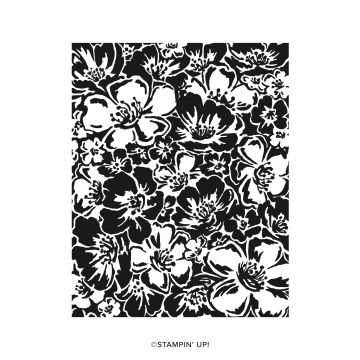
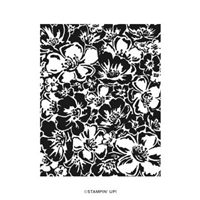
Wild Roses Background Stamp
I just adore this stamp set. I haven’t been able to put it down since I received it! In fact I used it earlier this week on my Facebook live.
How To Make Pretty Blended Wild Roses Cards
These cards look so bright and vibrant, but you won’t believe how easy they are to make.
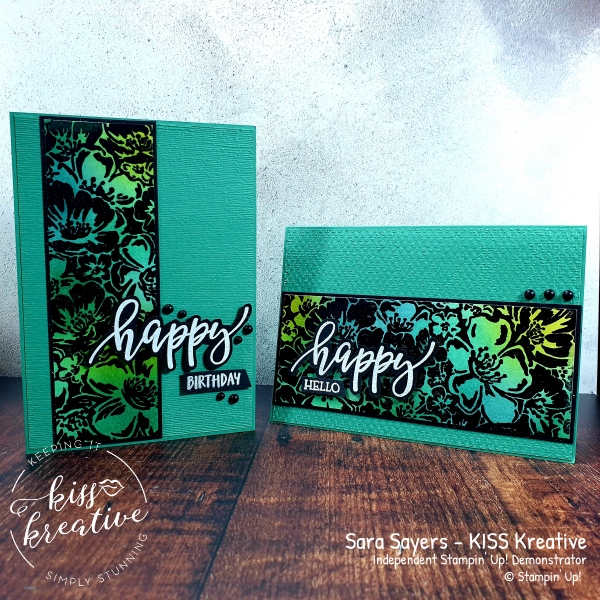
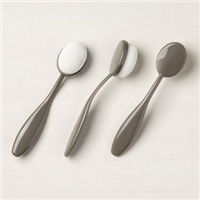
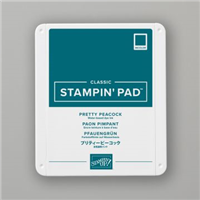
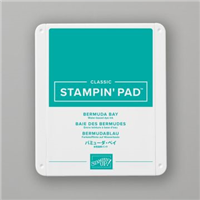
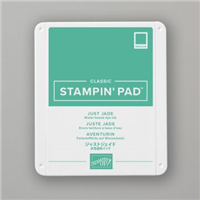
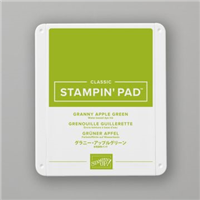
For this technique, take a piece of Shimmery White card and using add spots of Granny Apple Green, Mint Macaron, Just Jade, Bermuda Bay & Pretty Peacock inks using the NEW Blending Brushes .
Its so easy to blend the colours together with the wonderful Blending Brushes. Now I have tried many of these brushes, but the Stampin Up ones are simply the best ones on the market & such great value.
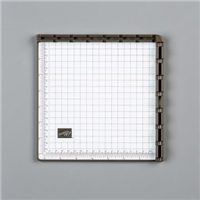
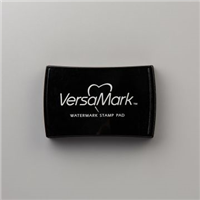
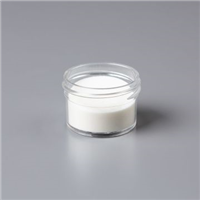
Next stamp the image using in Black Stazon. It’s so easy if you use the Stamparatus. Repeat stamp until you have a good solid black image. Clean the stamp using a shammy and then stamp again in Versamark and heat emboss using Clear Stampin’ Emboss Powder. That’s it!
To make the cards above cut the embossed image into two pieces 14.3 cm by 6.0 cm and 14.3 cm by 4.5 cm and layer onto Basic Black.
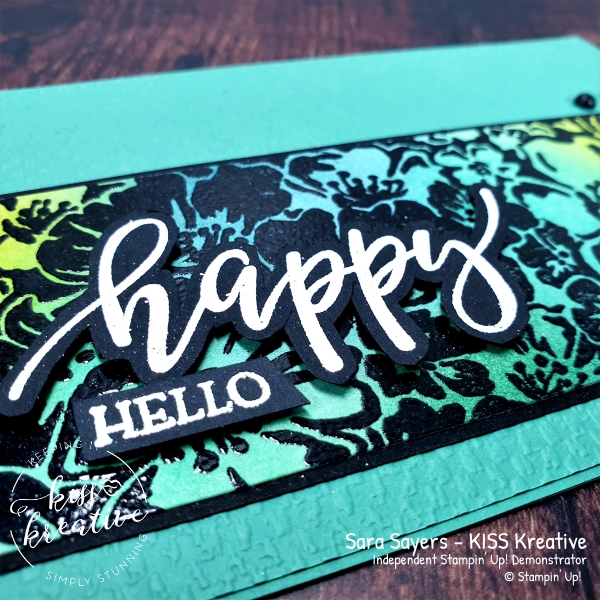
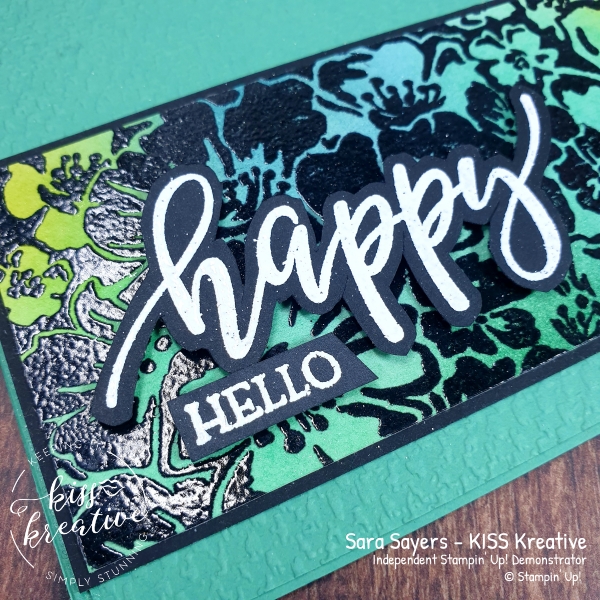
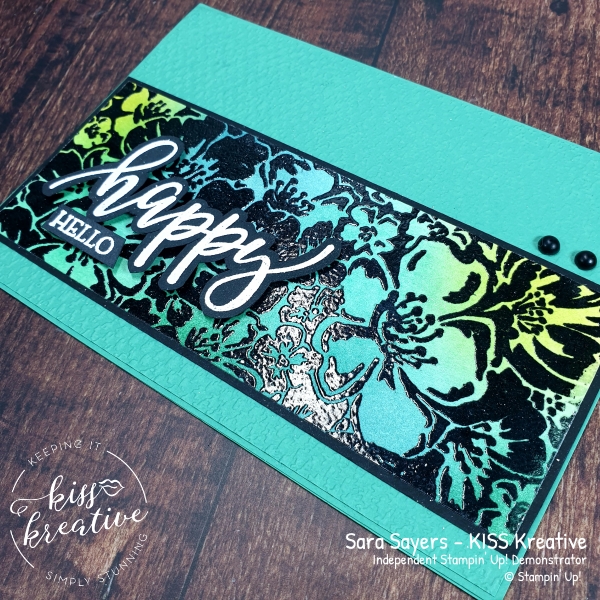
How To Make Pretty Blended Wild Roses Cards – Happy Hello
It’s been a tough year with may of us not being able to meet in person, but as more people receive the vaccine there is a chink of light that we might soon be able to meet up again in person. In the meantime I have been sending lots of hello and thinking of you cards to friends/ family and customers. There is no nicer way to start the day than receiving some happy mail in the post and this card will fit the bill perfectly
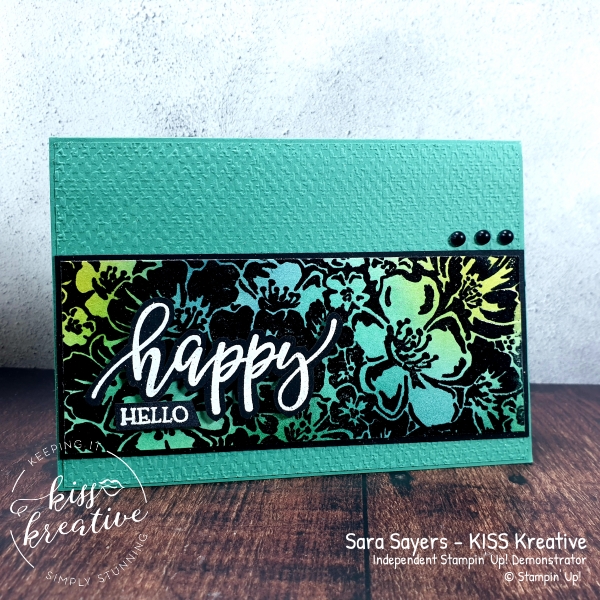
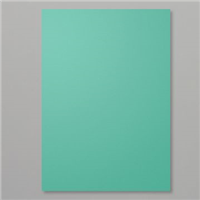
The fabulous Just Jade paired with Basic black cardstock really showcases that lovely embossed image.
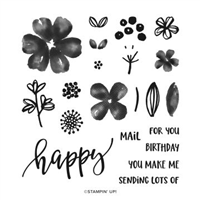
I stamped the Happy from the Pretty Perennials Stamp set and the Hello from the Blossoms in Bloom Stamp Set in Versamark and heat embossed them in White Stampin’ Emboss Powder.
Once fussy cut add them to the card using Dimensionals.
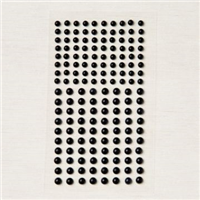
To finish add three Matte dots.
Measurements
- Base: Just Jade – 29.7 cm by 10.5 cm scored at 14.9 cm
- First Layer: Just jade – 14.5 cm x 10.2 cm – Emboss using the Tasteful Textiles Embossing Folder.
- Second Layer: Basic Black – 14.5 by 6.3 cm
- Third Layer: Basix Black – 9.8 cm by 4.8 cm
- Fourth Layer: Heat embossed image or DSP – 14.3 cm by 6.0 cm
- Sentiments – Scrap of Basic Black
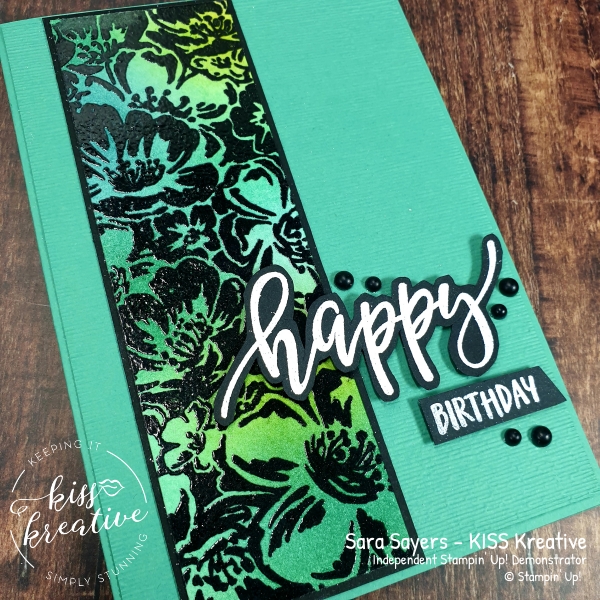
How To Make Pretty Blended Wild Roses Cards – Happy Birthday
Alternatively you could change the layout and make a birthday card.
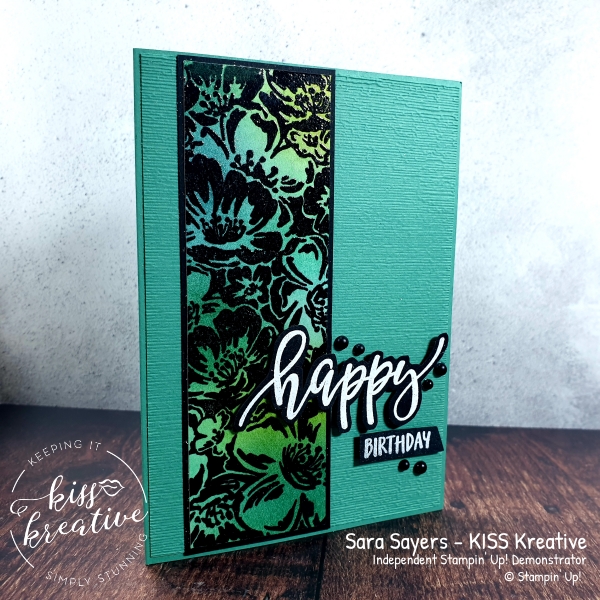
This time I made an upright card and changed the sentiment to birthday. Add a few extra Matte dots and you have a wonderful card to send.
Voila!
I had great fun making these cards. So, please do leave me a comment, because I would love to know which one is your favourite.
If you would like to know more about any of my projects please do get in contact and I would be happy to help you
So now it’s time to hop around the rest of the wonderful demonstrators blogs to see some more inspiration
From next month we will be saying hello to a whole new group of intentional demonstrators so do check back.
Casually Crafting Design Team
Stamping Hugs
Sara
- Shop Stampin Up – Earn 10% rewards on all qualifying purchases over £20
- Request a catalogue
- Buy a starter Kit
- Find out about joining our group of Hugs & Kisses Stampers


Beautiful card Sara, love this set.
Simply beautiful card! Love it 🥰
Brilliant card, thanks for sharing 🙂
Really pretty cards… Love them
Wow, these colours really do pop Sara, and that embossing over the black is so cool. Brilliant cards, thank you for sharing.