Hello and welcome to this blog post featuring the really Easy Dandy Laser Thank you Cards that I made on my Facebook Live today.

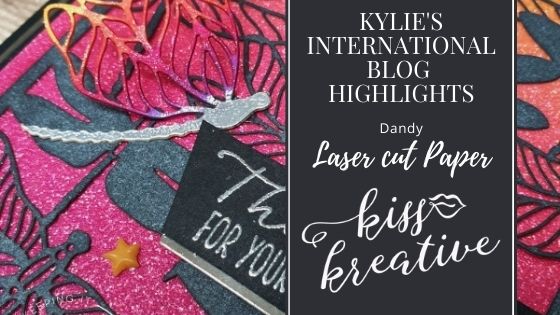
This month, I have decided to participate in Kylie Bertucci’s International Blog Highlights Event and you are able to VOTE for my card!! The top ten winners will have the opportunity to be part of an international blog hop so I would really appreciate you taking the time to vote for little ol’ me!! Scroll down below, there is a button where you can click on and see all the participants and you get to vote for 5 projects!! So 4 plus mine!! You will vote by clicking on the heart. Hint, hint……. Thank you, I really do appreciate it! I will put the vote button right below my picture.
As usual the theme is Thanks and what better way to say thanks is by sending or giving a card.
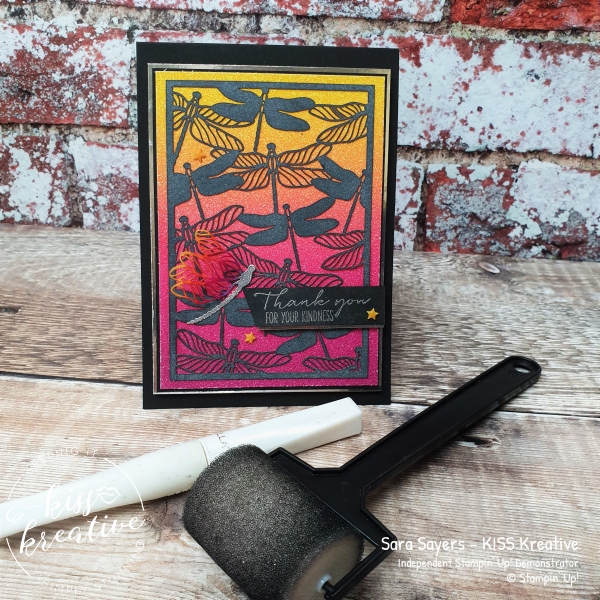
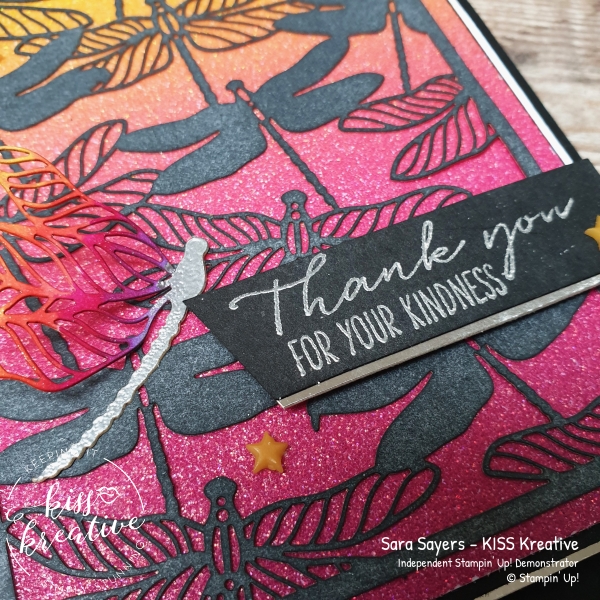
Here is the card that I chose to use for the highlights, but don’t worry I will show you all of the cards that I made today. Plus scroll to the bottom to find the supply list of all the current products that I used.
Measurements
- Base: Basic Black – 29.7cm by 10.5cm scored at 14.9cm
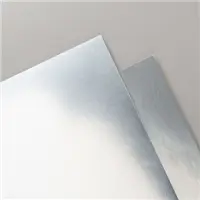
- First Layer: Silver Foil – 13.3cm by 9.8cm
- Second Layer : Basic Black – 13.0cm by 9.5cm
- Third Layer; Rainbow Glimmer Card – 12.7cm by 9.2cm
- Fourth Layer: Dandy Laser Cut paper
- Sentiment: Basic Black & Silver Foil scrap
Dandy Laser Cut Paper Thank you cards
Today I wanted to share with you a sneak peak of the soon to be released Dandy laser cut papers from the upcoming Jan to Jun mini Catalogue.
These laser cut papers have a lovely variety of imagery and useful backgrounds. I wanted to show how versatile and easy the stunning background elements were and how you could make quick and simple cards without the need to use a die cutting machine!
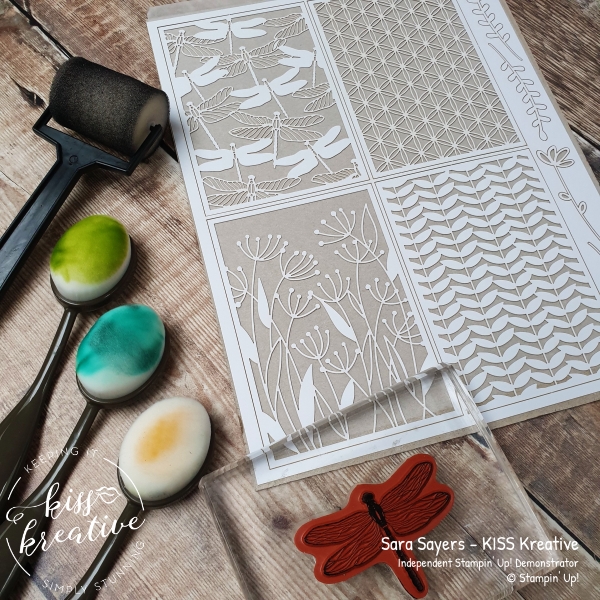
For each card I stepped up the basic card to showcase the papers with products I already had in my stash. With these papers you really can make a card in just a few minutes.
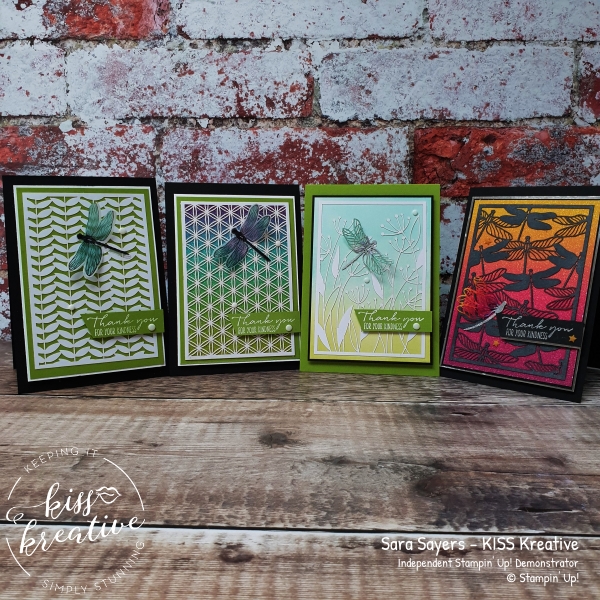
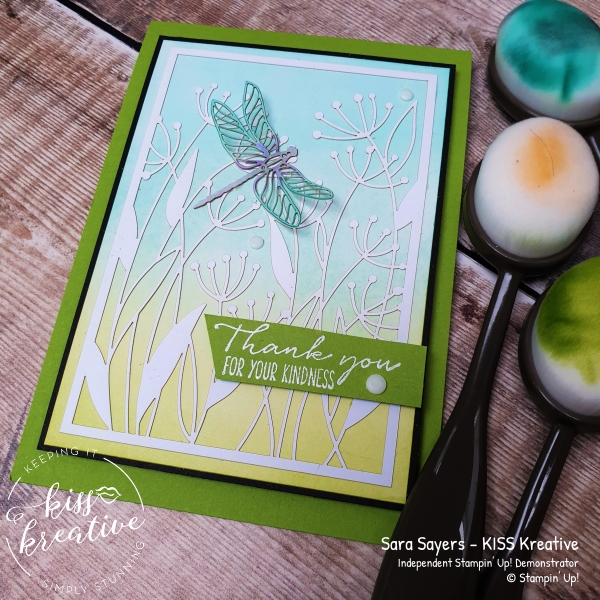
Simple Dandy Thank You Card
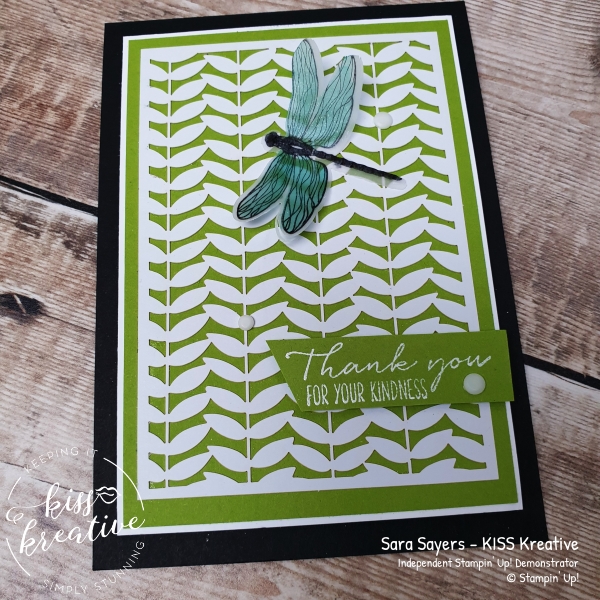
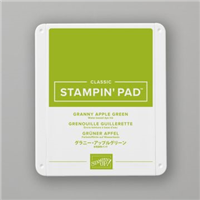
For my first card I just used a piece of Granny Apple Green cardstock to make those elegant leaf shapes really pop.
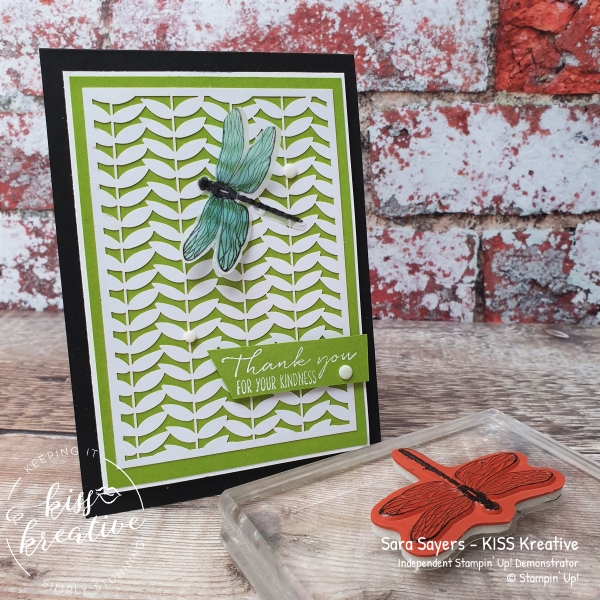
The pretty little dragonfly and sentiment are from another new Stamp set from the same Dandy Garden Suite.
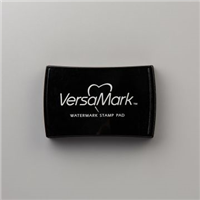
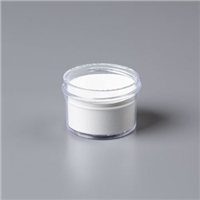
The sentiment is stamped in Versamark Ink onto a scrap of Granny Apple Green card stock and then heat embossed using White Stampin’ Emboss powder.
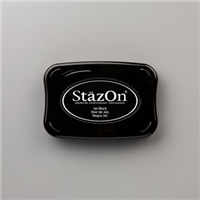
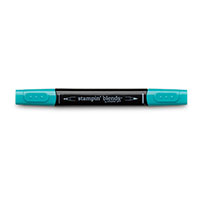
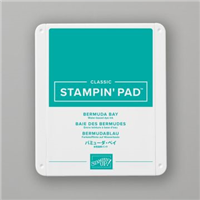
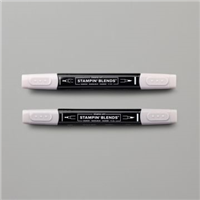
The Dragonfly has been stamped on Vellum in Black Stazon and then yes you’ve guessed it! I punched it out using the NEW Dragonflies Punch. Woo Hoo! I do love a coordinating punch. So quick and easy to use. I used a Bermuda Bay Blend to colour the back of the image before adding it to the card with glue.
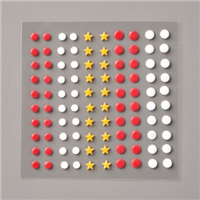
To finish I added some white elements from the All the Trimming Embellishments.
Measurements
- Base: Basic Black – 29.7cm by 10.5cm scored at 14.9cm
- First Layer: Whisper White – 13.0cm by 9.5cm
- Second Layer : Granny Apple Green Card – 12.7cm by 9.2cm
- Third Layer: Dandy Laser Cut paper
- Sentiment: Granny Apple Green
Stepped up Dandy Thank You Card
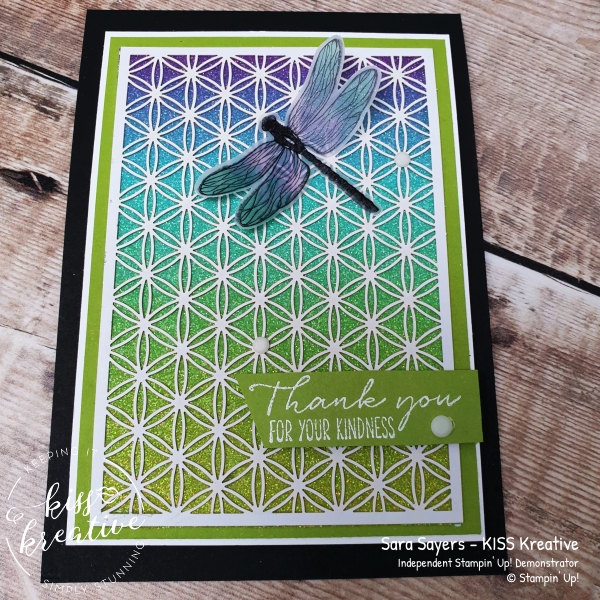
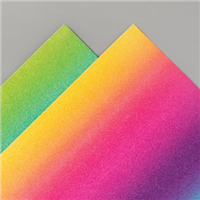
For my next card I used exactly the same layout as the simple card, but this time I slipped a piece of Rainbow Glimmer paper behind the laser cut paper to really make it sparkle.
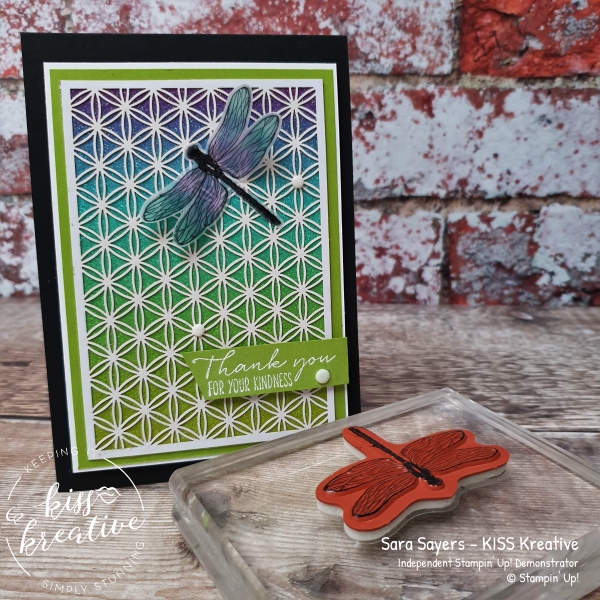
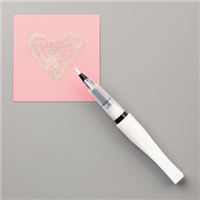
The other change I made was to add some Highland Heater blend to the back of the dragonfly image and of course some Wink of Stella to the front to really make it sparkle!
Measurements
- Base: Basic Black – 29.7cm by 10.5cm scored at 14.9cm
- First Layer: Whisper White – 13.0cm by 9.5cm
- Second Layer : Granny Apple Green Card – 12.7cm by 9.2cm
- Third Layer: Rainbow Glimmer paper – 12.0cm by 8.3cm
- Fourth Layer: Dandy Laser Cut paper
- Sentiment: Granny Apple Green
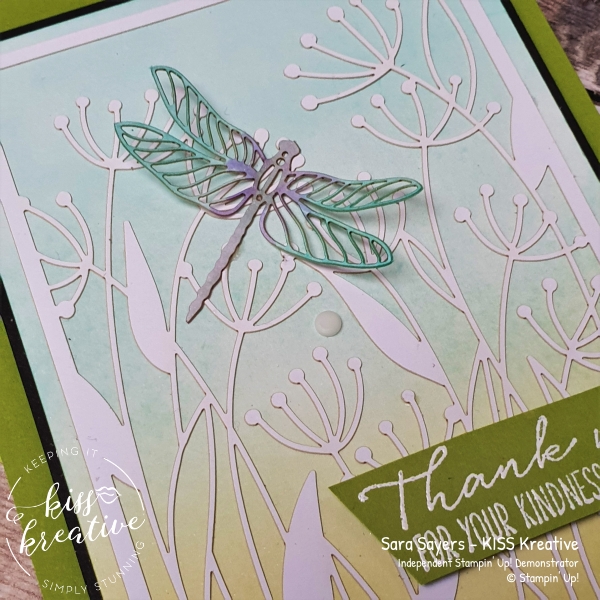
Blending Brush Dandy Thank You Card
For the adorable flower head design in the laser cut papers I just had to grab my brand NEW Blending Brushes and made a subtle scenery background. How cute does this look?
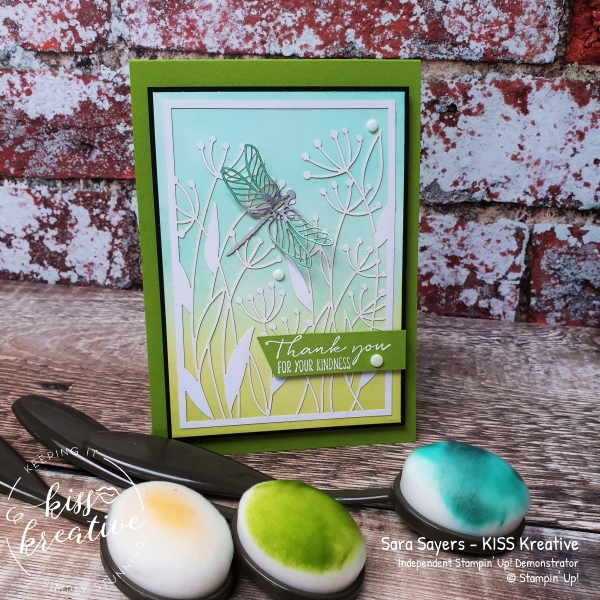
Keeping the same layout, this time I switched the cardstock colours around to let the Shimmery white cardstock take centre stage along with the laser cut papers.
I also switched out the stamped and punched dragon flies for a laser cut Dragonfly which I coloured with Blends and added some sparkle with my go to Wink of Stella pen. Pretty with that subtle colouring eh?
Measurements
- Base: Granny Apple Green – 29.7cm by 10.5cm scored at 14.9cm
- First Layer: Basic Black – 13.0cm by 9.5cm
- Second Layer : Shimmery White – 12.7cm by 9.2cm
- Third Layer: Dandy Laser Cut paper
- Sentiment: Granny Apple Green
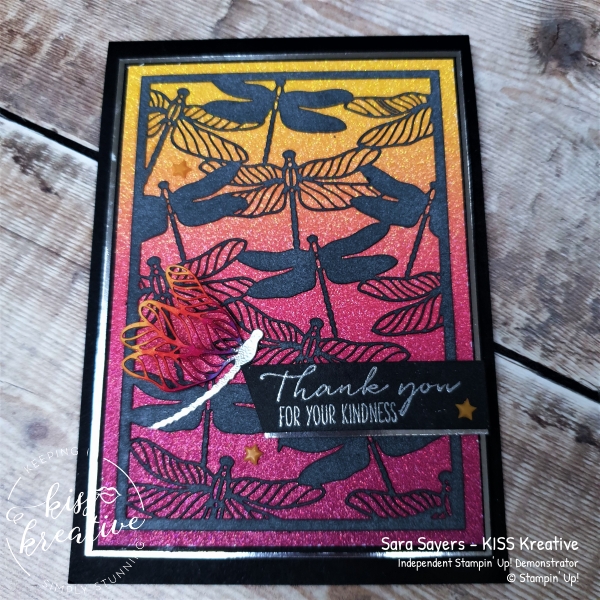
Silhouette Dandy Thank You Card
For my last card and the one I showed you at the top of this blog I wanted to show how easy it was to add colour to these laser cut papers.

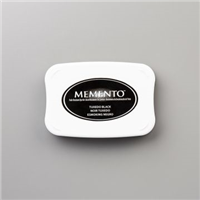
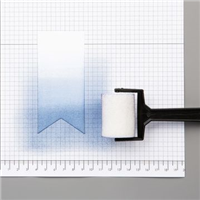
This time I used one of our sponge brayers to add some Tuxedo Black Memento Ink over the dragonflies. TIP: build the colour up slowly to avoid and streaks, but its really easy!
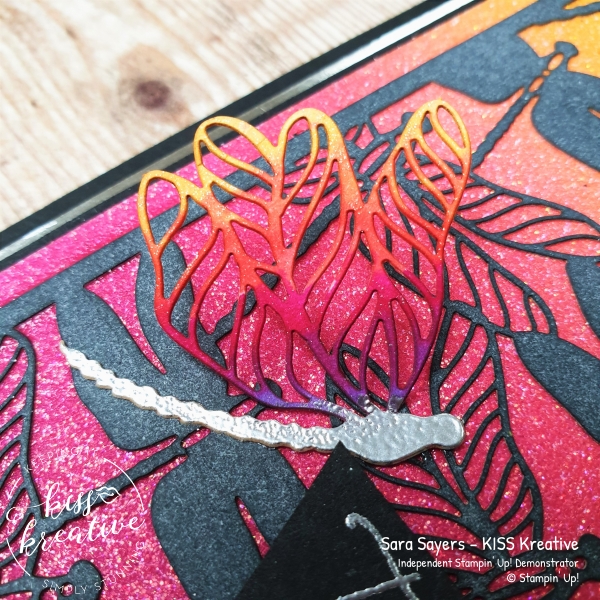
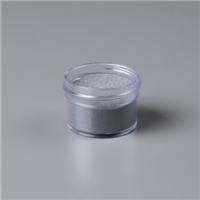
Once again same layout switched up to let the Rainbow glimmer paper make the statement behind the blackened Laser cut papers. To finish I added another laser cut dragonfly coloured with Blends and Silver embossing powder.
All the measurements can be found at the top of the post.
Measurements
- Base: Basic Black – 29.7cm by 10.5cm scored at 14.9cm
- First Layer: Silver Foil – 13.3cm by 9.8cm
- Second Layer : Basic Black – 13.0cm by 9.5cm
- Third Layer; Rainbow Glimmer Card – 12.7cm by 9.2cm
- Fourth Layer: Dandy Laser Cut paper
- Sentiment: Basic Black & Silver Foil scrap
Voila!
I had great fun making these cards for my customers this month and I would love to know what you think? Please do leave me a comment.
If you would like to know more about any of this project please do get in contact and I would be happy to help you
Thanks for looking
Stamping Hugs
Sara


Gorgeous card Sara! Thanks for being part of my International Blog Highlights this month and all the best with the voting!