Today I want to share with you one of the projects that I made on yesterdays Online card and a cuppa. If you missed it you can watch the event here.
I go live with two projects every Monday and Wednesday at 11.00 am BST here I would love you to join me so don’t forget to like my page and tune in next week. You can find me here
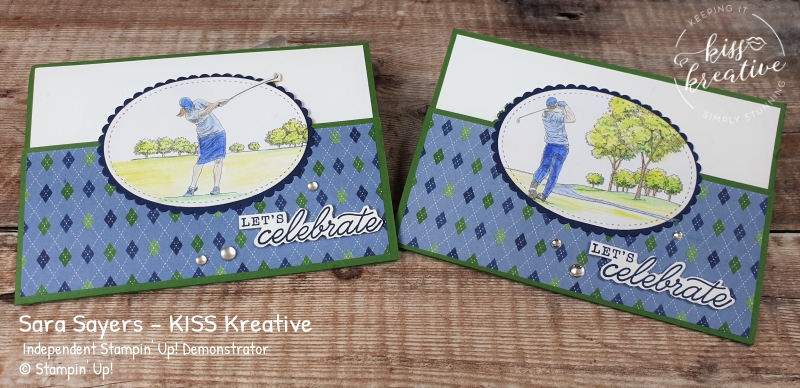
I Love making 14.5cm (6″) square cards, but it means I end up with lots of ‘Scraplings’ which measure about 29.7cm by 6.5 cm.
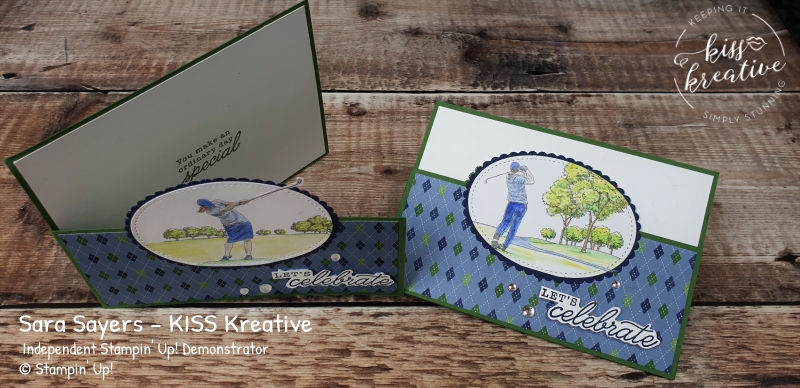
It seems such a waste to through them away so I wanted to show people how to use them up by making a stable door card. Well half one anyway!
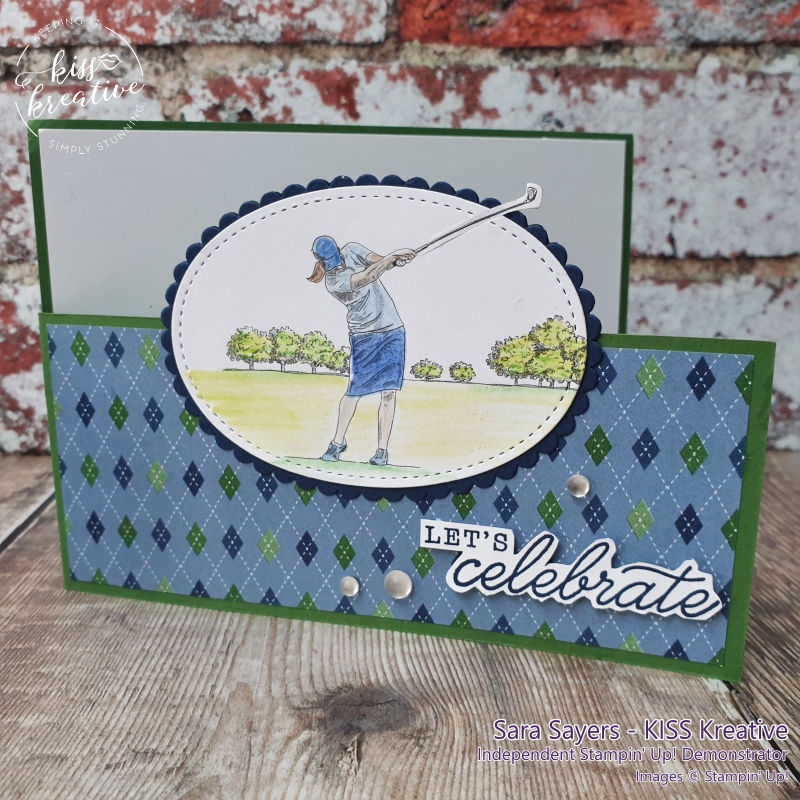
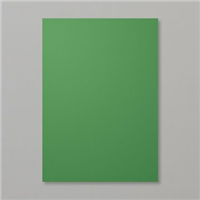
I took the spare piece of Garden Green that I used to make yesterday’s card and scored it at 14.8cm to create a very long thin card. I then attached another piece of the Garden Green cardstock measuring 14.8cm by 10.5 cm to form the card base.
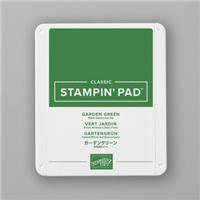
I then took a piece of whisper white card measuring 14.3cm by 10.0cm stamped a cute sentiment inside with Garden Green ink and adhered it to the inside of the card. For my card I used the sentiments from the amazing For the Love of Felt stamp set that partners with the beautiful For the Love of Felt project kit. Isn’t it cute?


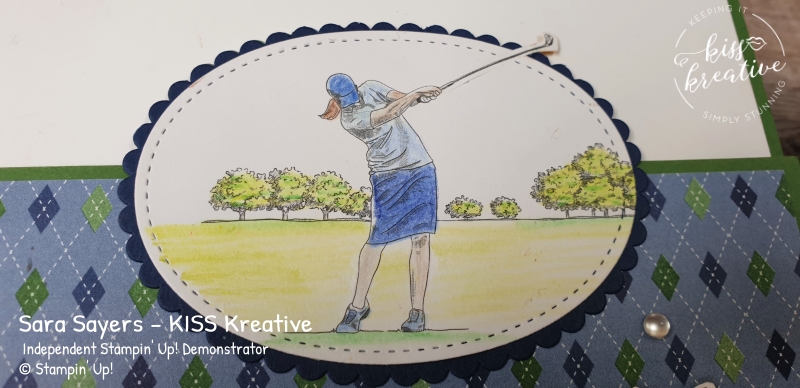
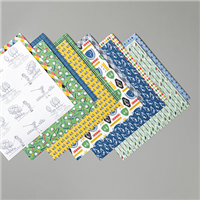
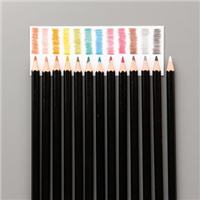
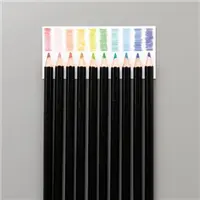
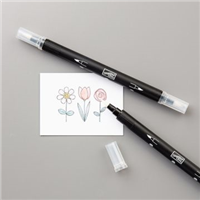
For the front of the card I added a piece of Country Club patterned paper measuring 6.0 cm by 14.3 cm. I then took one of the designs on the papers and coloured it in using our lovely watercolour pencils and a blender pen.
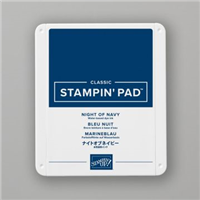
Once finished I die cut it out using the stitched ovals and mounted it onto another die cut scalloped oval on Night of navy card and mounted it onto the card.
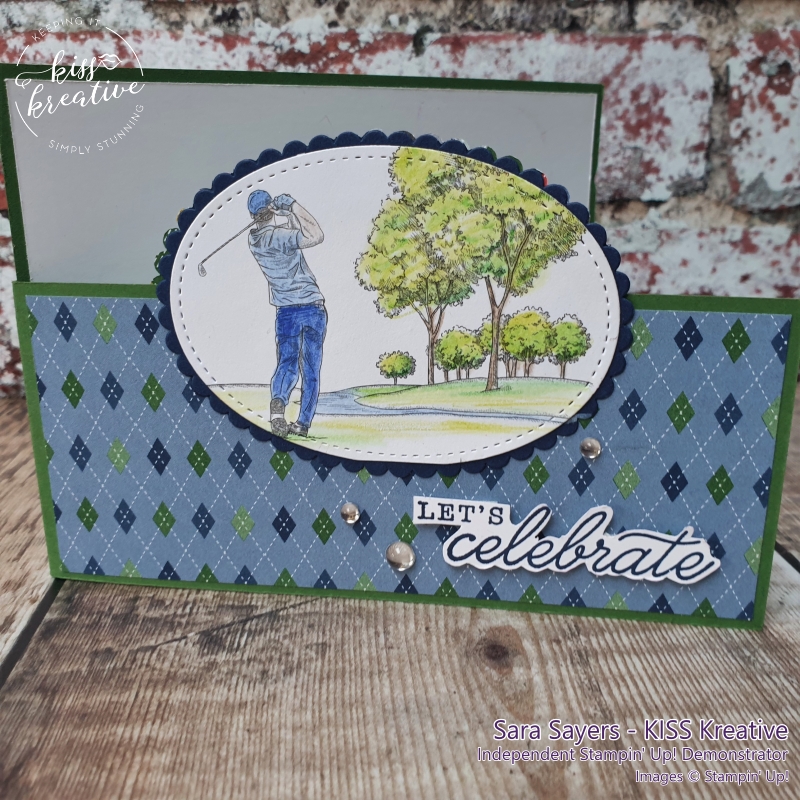
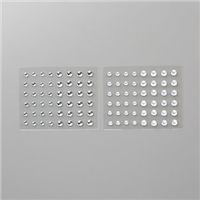
To finish I stamped another of the lovely sentiments from the For the love of felt in Night of Navy onto a scrap of whisper white card stock, fussy cut it out and mounted it to the card with mini dimensionals. To finish I added a few Epoxy Droplets
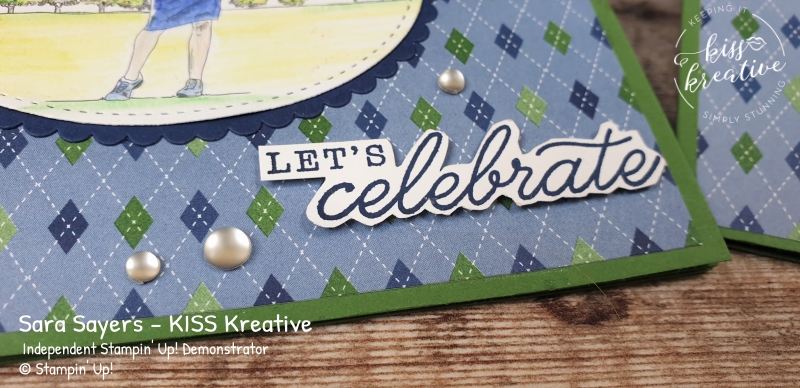
The plaid on the pattern really compliments all of the colours of the card.
On my Facebook live video I used another pre-printed image from the Country club Patterned papers. This time I selected one with a lady golfer. Because the golf club would have been cut off when I die cut it, I fussy cut around it first and placed it above the die before cutting. Neat trick eh?
As you can see this is a great card to use up scraps and are really quick to make.
Voila!
I had great fun making these projects and I would love to know which one is your favourite? So please do leave me a comment.
I will be back on Monday with two more card makes. If you would like to join me then I will be going live on my Face Book page KISS Kreative – Sara Sayers at 11.00am BST so see you there!!!
- If you would like to purchase any of the Stampin’ Up! items used for this project, click on the product photos below. You will be taken to my Online Shop where you can find more information and order craft products 24/7!
- Is your Stampin’ Up! order less than £150? If so, use the current Reward Code below and receive a free gift from me along with other perks!
- If your order is over £150 please do not use the code as you will be your own Hostess and get your own rewards to spend! That’s free stuff that you get to chose what ever you wish from the current catalogues and clearance rack
- or if your order is £99 and above consider joining my team and picking up a whole host of extras. Check it out here
- During Sale-A-Bration you can chose a FREE item with every £45 qualifying spend. So the more you order the more free items you could get! Contact me for more details

Thanks for looking
Stamping Hugs
Sara



0 Comments