")
Hello there Crafty friends. Welcome to this month’s Technique Squad Blog Hop. Where each month we share projects using a particular technique. This time we are creating using the Bargello Technique and & I am very excited to share my hello there latte love card.

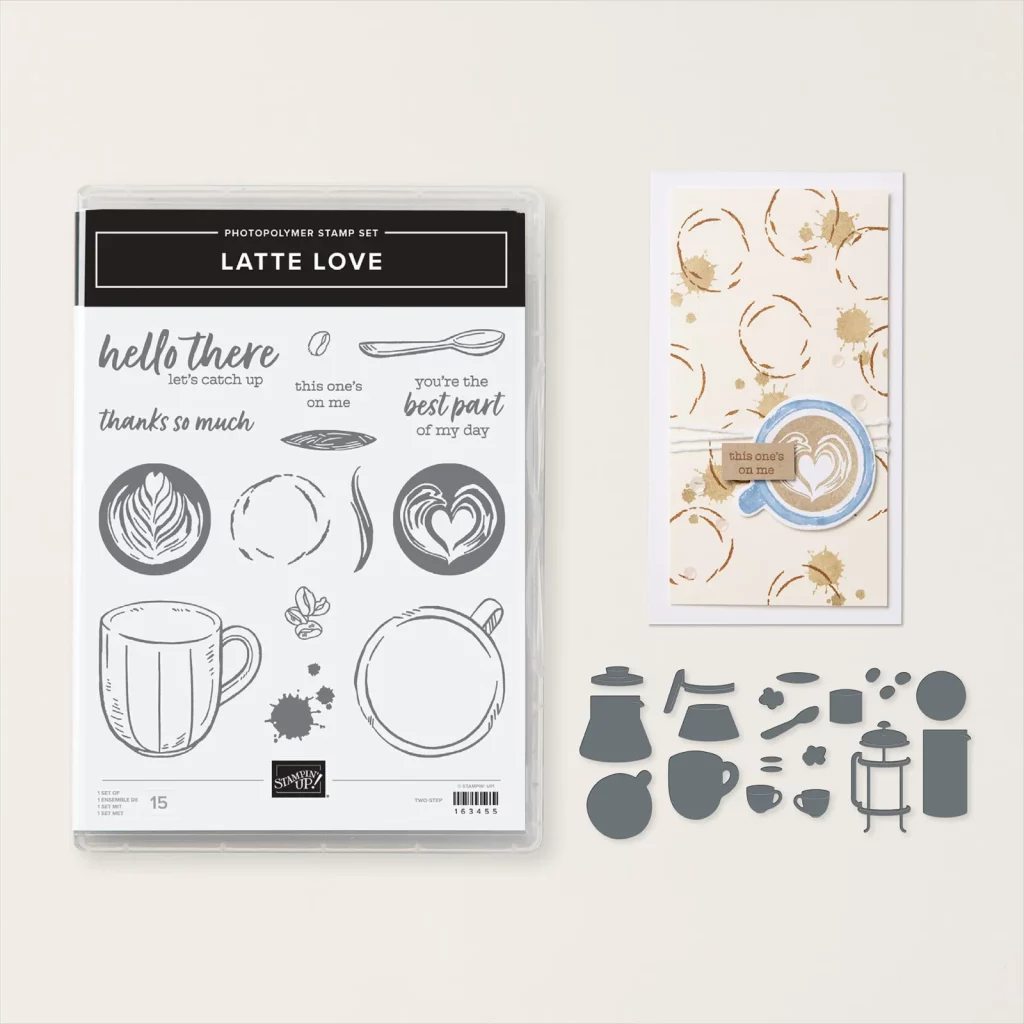
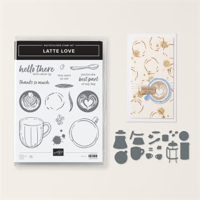
Latte Love
I adore this bundle! Not only does it have one of the prettiest images in the catalogue, & stunning coordinating dies, but it has a set of on trend layering masks for easy colouring!! It’s just amazing and must for all you floral lovers
With roses having one of the most diverse range of colours you really are spoilt for choice when it comes to selecting a colour combination as you can see below!
Even better is that during June you can save a further 10% off the bundle price! Woo-hoo!
What is Bargello?
Thought to originate in the Bargello Palace in Florence Italy. It is a type of tapestry associated with a pair of chairs. each chair was adorned with Layered straight stiches to create a geometric and colourful pattern. Its a really simple and easy craft to master. Once you know the basics, the principles of the technique are easy to translate into your paper crafting and you will be creating your own patterns and colour palettes in next to no time
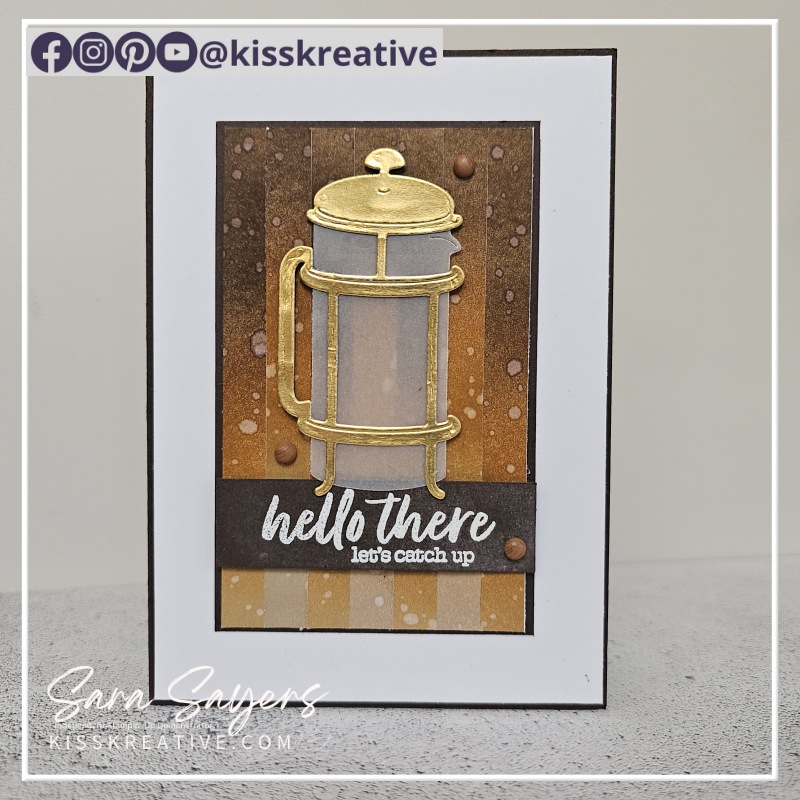
A Hello There Latte Love Card
When researching this technique it appears most people use strips of patterned paper laid down and then cut and staggered to form a different pattern. However without knowing it appears I have been playing with this technique using ink blending for a number of weeks!
So here is one of the cards I made. Its so much easier to make than you think!
You can see another idea here
How To Create A Hello There Latte Love Card Using the Bargello Technique
- Take your piece of Basic White Fourth Layer
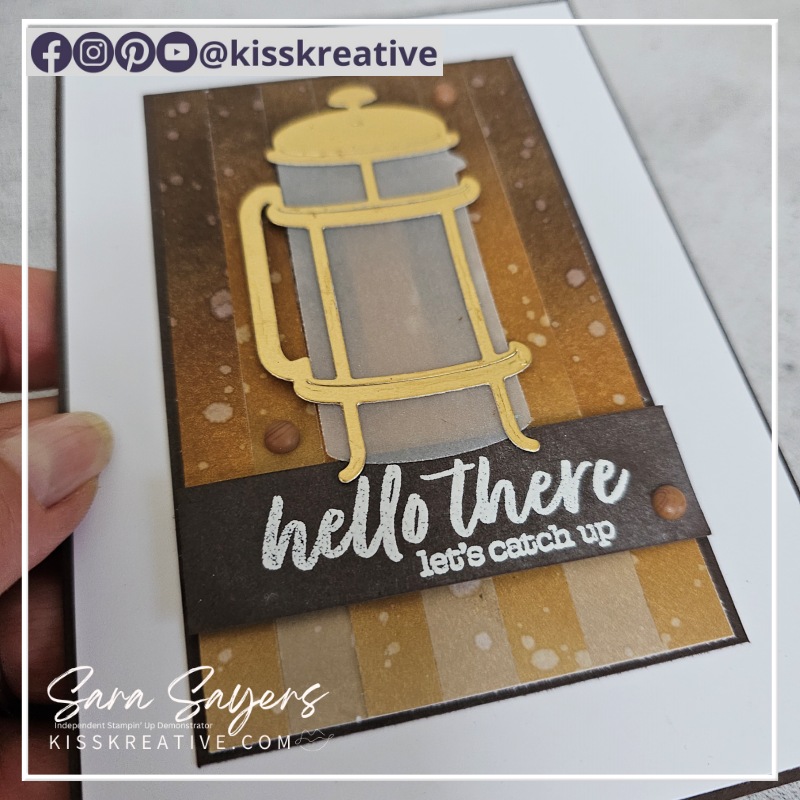
- and add Early Espresso, Pecan Pie & Basic Beige inks using a Blending Brush
- Splatter with Water and dry with a heat gun
- Cut into 1 cm wide strips
- Take the Third Layer piece of Basic White
- adhere one of the strips to the bottom of the card using multipurpose glue
- ensure the bottom of the strip lines up with the bottom of the card
- next add another strip but this time butt the top end of the strip to the top of the card
- repeat the steps above until the card is covered
- trim off the excess card
- Assemble the card layers using multipurpose glue
- Heat emboss the sentiment in white & add to the card with Dimensionals
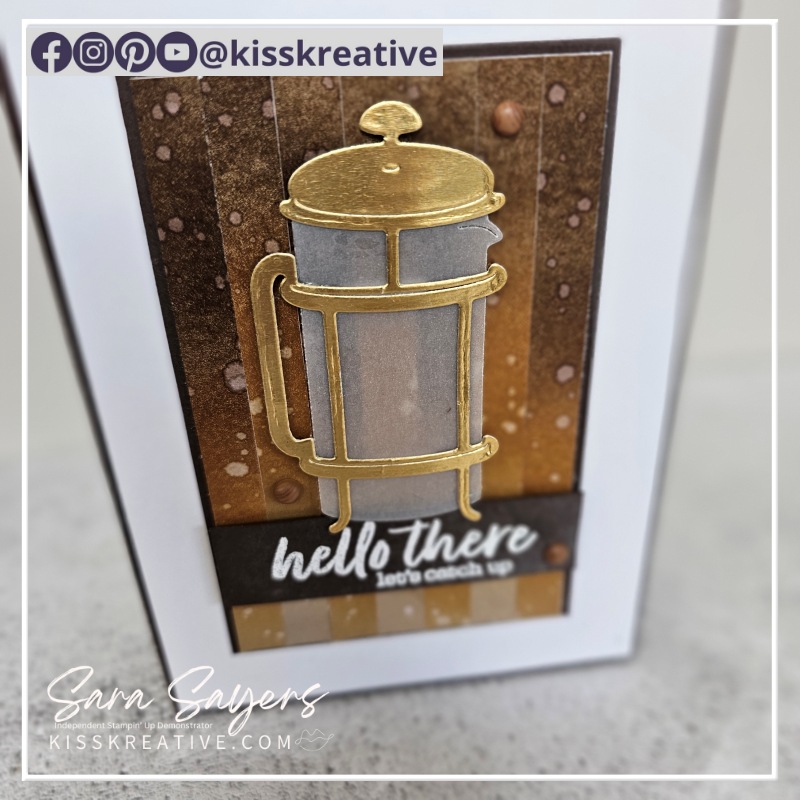
- Die cut the coffee pot in Basic Beige and Gold foil & add to the card with Dimensionals
- Finish with some embellishments

spotlight card with Layers of Beauty – Measurements
- Base – Early Espresso: 21.0 cm x 14.8 cm scored at 10.5 cm
- First Layer – Basic White: 10.2 cm x 14.5 cm
- Second Layer – Early Espresso: 7.3 cm x 11.6cm
- Third Layer – Basic White: 7.0 cm x 11.3 cm
- Fourth Layer – Basic White: 14.8 cm x 10 cm
- Sentiment – Early Espresso: 7.3 cm x 2.0 cm
I think you might agree, this card is simple yet stunning!
Voila!
I so enjoyed making this card and I would love to know what you think? Please do leave me a comment.
If you would like to know more about any of my projects please do get in contact and I would be happy to help you. I go live on Facebook every Monday and Wednesday at 11.00 am UTC +1 (BST) showing lots of cardmaking tips and tricks based around a particular Stamp Set or Bundle.
Stamp Impression Design Team Blog Hop
So now it’s time to hop around the rest of the wonderful demonstrators blogs to see some more special techniques
Stamping Hugs
Sara
- Shop Stampin Up – Earn 10% rewards on all qualifying purchases over £20
- Request a catalogue
- Buy a starter Kit
- Find out about joining our group of Hugs & Kisses Stampers


0 Comments