Hello there Crafty friends. Welcome to this month’s Stamp Impressions Europe Blog Hop. I am part of an amazing group of demonstrators from all around Europe and we will be sharing some wonderful ideas based around a monthly theme. This month we have a wonderful challenge to share projects using the NEW 2024-2026 In-Colors & I am very excited to share how to use all the New In-Colors in one card!!
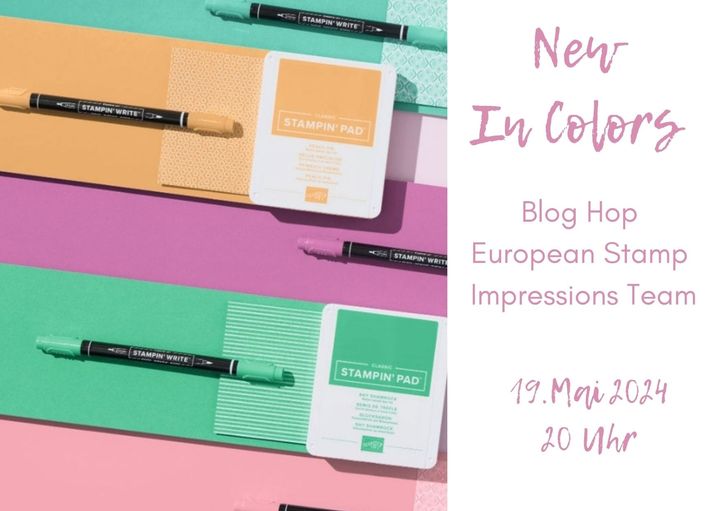
Have you seen the new In-colors yet?
They are one of my favourite releases to date.
I would love to know which one you favour most?
Slipped Blended Background Technique
Its been another super busy month as we draw closer to the big build of our new annex to house my mum. It seems no sooner have I cut down a bush or plant, it is sprouting up again!! I can’t wait for the groundworkers to arrive and finally remove all the stumps!
Anyway enough about me!! I wanted to try a new technique to me & one I first saw being created by my lovely crafty besties Barry & Jay at Mitosu Crafts.
They haven’t given the technique a particular name so I have called it a slipped blended background & you wont believe how easy it is to make.
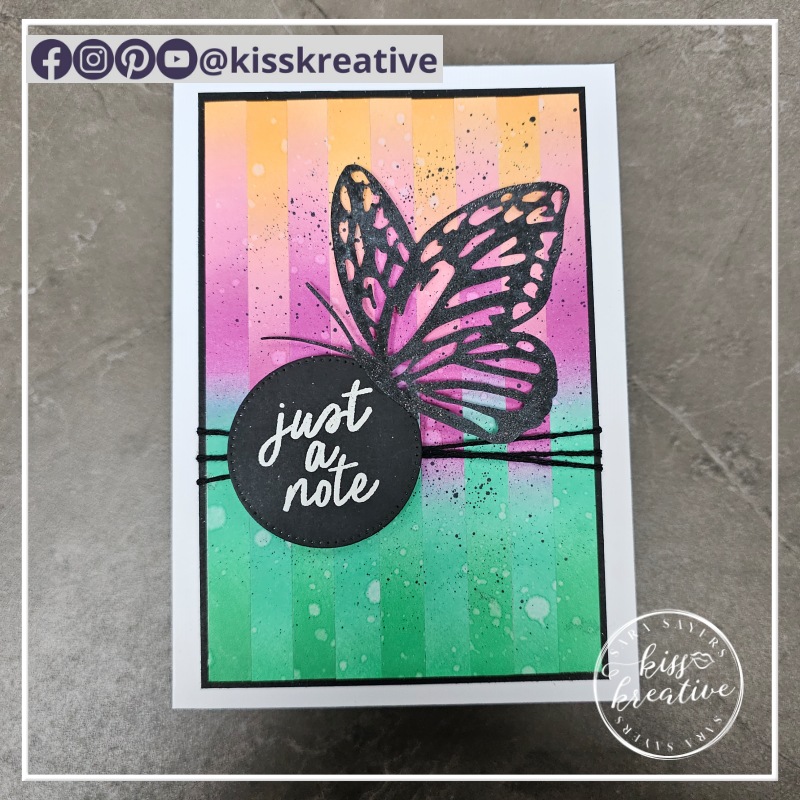
This card was inspired by the lovely Northern lights photos that have been popping up all over Facebook
Did you manage to catch them? Sadly I was asleep and missed them all, but I loved that the next day my social media feeds all turned into unicorn colours!!
How to make the All the New In-Colors Card
- Cut a piece of basic white which is larger than the piece you need
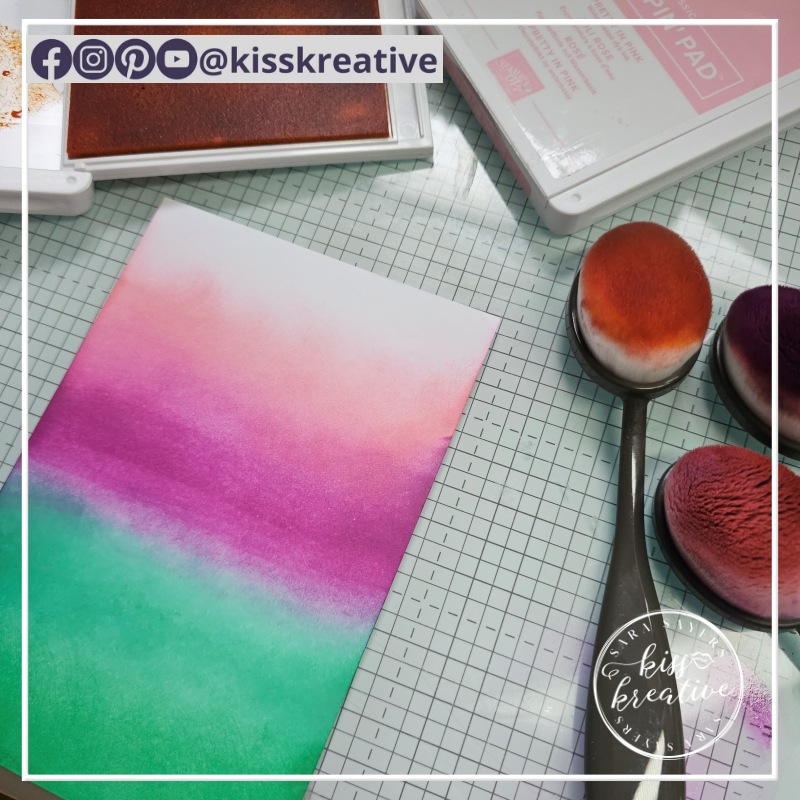
- Use a blending brush to add the ink, building up the layers so then colours are intense and blended
- Splatter with water and mop dry with some kitchen towel & a heat gun (optional)
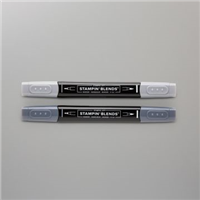
- Splatter with a Dark Basic Black Blend
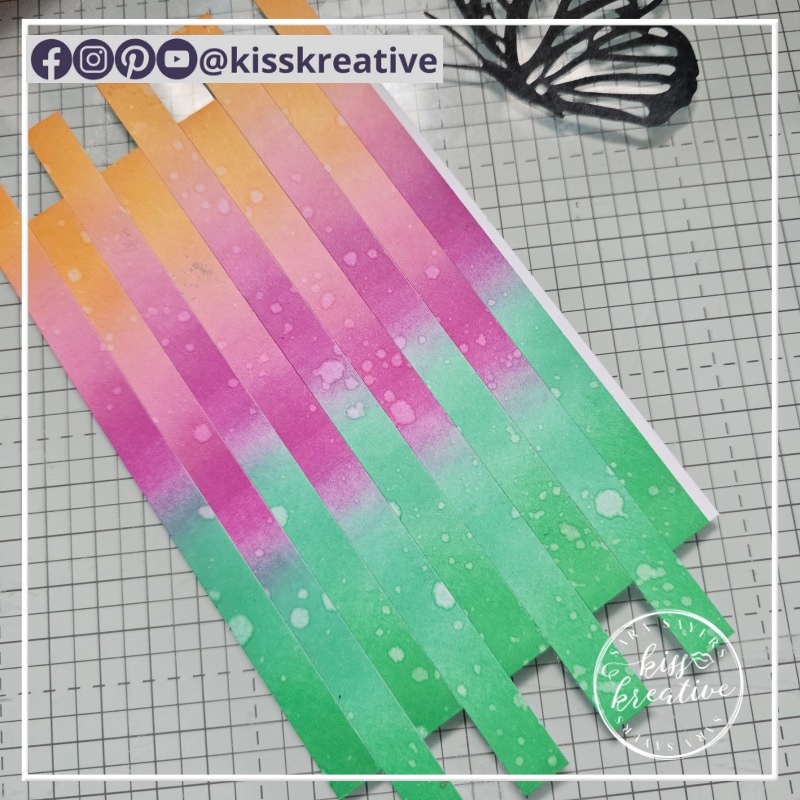
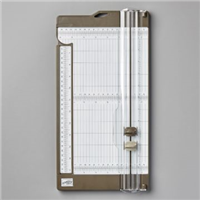
- Cut the panel on the short side into 1cm strips TIP: Keep them in consecutive order for a more professional looking finish
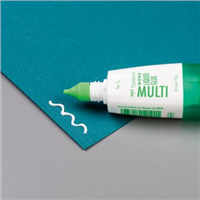
- Add the first strip to the second layer with the bottom of the strip lining up with the bottom of the layer using memento glue (See below)
- Add the next strip with the top lining up with the edge of the layer underneath.
- Repeat until the whole piece is covered. (see photo below)
- Trim the excess overhanging strip ends
- Add to the first layer and then onto card base using glue.
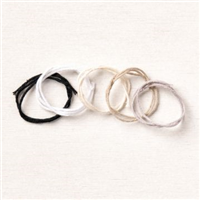
- Finish with some bakers twine, a white embossed sentiment and a paper butterfly accent
Slipped Blended Background Technique – Measurements
- Base – Basic White Thick: 21.0 cm x 14.8 cm scored at 10.5 cm
- First Layer – Basic Black: 9.3 cm x 13.8 cm
- Second Layer – Basic White: 9.0 cm x 13.5 cm
- Strips – Basic White: 14.8 cm x 10.5 cm
- Sentiment – Basic Black: 5.0 cm x 5.0 cm
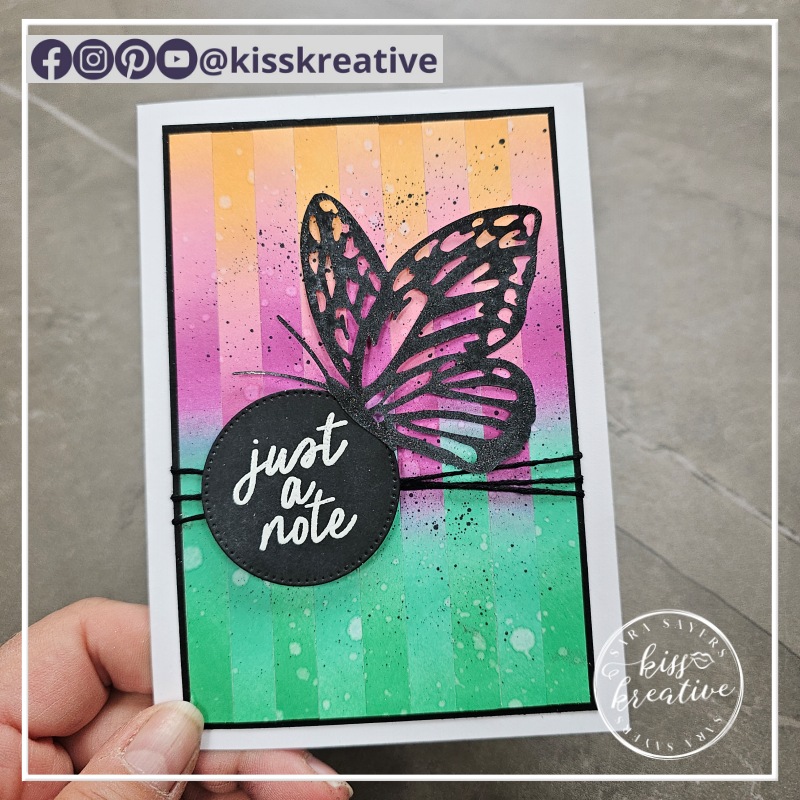
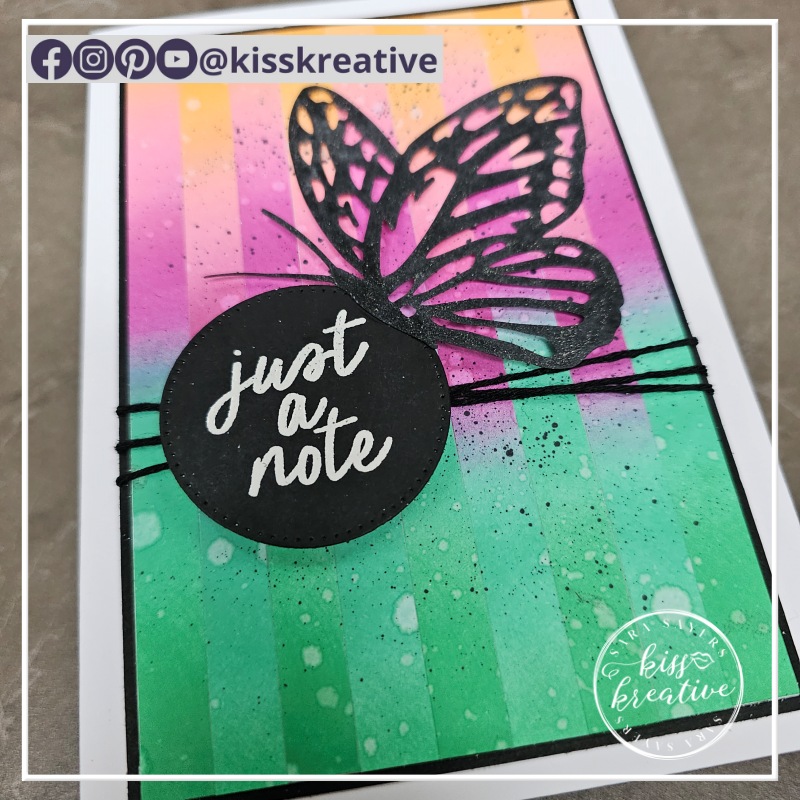
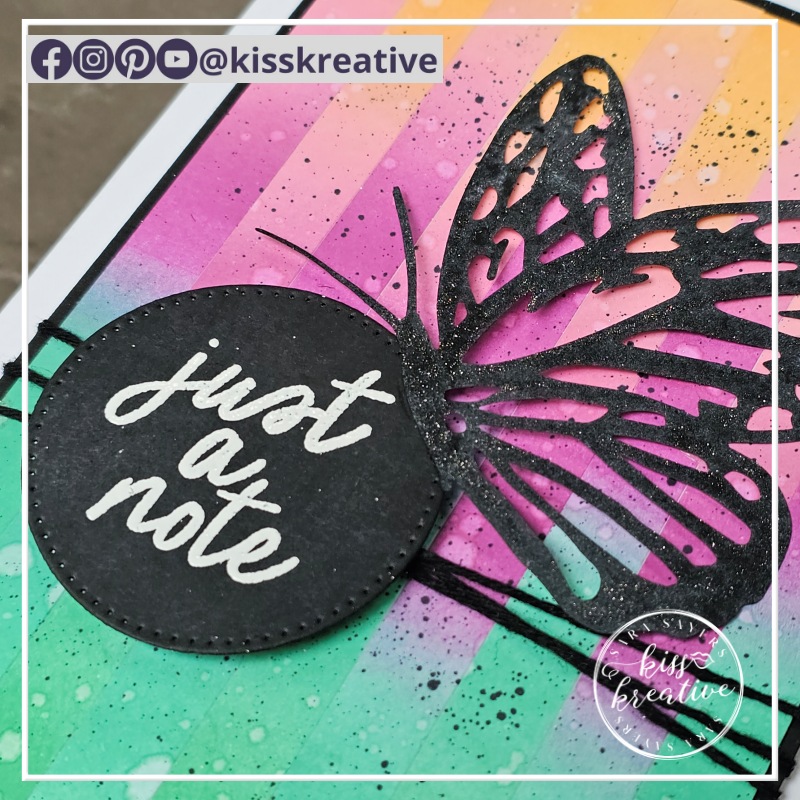
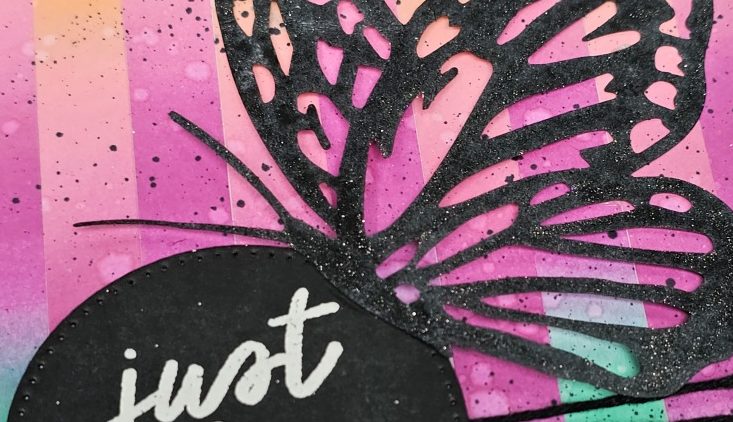
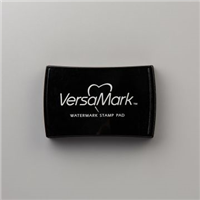
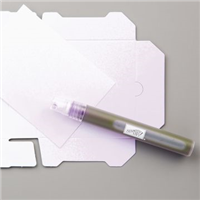
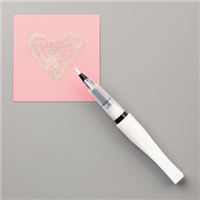
The paper accent butterfly has been covered with Memento Tuxedo Black ink and then a light covering of Wink of Stella as the black didn’t quite match the cardstock.
Simple yet stunning!
Voila!
I so enjoyed making this card and I would love to know what you think? Please do leave me a comment.
If you would like to know more about any of my projects please do get in contact and I would be happy to help you. I go live on Facebook every Monday and Wednesday at 11.00 am UTC +1 (BST) showing lots of cardmaking tips and tricks based around a particular Stamp Set or Bundle.
Stamp Impression Design Team Blog Hop
So now it’s time to hop around the rest of the wonderful demonstrators blogs to see some more special techniques
Stamping Hugs
Sara
- Shop Stampin Up – Earn 10% rewards on all qualifying purchases over £20
- Request a catalogue
- Buy a starter Kit
- Find out about joining our group of Hugs & Kisses Stampers






0 Comments