Welcome to the Crafty Collaborations blog hop. I am part of an amazing group of demonstrators from all around the world. We love showcasing the wonderful products which can found in our suite of catalogues. This month our theme is Two Step Stampin and I thought it would be fun to share a fabulous Trees For Sale Christmas Card that we made in class recently.

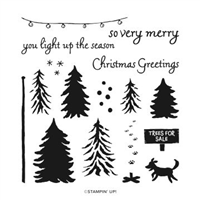
Trees for sale
This pretty Trees for Sale Stamp Set is just great for creating layers and scenes and has so many options for quick and simple Christmas cards.

What Is Two Step Stamping?
Two step stamping is a wonderful technique for adding additional details and a feeling of depth to your final images by creating layers of colour using multiple coordinating stamps. This technique is perfect for creating darker veins on leaves or details and shading on flowers. For my card today I used the Christmas tree and branches.
Because the stamp sets are made with clear Photopolymer its super easy to line the second image over the first, but if you find it a struggle I recommend using a Stamparatus.
Two Step Stamping Trees For Sale Christmas Card
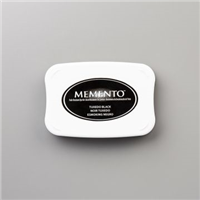
I made this card for a recent class to show my customers that by using just one coloured ink pad you can create lots of fun layers on your cards.
The best bit is that this card is perfect for mass production and with only two layers of card is cost effect for posting too!
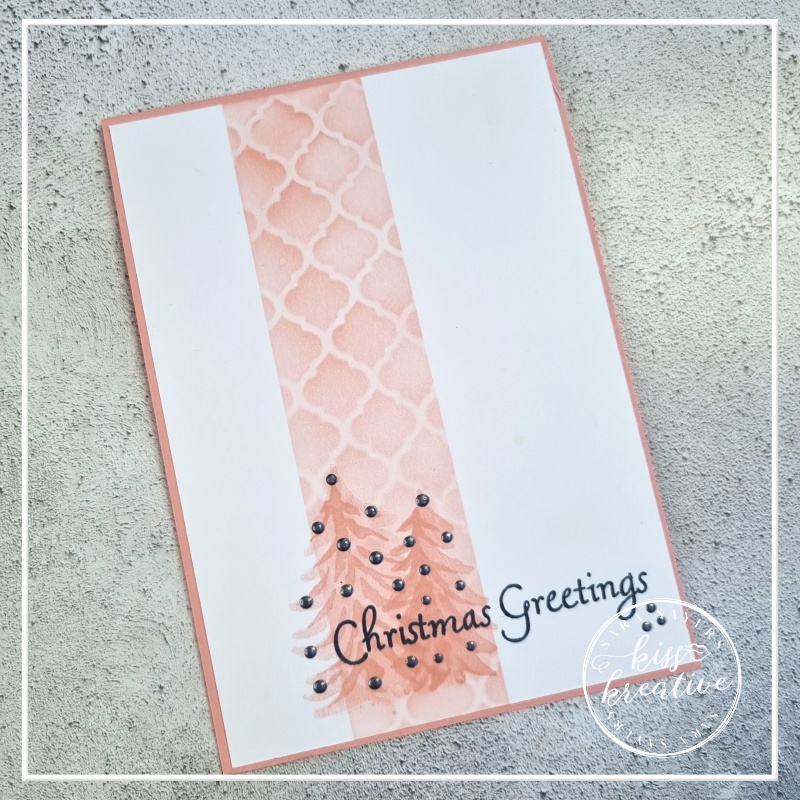
Two Step Stamping Trees For Sale Christmas Card – Measurements
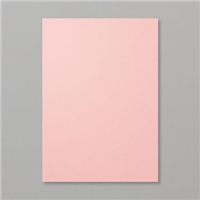
- Base: Blushing Bride – 21.0 cm by 14.8 cm, scored at 10.5 cm and burnished
- First Layer: Basic White – 14.3 cm by 10.0 cm
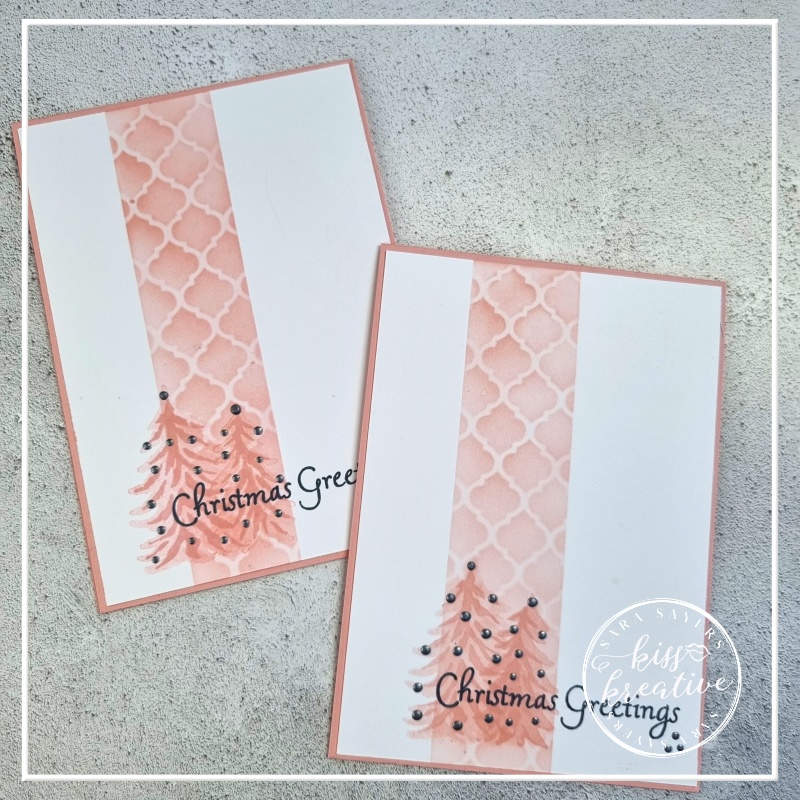
- Fold and burnish the base card and set aside
- Take two strips of masking paper and cover about 2.5 cm on the left of the card and 4.0 cm to the right
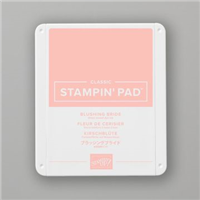
- Using a blending brush lightly add some Blushing Bride Ink between the masked off area.
- Next place the mask over the card and add a little more ink to create a light pattern
- Carefully remove the mask and the Masking paper
- Ink the whole Christmas Tree in Blushing Bride and stamp off on some scrap card before stamping onto the card
- Second stamp the branches on top of the main tree, this time using full strength Ink.
- Repeat the process using the slightly small tree
- Assemble the card using Multipurpose Glue
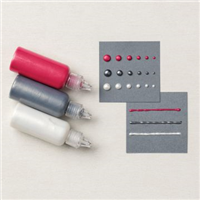
- Finish with some Pearlised Enamel Effects Basics. (TIP: Set aside to dry for about and hour)
Two Step Stamping Trees For Sale Christmas Card

Voila!
I so enjoyed making this card and I would love to know what you think? Please do leave me a comment.
If you would like to know more about any of my projects please do get in contact and I would be happy to help you
So now it’s time to hop around the rest of the wonderful demonstrators blogs to see some more inspiration for using these wonderful patterned papers
See the rest of the International team below!
Two Step Stamping Technique Blog Hop Team
Stamping Hugs
Sara
- Shop Stampin Up – Earn 10% rewards on all qualifying purchases over £20
- Request a catalogue
- Buy a starter Kit
- Find out about joining our group of Hugs & Kisses Stampers


Lovely card x
Oh my gosh. Your card is SO pretty. Simple and extremely elegant. I LOVE it.
Gorgeous cards Sara, simply stylish and understated x