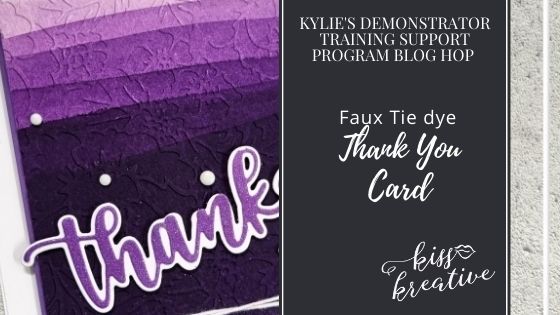
Hello and welcome to this blog post featuring my Faux Tie Die thank you card.
So a huge thanks for joining us for our Stampin’ Up!® Demonstrator Monthly Team Blog Hop! We are so happy that you could join us today and hope you’ll find lots of ideas and inspiration. We are a group of Stampin’ Up! Demonstrators from around the world and are taking part in training to help us build successful Stampin’ Up! businesses and reach our goals. We really appreciate your support
You may be starting here or have come from another blog – either way you can find the link list at the bottom of this post so that you have the opportunity to see every blog post and idea today and believe me you want to check out all the inspiration across the world.

Sometimes it just fun to try out a new technique and after recently celebrating 10 years as Stampin’ Up! demonstrator its not often I see something I have not tried before. So it was lovely to try out this fabulous technique of Faux Tie Dye or Drip dye.
Faux Tie Die thank You card
I saw this technique using mulberry paper on YouTube and wondered if it would work on our lovely Fluid 100 card so I set about trying it out on my recent Facebook live. Sadly technology was not my friend that day so my Live is in two parts. Part 1 & Part 2. This particular card was made on Part 2
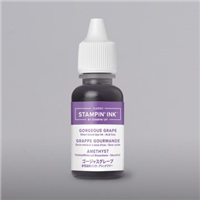
All these lovely layers are made with just ONE Gorgeous grape Re-inker, some water and a heat gun !
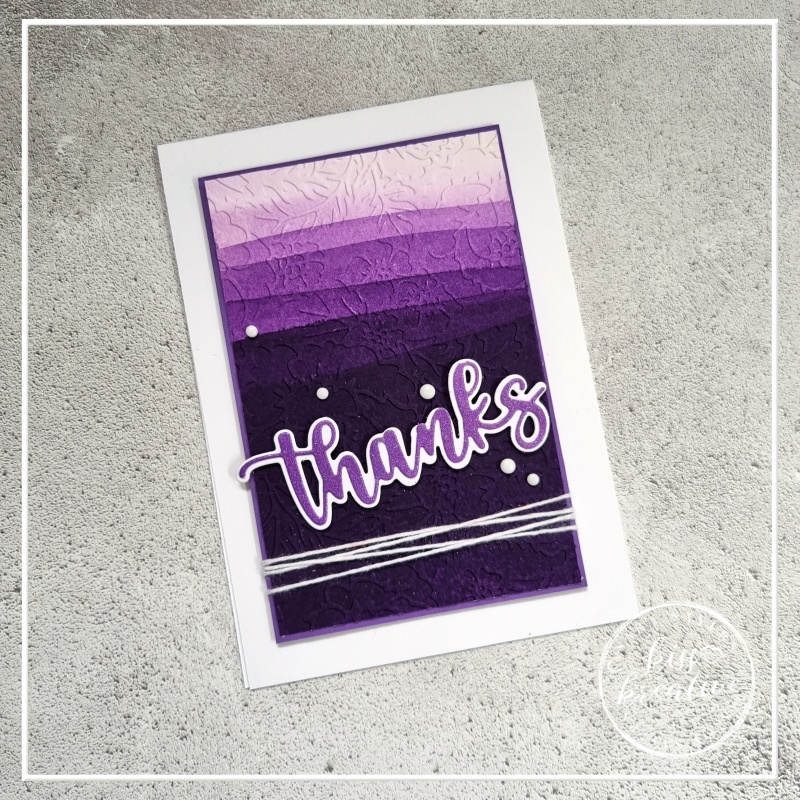
One dry the piece was embossed with the Pretty Flowers Embossing folder. It really is just so pretty!
The sentiment is die cut using the Amazing Thanks dies
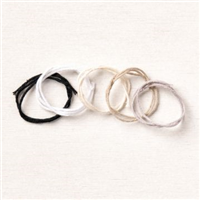
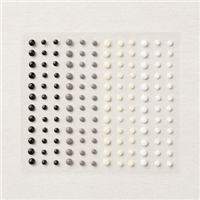
Then finished with some white Bakers Twine and some white Classic Matte Dots
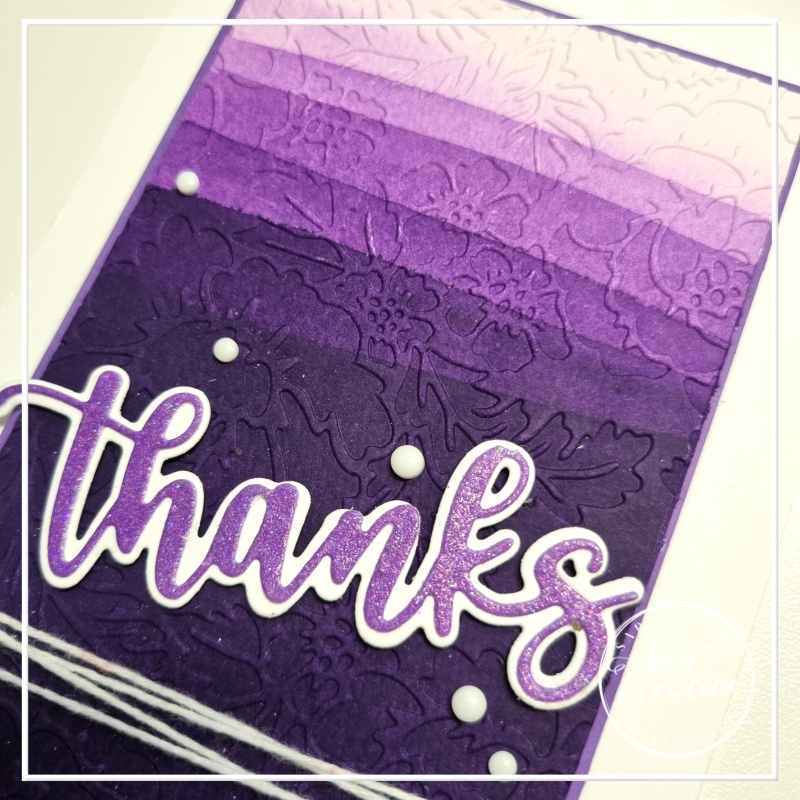
How to make A Faux Tie Die thank you card
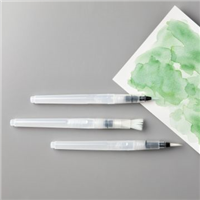
- Take Layer two and add a wash of water with just 1 drop of Gorgeous Grape Reinker
- Dry with a heat gun (or set aside to dry overnight,
- Repeat the process with 2 drops of Reinker in the water, but stagger the stating point down about 1 cm to create the next layer
- Repeat 6-7 times to get 8-9 distinct layers drying each layer between each application
- Emboss the water coloured piece with the Pretty Flowers Embossing Folder
- Wrap some white Baker’s Twine around the piece and attache to the back with Tear Tape
- Attach to layer one with glue
- Attach to the card base with Dimensionals
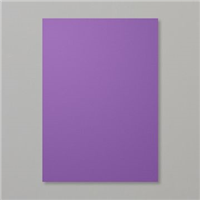
- Die cut the words in Basic White and Gorgeous Grape card stock
- Attach to the card with Mini Dimensionals
- Add a little Wink of Stella to the Gorgeous Grape Thanks
- Finish with some Classic Matte Dots
- Don’t forget to decorate the inside!
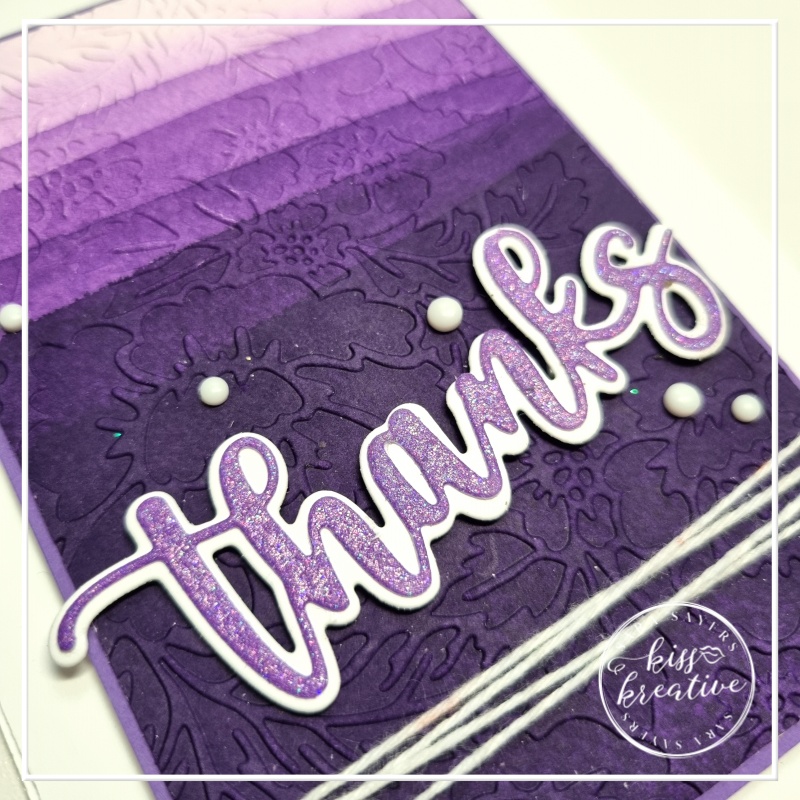
Measurements – Faux Tie Die thank you card
- Card Base: Thick Basic White– 29.7 cm by 10.5 cm score at 14.9 cm
- First Layer: Gorgeous Grape – 12.6 cm by 8.2 cm
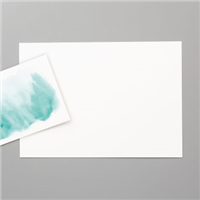
- Second Layer: Fluid 100 Watercolor card – 12.3 cm by 7.9 cm
- Sentiment: Basic White & Gorgeous Grape – scrap 11.0 cm by 4.0 cm
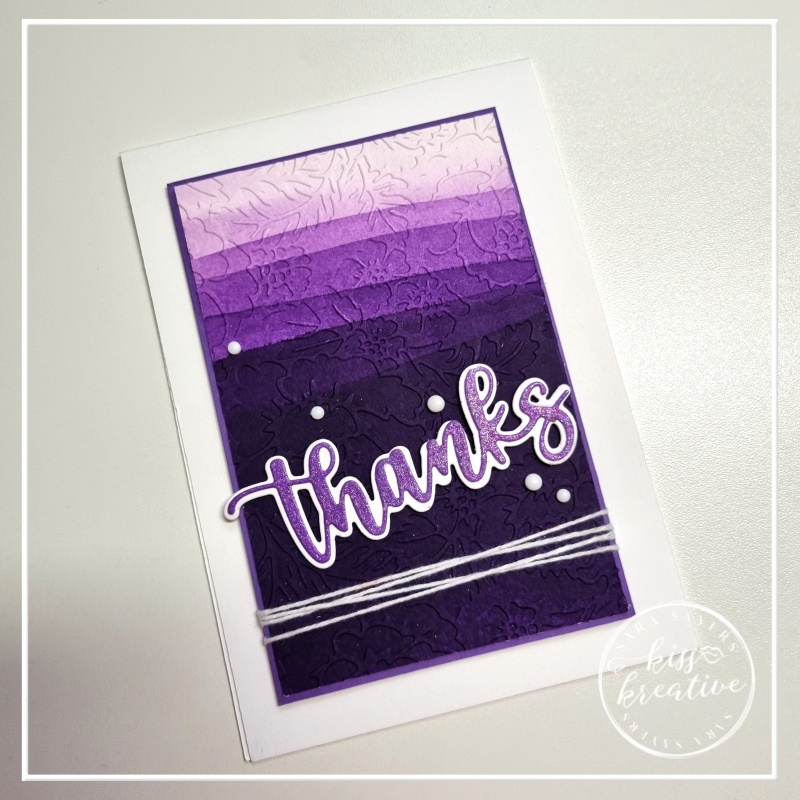
Voila!
I had great fun making these cards for my customers this month and I would love to know what you think? Please do leave me a comment.
If you would like to know more about any of my projects please do get in contact and I would be happy to help you.
Thank you so much for stopping by today! I’m sure you are going to love all the amazing projects that you will see today. If you have time show us some love in the comments section, it makes our day. You are currently on my page – Sara Sayers, see who is below me to know where to go next.
Kylie’s Demonstrator Training Support Program Blog Hop May 2022 – Blog hop participant list
Thanks for looking
Stamping Hugs
Sara
- Shop Stampin Up – Earn 10% rewards on all qualifying purchases over £20
- Request a catalogue
- Buy a starter Kit
- Find out about joining our group of Hugs & Kisses Stampers



Wow the texture and colours are awesome! Thank you Sara for taking part in our Demonstrator Training Bog Hop this month!
This is the most amazing card! I love this technique, will have to try it out!
How pretty!
Fantastic technique and card!
Absolutely stunning Sara
Great card Sara and great technique x
Very lovely card!
Beautiful ombre card! Fun technique that I will have to try!