Welcome to our monthly Casually Crafting Blog Hop! and today I want to show you how to create shading on dark cardstock with my laid back relax card.
Casually Crafting Design Team Blog Hop
The Casually Crafting Design Team is a group of Stampin’ Up! demonstrators from around the world, gathered together to share our passion for creativity with you. Our focus is to bring you inspiration featuring projects that are easy to create while still packing a powerful creative punch. The projects are made with a few products, making them ideally suited to a beginner or casual crafter. From time-to-time, we may also include a project that is stepped-up for the added wow-factor
We will be sharing our ideas on the 3rd Saturday of each month and you can hop around the group and gather loads of inspiration. So grab yourself a cup of your favourite beverage, sit back & enjoy the hop!
Sketch Challenge
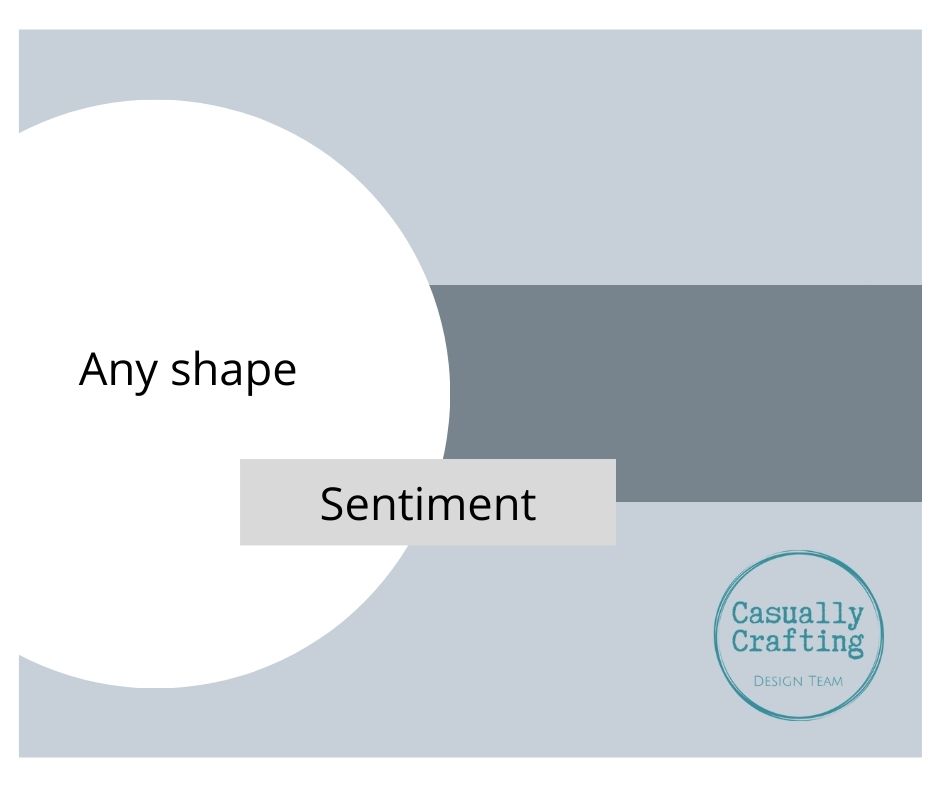
This month we have a sketch challenge.
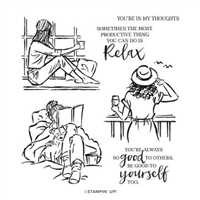
In The Moment stamp set
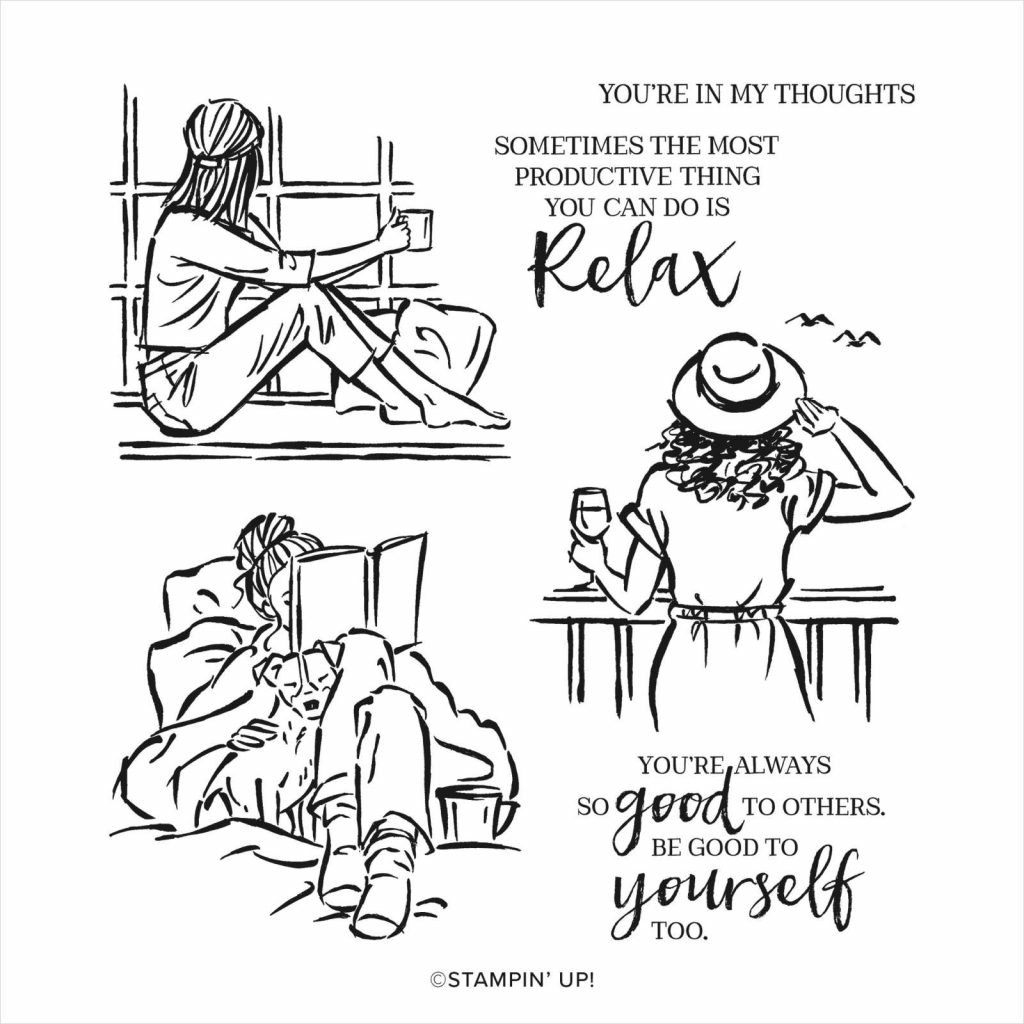
Today I am using the In the Moment stamp set. A wonderful set of whimsical Cling stamps, which is available from the Jan to Jun Mini Catalogue. It has already become a firm favourite.
I have been using it to make lots of projects whilst I am away in Southern Africa with my mini crafting stash. I still have lots of samples with this set, so do check back for more inspiration.
How to create shading on dark card
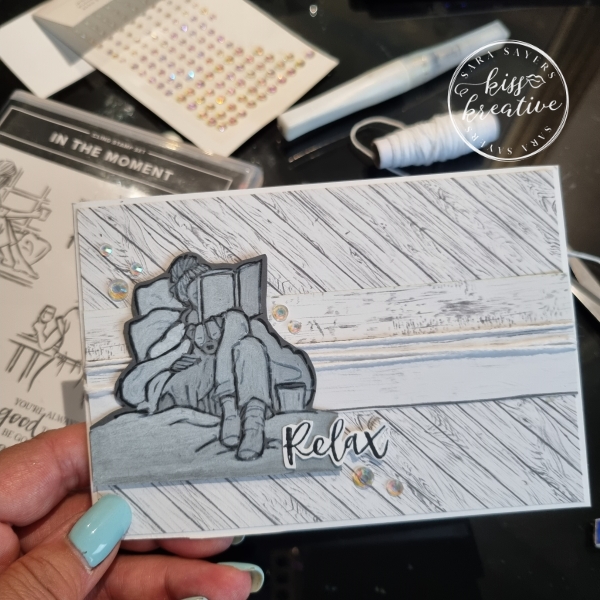
Sometimes you just need a quick & simple card & this design completely fits the bill.
Just simple DSP and a water coloured image. The fun bit is that rather than colour on light card we use white Ink on Basic Gray card.
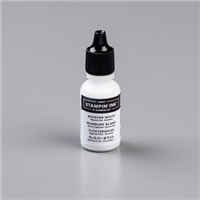
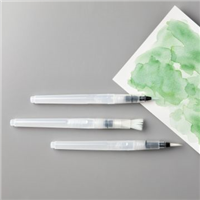
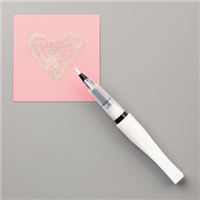
You can use a white Chalk Marker or in this case a Craft White Re-inker. Just dab a drop onto a clean block and use a Water Painter. You can also use an old Wink of Stella (as I did), which will add a tiny little bit of sparkle for some added detail.
TIP: Add a drop of water if the ink is too thick. Build the layers up to create the different shading and try to add the ink just inside the stamped outlines to help the image pop. covering some of the shading lines on the stamped image helps to soften some of the lines and create more shading – check out the steam line over the coffee cup below.
How to Create this card
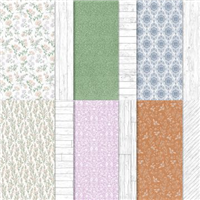
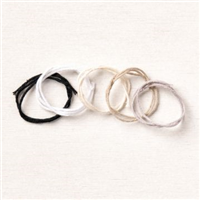
- Take the Layer 2 piece of DSP and wind some Basic White twine around and secure to layer 1 with glue
- Attach to the card base with glue
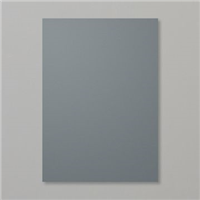
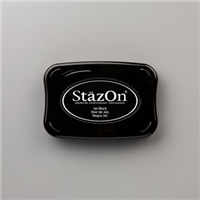
- Stamp the image onto a piece of Basic Gray Card using Stazon Ink.
- Using an Water Painter or ‘old’ Wink of Stella, watercolour the image, slowly building up the layers of white to produce different textures and tones **
- Once dry (use a heat gun to speed up the process), fussy cut out and add to the card with Dimentionals
- Stamp the sentiment in Stazon, fussy cut and add to the card using glue and a mini Dimensional
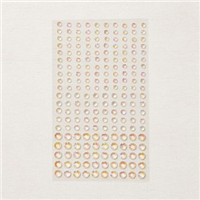
- Finish with some Iridescent Rhinestones Basic Jewels
** Once dry you can add colour with water colour pencils or ink.
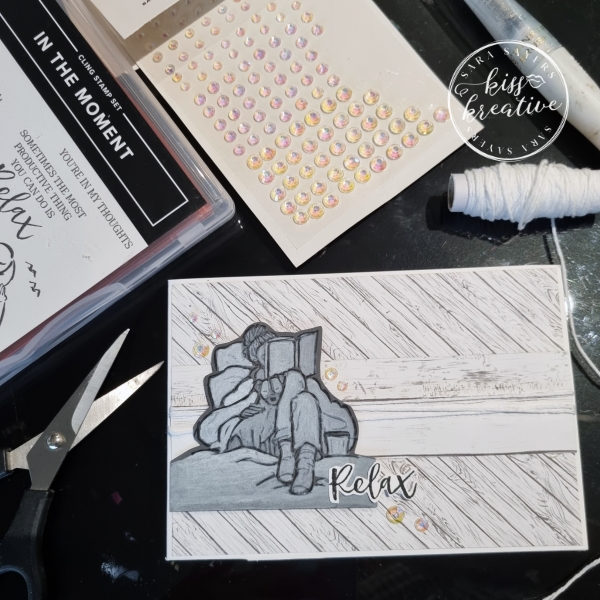
Monochromatic Birthday Card Measurements
- Base: Basic White– 29.7 cm by 10.5 cm scored and burnished at 14.9 cm
- First Layer: Heart & Home DSP– 14.5 cm by 10.2 cm
- Second Layer: Heart & Home DSP– 14.5 cm by 3.5 cm
- Images: Basic Gray- 8.0 m by 8.0 cm
- Sentiment: Basic White – Scrap
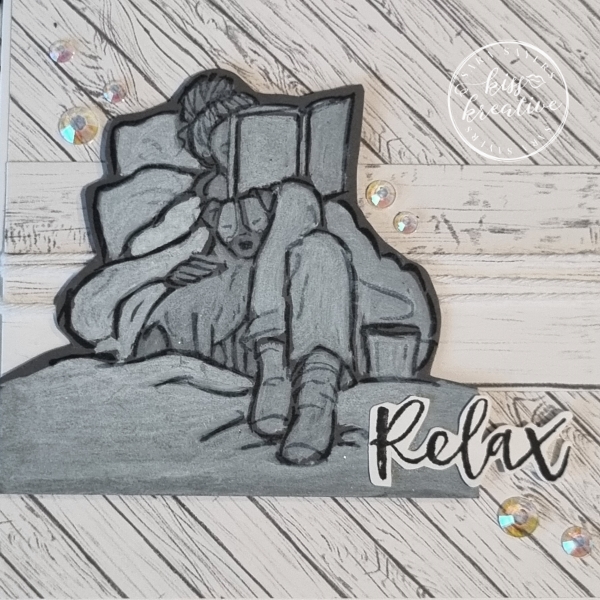
Voila!
I had great fun making this card. So, please do leave me a comment, letting me know what you think.
If you would like to know more about any of my projects please do get in contact and I would be happy to help you
So now it’s time to hop around the rest of the wonderful demonstrators blogs to see some more inspiration
Casually Crafting Design Team
Stamping Hugs
Sara
- Shop Stampin Up – Earn 10% rewards on all qualifying purchases over £20
- Request a catalogue
- Buy a starter Kit
- Find out about joining our group of Hugs & Kisses Stampers

Lovely card Sara and a great technique😊