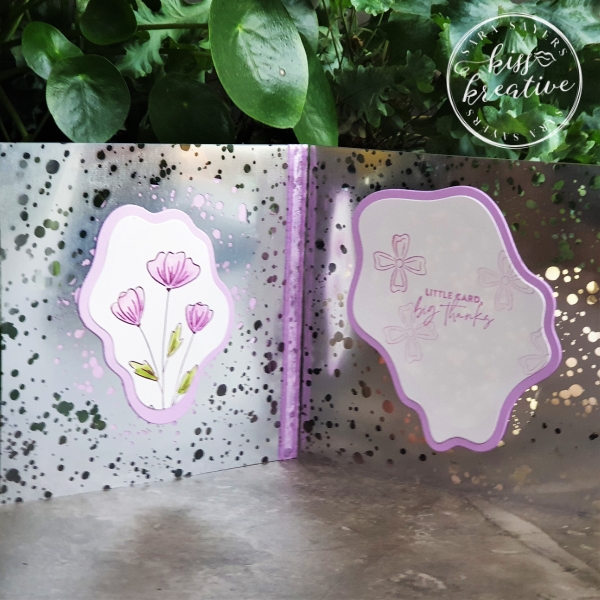
Hello and thanks for stopping by my blog today! I’m so happy to be sharing my project with you today and to show you my Flowers of Friendship Mercury Acetate Thank You card
II’m participating in Kylie’s monthly International Blog Highlights contest and the top 10 vote winners get to participate in an International Blog Hop. I would be so grateful if you could consider taking a moment and voting for my card? I’d really appreciate it!

How Do I Vote?
Click on the button below you. Please look for my card (It’s number 13) and click on the little heart sign on the right-hand top side of my photo. Once you’ve touched the little clear heart it will turn to Red and will confirm that you voted. You can vote up to five times, but it’s not required, you can also just vote for one. Thanks so much, I truly appreciate your support!
The theme for the International Blog Highlights is “Thank You”!
I made this card in a recent Facebook Live. One of my customers wanted to see some ideas to use their Hydrangea Hill Mercury Glass Acetate card and this was one of the cards we made. You can see the replay HERE
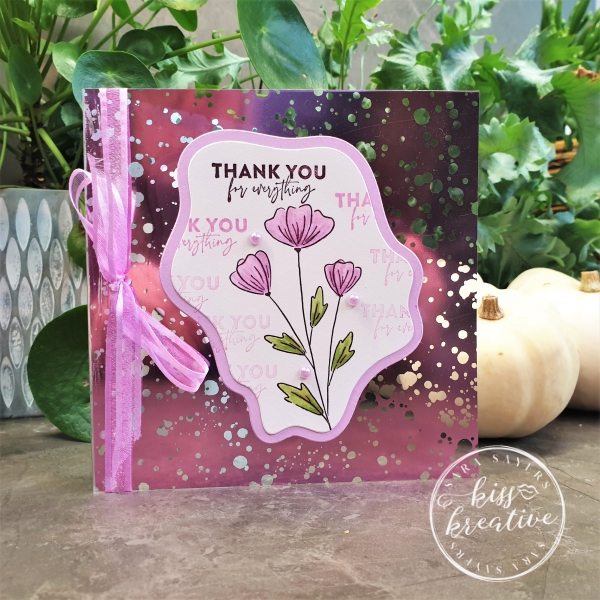
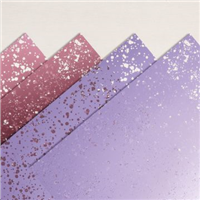
This card has been made using the Hydrangea Hill Mercury Glass Designer Acetate. It makes such a stunning and unusual card base
By building up layers of distressed and textured card you can really create a soft and subtle vintage feel. Perfect for those acts of kindness that you may wish to create and send.
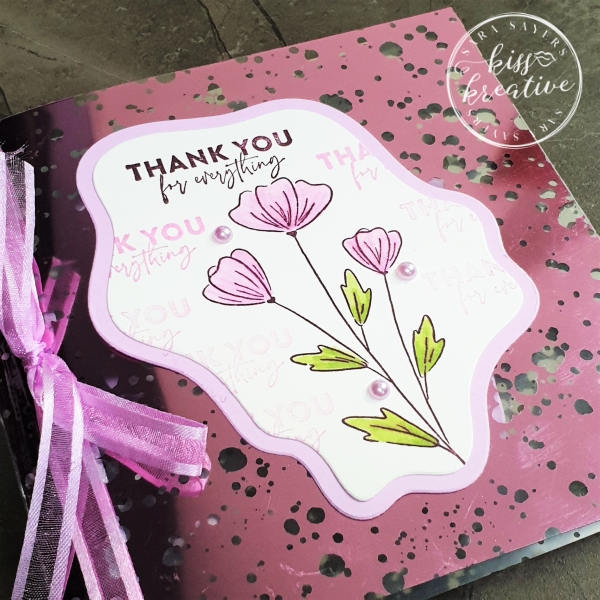
Measurements for Mercury Acetate Thank You Card
- Base: Hydrangea Hill Mercury Glass Designer Acetate – 29.7 cm by 14.9cm scored and burnished at 14.9 cm
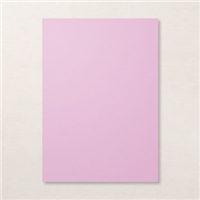
- First Layer Front & Inner: Fresh Freesia – 12.5 cm by 10.5 cm CUT TWO
- Second Layer Front & Inner: Shimmery White – 12.0 cm by 10.0 cm CUT TWO
- First Layer Inner Inside: Fresh Freesia – 10.0 cm by 8.0 cm
- Second Layer Inner Inside: Shimmery White – 10.0 cm by 8.0 cm
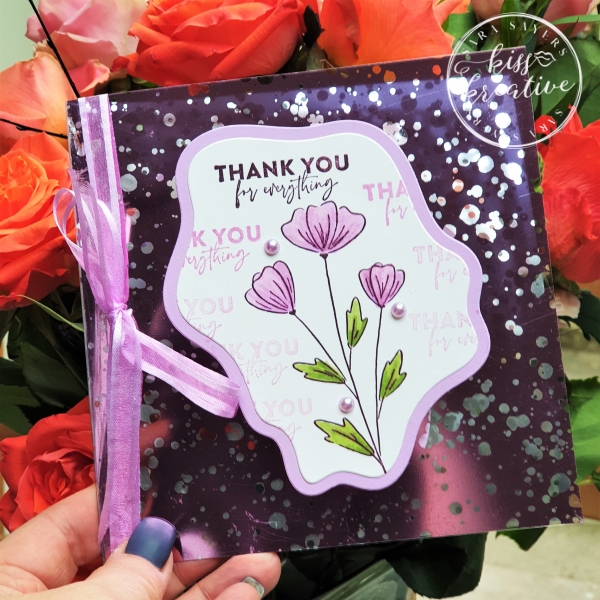
How to Make This Stunning Mercury Acetate Thank You Card
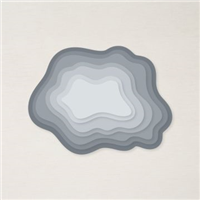
- Die cut all the layers using the Layering Diorama.
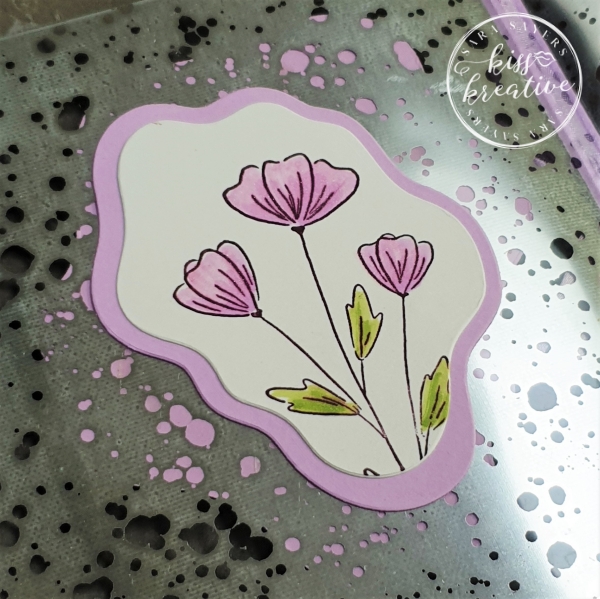
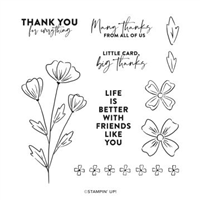
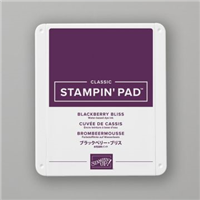
- From of Card – Stamp the flower in Blackberry Bliss.
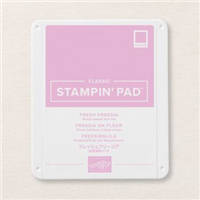
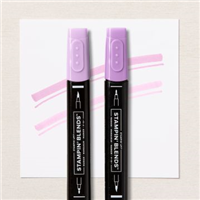
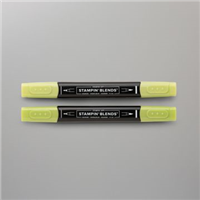
- Colour the flower petals with Fresh Freesia Stampin’ Blends & leaves with Granny Apple Green Stampin’ Blends
- Stamp the sentiment in Blackberry Bliss ink and add additional sentiments round the image in Fresh Freesia
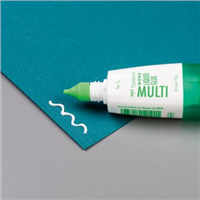
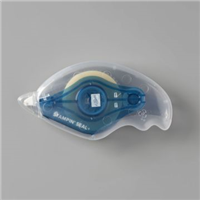
- Glue the layers together and add to the front of the card with Stampin’ Seal +
- Repeat the process for the inside layers
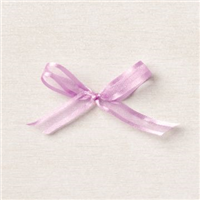
- Wrap some of the Fresh Freesia Open Weave Ribbon
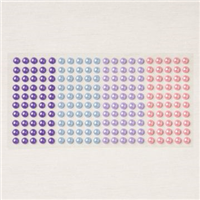
- To finish add some Pastel Pearls.
Voila!
I had great fun making this card and I would love to know what you think? Please do leave me a comment.
If you would like to know more about any of my projects please do get in contact and I would love to help you.
Thanks for looking
Stamping Hugs
Sara
- Shop Stampin Up – Earn 10% rewards on all qualifying purchases over £20
- Request a catalogue
- Buy a starter Kit
- Find out about joining our group of Hugs & Kisses Stampers

Wow! Stunning card. Thanks for sharing this technique Sara! Thanks for being part of my International Blog Highlights this month and all the best with voting.
Super card Sara, I love how you’ve used the acetate as the card base, brilliant! Love love combos of purples layered together, very pretty 🙂