")
Welcome to the Pretty Cards and Paper International Blog hop. I am so fortunate to be joining this group of amazing demonstrators from all around the world. Each month we will be showcasing some of the Designer series papers which can found in our suite of catalogues. Today I’m excited to share with you a set of stunning papers from our Jul- Dec Mini Catalogue and how to make four super quick one sheet wonder cards.
Whimsey & Wonder
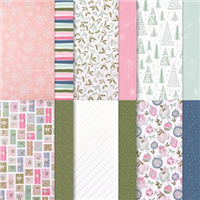
Now this month we have chosen the stunning Whimsey & Wonder Designer Series Paper. The papers form part of the wonderful same named suite that is available and proving very popular
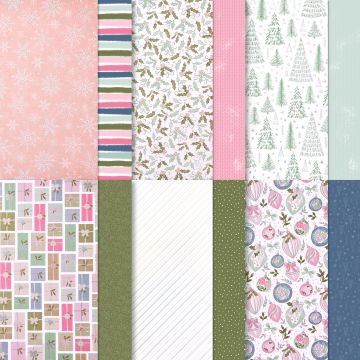
Now the designs in this pack are have all been created to coordinate with the suite images . With a pretty contemporary colour palette & patterns that have so many options. There are 2 each of 6 double sided designs in a useful 12″ x 12″ format giving 12 sheets.
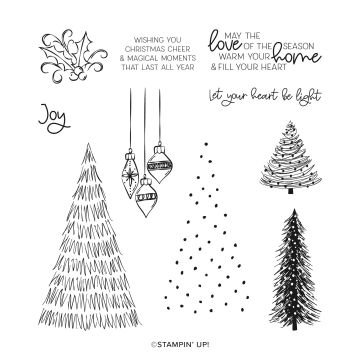
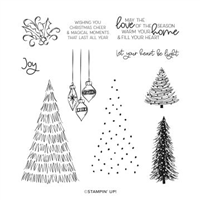
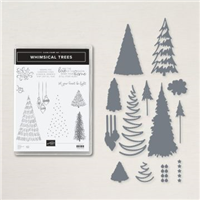
Whimsical Trees
I just had to chose the coordinating stamp set for the suite for my cards. just love the whole suite and it is currently rooted firmly on my desk!
I saw this wonderful layout on Robin Armbrecht’ blog. It is such a simple idea, but perfect for this time of year when we want to make lots of cards for Christmas. I have taken Robin’s instructions and translated them to Metric for ease.
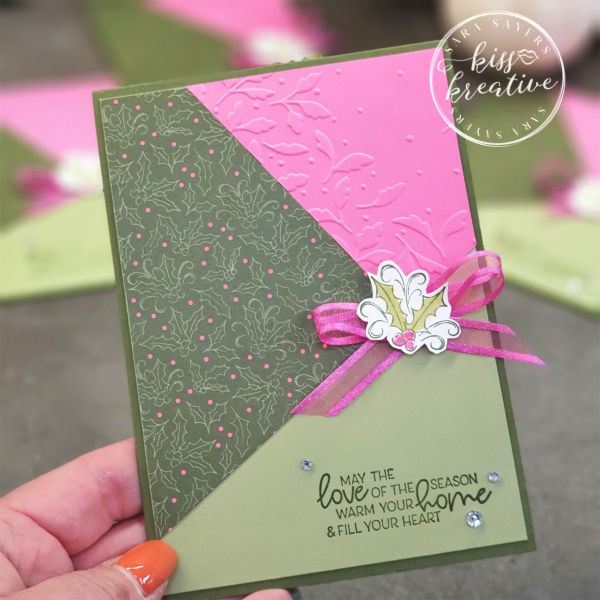
four super quick One sheet Wonder Cards
I loved creating this simple layout, letting the pretty paper do all the work.
Each card has been made in the same way so it only tool me 30 minutes to make all four cards!
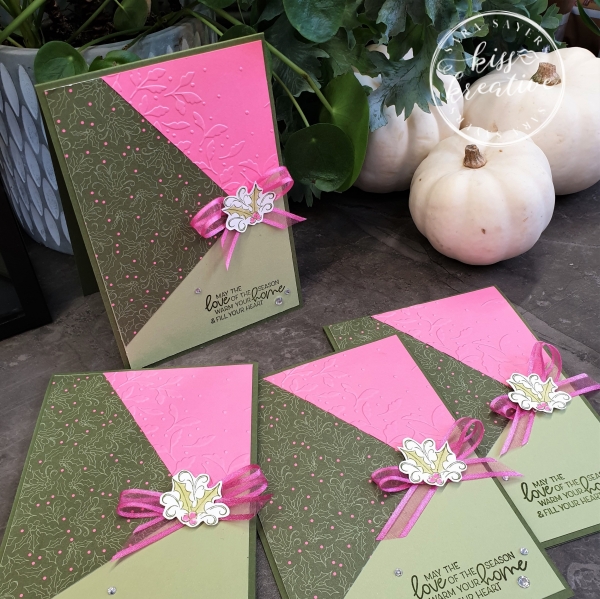
This is a great way to let the pretty DSP take centre stage & let’s be honest we all have lots of pretty papers sitting in our craft room and this is the ideal project to use them with.
How to make Four Super Quick One Sheet Wonder Cards
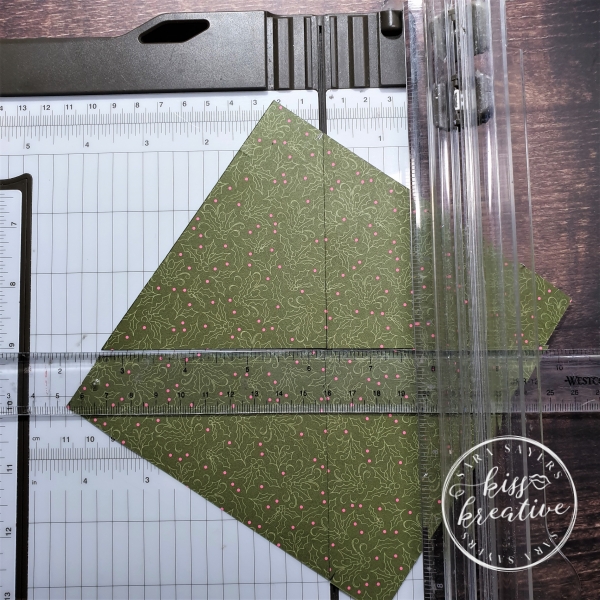
- Take your piece of Designer series paper and cut into a piece 15.2 cm by 15.2 (6″)
- Make a light mark with a pencil 2.5 cm in from each top left corner. (TIP: mark on the front to ensure the pattern remains as per the images)
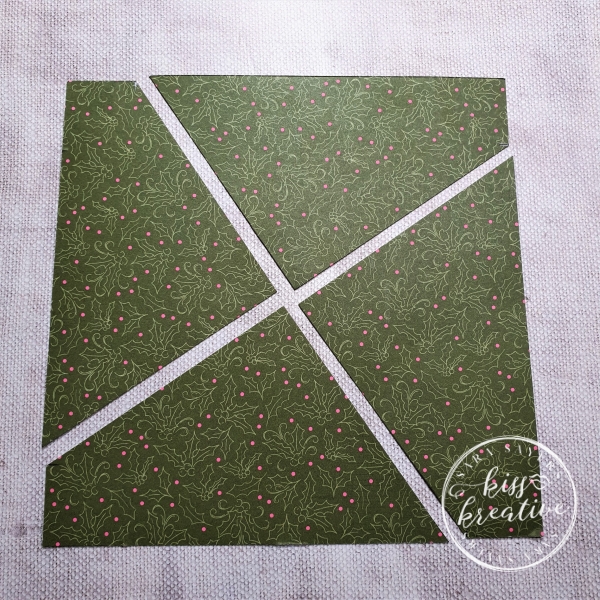
- Line up the marks along the cutting line of the paper trimmer and cut from the top left mark to the bottom right. This will bisect the paper in two. Twist the paper 90 degrees and making sure the two pieces of paper are still aligned cut from the top right mark to the bottom left pencil mark
- Remove the pencil marks with a rubber
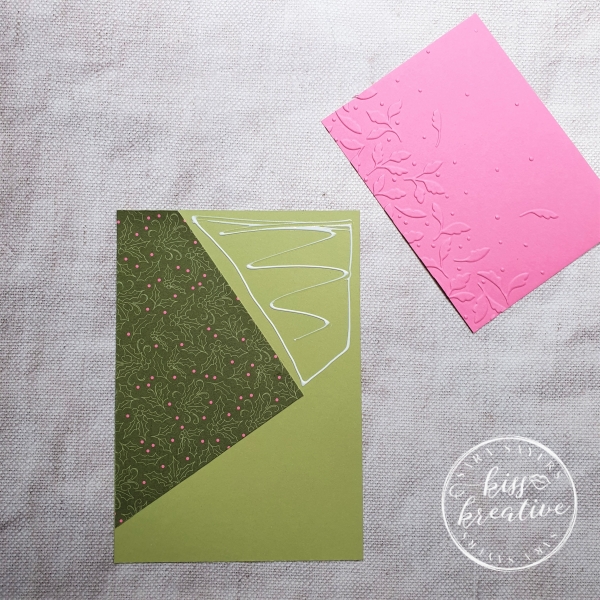
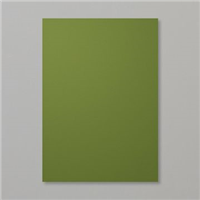
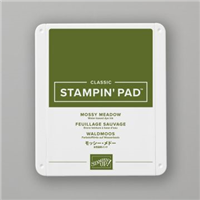
- Stamp the sentiment with Mossy Meadow. (Use the Stamparatus for speed & to get perfect positioning and stamping each time)
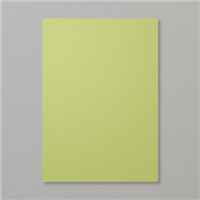
- Taking note of the 4 corners where you placed the pencil mark, stick the DSP to Layer 1 (Pear Pizzazz), putting the corners in the top left of each piece.
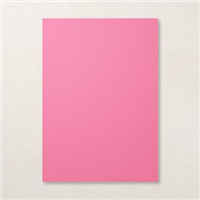
- Use the Meadow Moments to dry emboss Layer 3 (Polished Pink).
- Add glue to the space on Layer 1 as shown below in the photo
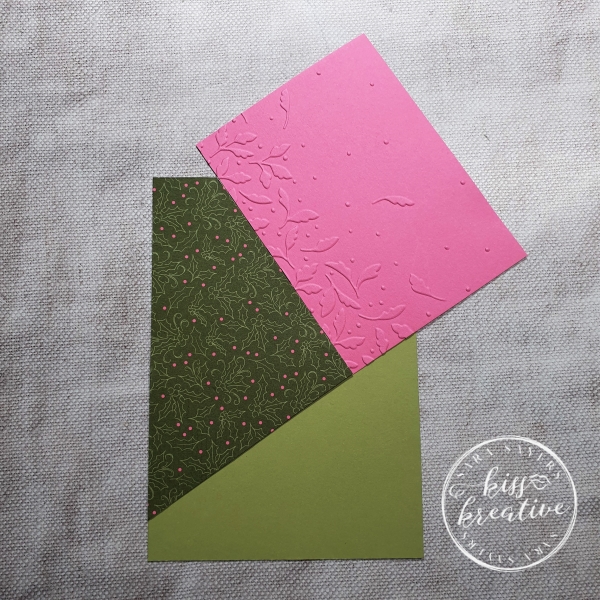
- Attach Layer 3 to the glued area to create a continuous diagonal line across the card front
- NOTE: this card piece is larger that the card front to allow your to trim it down once the glue is dry with snips or your trimmer (see below)
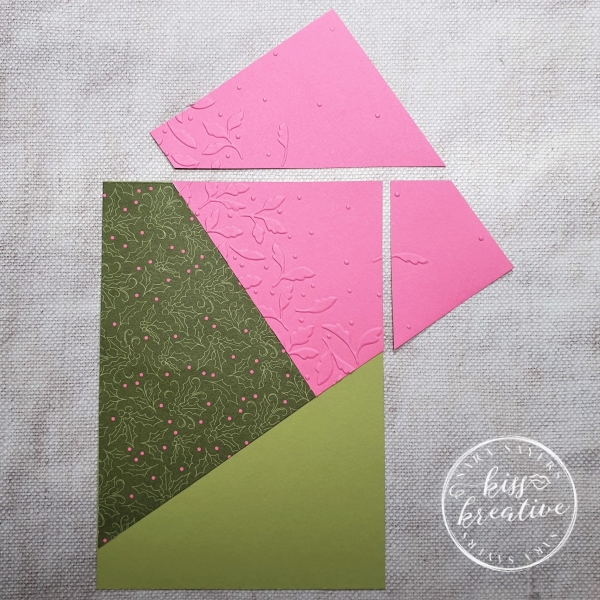
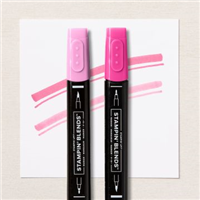
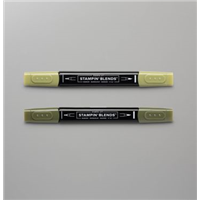
- Stamp the holly image onto a scrap of Basic White card in Mossy Meadow & colour with Blends
- Die cut the image and add to the card over a double loop of ribbon with a Dimensional
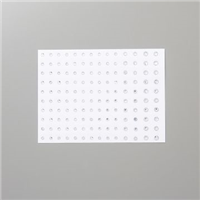
- Add three Rhinestone Basic Jewels to the card to finish.
To continue the theme. use the off cuts of layer 3 on the inside of the card. (no waste here!)
Measurements for all cards
- Base Card; Mossy Meadow – 29.7 cm by 10.5 cm scored & burnished at 14.9 cm
- First Layer: Pear Pizzazz – 14.3 cm by 10.0 cm
- Second Layer : Whimsey & Wonder DSP – 15.2 cm by 15.2 cm
- Third Layer: Polished Pink – 10.5 cm by 7.0 cm
- Image: Basic White – Scrap
Voila!
I had great fun making these cards and I would love to know what you think? Please do leave me a comment.
If you would like to know more about any of these projects please do get in contact and I would be happy to help you
So please hop around the rest of the wonderful demonstrators blogs to see some more inspiration for using these wonderful patterned papers
See the rest of the International team below!
Pretty Card and Papers International Blog Hop Team
Thanks for looking
Stamping Hugs
Sara
- Shop Stampin Up – Earn 10% rewards on all qualifying purchases over £20
- Request a catalogue
- Buy a starter Kit
- Find out about joining our group of Hugs & Kisses Stampers


0 Comments