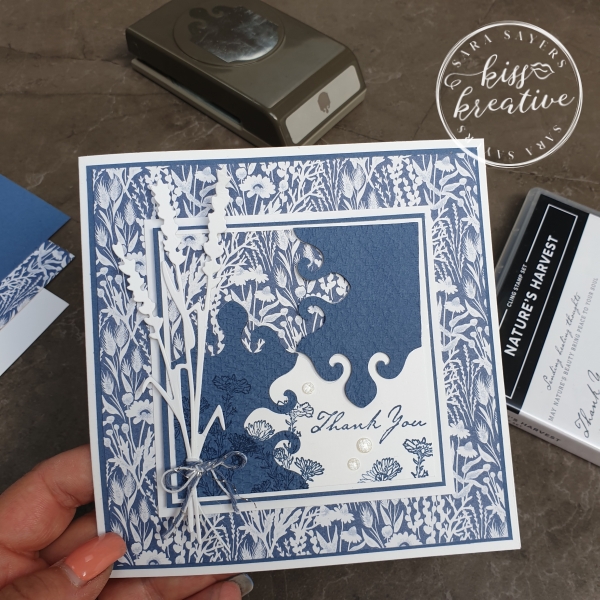
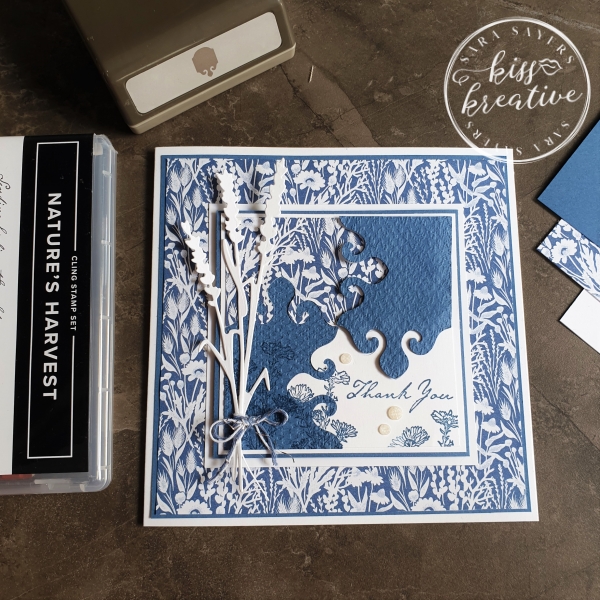
Welcome to the Crafty Collaborations blog hop. I am part of an amazing group of demonstrators from all around the world. We love showcasing the wonderful products which can found in our suite of catalogues. This month we are looking at different ways to use your punches. There are quite a few different techniques which I am sure you will discover today. I chose to create a fun square Nature’s Harvest punched puzzle card.
Techniques with Punches?
Typically our punches fall into two categories: Label/Shape and Builder punches. And they pretty much do what they say, However there are some punches that really lend themselves to what is commonly know as Punch Art.
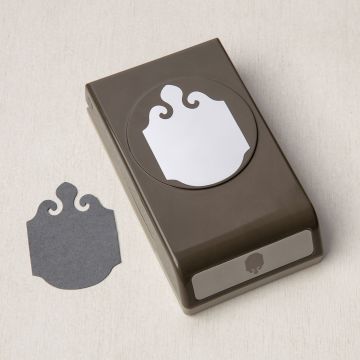
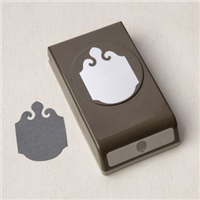
Today I chose to use the beautiful Elegant Tag
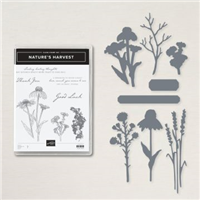
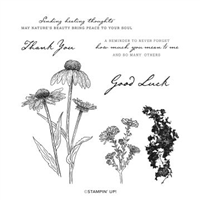
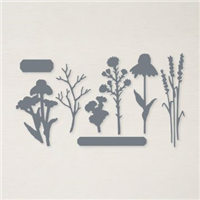
Nature’s Harvest Bundle
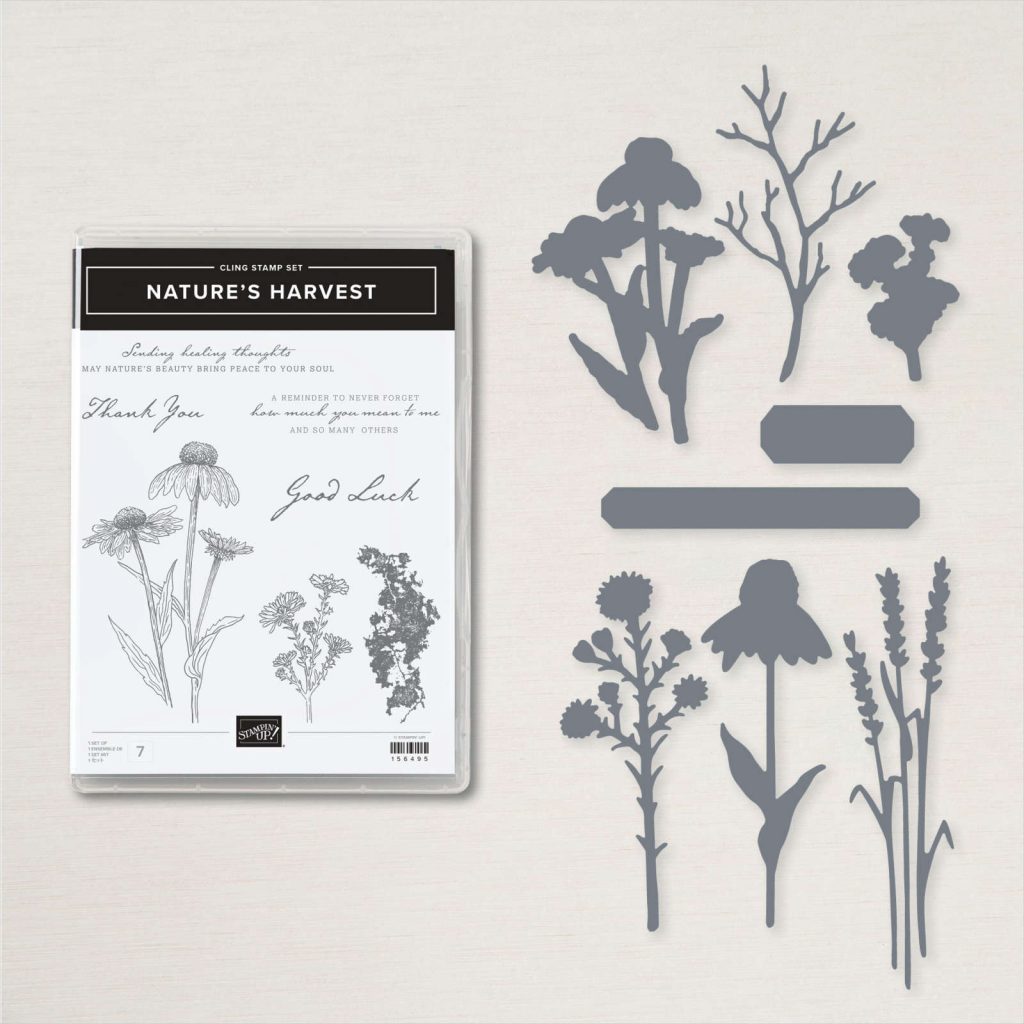
The Nature’s Harvest bundle is amazing! When I first saw it in the new Mini catalogue, I knew it would be a great addition to my stash. I used it for a number of projects already one of which was yesterday.
How To Make A Nature’s Harvest Punched Puzzle Card
Now I love using our products to make more unusual cards so when I saw this Youtube demo by my amazing crafty friend Jay Soriano at Mitosu Crafts I just had to have a go.
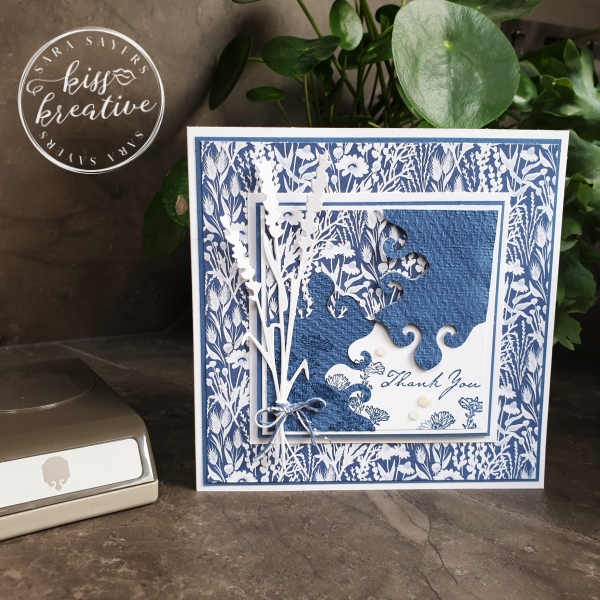
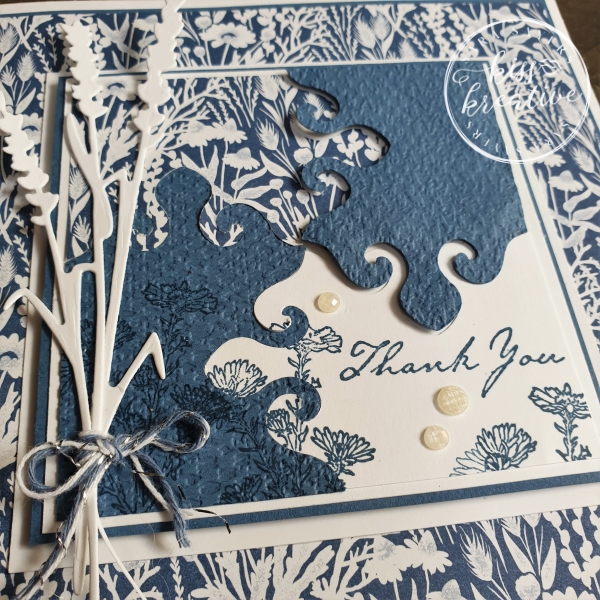
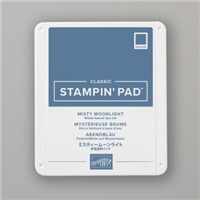
Make the puzzle pieces using the Elegant Tags punch. I chose to use 4.4 cm (1-3/4″ strips) to create the puzzle to minimise any waste. The flowers & Sentiment have been stamped in Misty Moonlight across the bottom of the two assembled puzzle pieces. I also embossed the coloured cardstock with the Tasteful Textile Embossing Folder for some added dimension.
TIP: Sit one of the pieces up on Dimensionals for a little interest
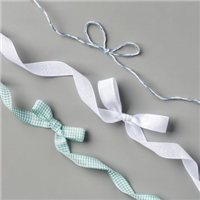
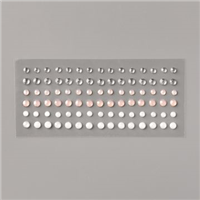
Add some bakers twine to the die cut wheat before adding the card. Finally finish with some white Elegant Faceted Gems.
How To Make A Nature’s Harvest Punched Puzzle Card
- Base: Thick Basic White 29.0 cm by 14.5 cm – scored at 14.5 cm
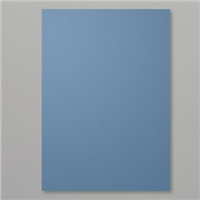
- First Layer: Misty Moonlight – 14.0 cm by 14.0 cm
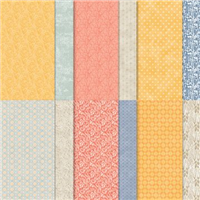
- Second Layer: Harvest Meadow Designer Series Paper – 13.7 cm by 13.7cm
- Third Layer: Basic White – 10.1 cm by 10.1 cm
- Fourth Layer: Misty Moonlight – 9.6 cm by 9.6 cm
- Fifth Layer: Basic White – 9.3 cm by 9.3 cm
- Punched elements: Misty Moonlight/ Basic White DSP 4.4 cm strips
- Die cut: Basic White – 13.0 cm by 5.0 cm
Voila!
I so enjoyed making these cards and I would love to know what you think? Please do leave me a comment.
If you would like to know more about any of my projects please do get in contact and I would be happy to help you
So now it’s time to hop around the rest of the wonderful demonstrators blogs to see some more inspiration for using these wonderful patterned papers
See the rest of the International team below!
Punch Technique Blog Hop Team
Stamping Hugs
Sara
- Shop Stampin Up – Earn 10% rewards on all qualifying purchases over £20
- Request a catalogue
- Buy a starter Kit
- Find out about joining our group of Hugs & Kisses Stampers


What a clever technique – I would never have thought to use the punch in this way but your card is fabulous. Love the monochromatic colour palette too. Thanks for sharing
Wow. Love this Sara!!!!
Clever use of this punch
Oh my gosh, your card is stunning!
Clever idea, love it x