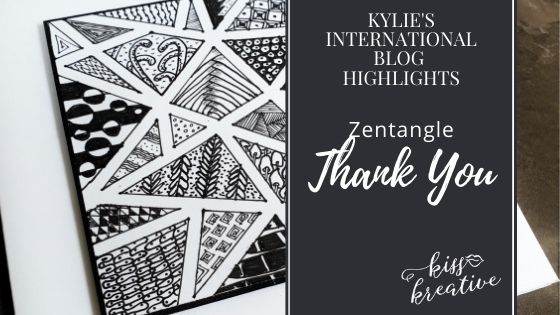
Hello and thanks for stopping by my blog today! I’m so happy to be sharing my card and to show you my fun square zentangle thank you card using the fabulous Plenty of Patterns Decorative Masks.
I’m participating in Kylie’s monthly International Blog Highlights contest and the top 10 vote winners get to participate in an International Blog Hop. I would be so grateful if you could consider taking a moment and voting for my card? I’d really appreciate it!

How Do I Vote?
Click on the button below you. Please look for my card (It’s number 24) and click on the little heart sign on the right-hand top side of my photo. Once you’ve touched the little clear heart it will turn to Red Color and will confirm that you voted. You can vote up to five times, but it’s not required, you can also just vote for one. Thanks so much, I truly appreciate your support!
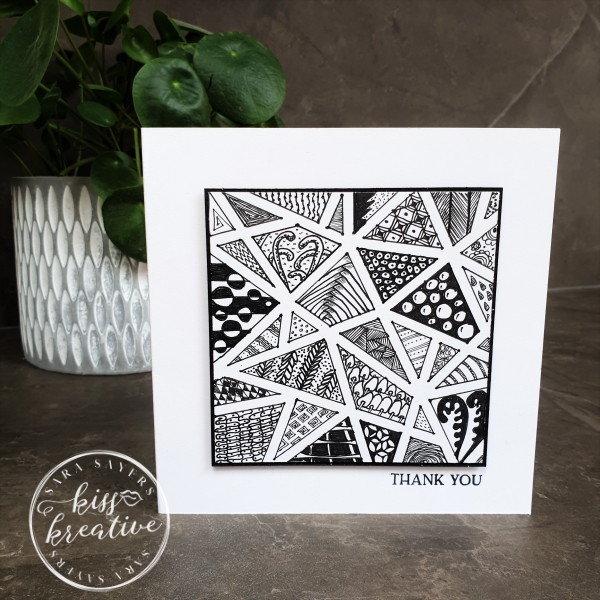
I have seen quite a few zentangle pieces on the internet and thought they would be fantastic to make as a card.
This card card was super simple to make, because it just uses a handful of crat staple products and one mask! Yep!
The hardest part of this card was deciding which pattern to put in which section, but if you are struggling for ideas, then just search for zentangle patterns online.
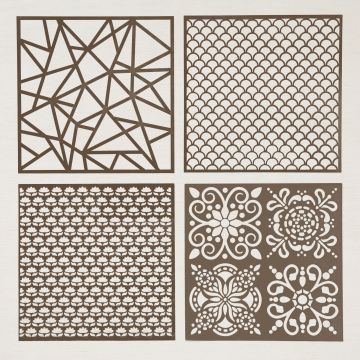
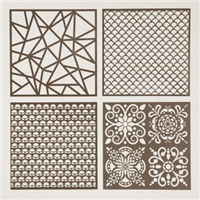
Have you seen the Plenty of Patterns Decorative masks yet? It is one of those hidden gems in the 2021-22 Annual catalogue.
There are four wonderful patters in the set and I can see this being a permanent fixture on my desk
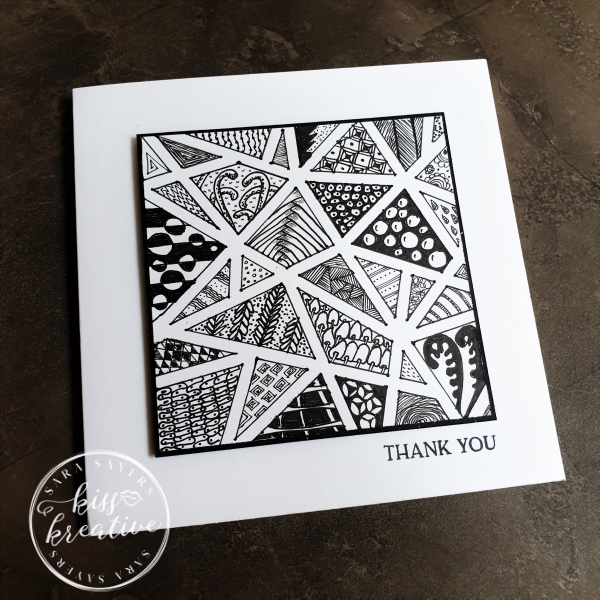
Square Zentangle Thank you Card
I haven’t make a square card for a little while and wanted to keep the whole card really simple
How To make A Square Zentangle Thank you Card
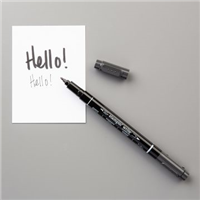
My starting point was the geometric style mask which I placed on top of the Layer 2 piece of basic white and drew around the inside of each shape using a basic black marker.
Next remove the mask and now the fun begins! Fill in each section using the marker.
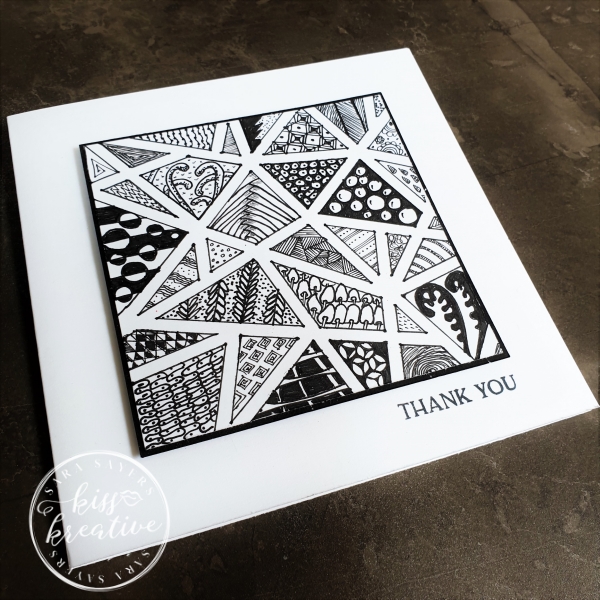
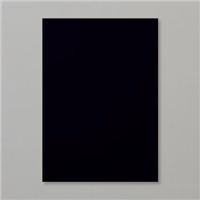
Add to the piece of Basic Black using glue and add to the base card using Dimensionals.
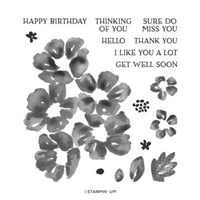
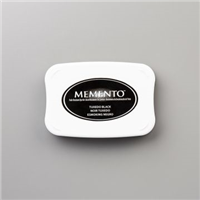
Finally stamp the sentiment in Memento Ink.
Measurements
- Base: Thick Basic White – 29.0 cm by 14.5 cm scored and burnished at 14.5 cm
- First Layer: Basic Black – 10.5 cm by 10.5 cm
- Second Layer: Basic White – 10.2 cm by 10.2 cm
Voila!
I had great fun making this card and I would love to know what you think? Please do leave me a comment.
If you would like to know more about any of my projects please do get in contact and I would love to help you.
Thanks for looking
Stamping Hugs
Sara
- Shop Stampin Up – Earn 10% rewards on all qualifying purchases over £20
- Request a catalogue
- Buy a starter Kit
- Find out about joining our group of Hugs & Kisses Stampers

WOW Sara this card is both original and stunning! Absolutely love it!! Thank you for being part of my International Blog Highlights this month and all the best with voting!
I like Sara’s card number 24 but I am not sure idthe infill is in pattern stamps or DSP?
Hi Sheila, I have used a black stampin’ Write marker to draw the patterns, but it you masked each are with post it notes you could easily infill with Stamps. Great idea x
I love your original take on this geometric mask and all the perfect doodles you’ve created while filling it’s triangles. Great card!
So terrific, literally I cannot believe you drew all those line and patterns – super neat! You have a lot of patience🙂