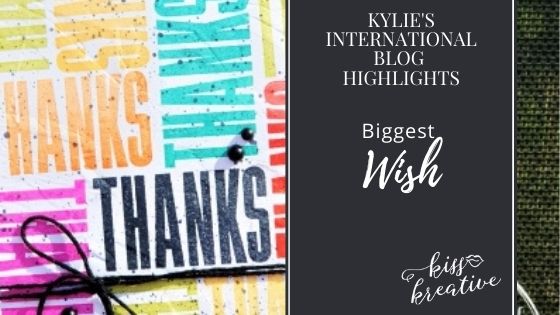
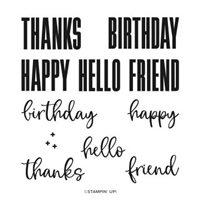
Hello and thanks for stopping by my blog today! I’m so happy to be sharing my card and to show you my fun bright rainbow tiled Slimline thank you card using the Biggest Wish Stamp Set
I’m participating in Kylie’s monthly International Blog Highlights contest and the top 10 vote winners get to participate in an International Blog Hop. I would be so grateful if you could consider taking a moment and voting for my card? I’d really appreciate it!

How Do I Vote?
Click on the button below you. Please look for my card (It’s number 10) and click on the little heart sign on the right-hand top side of my photo. Once you’ve touched the little clear heart it will turn to Red Color and will confirm that you voted. You can vote up to five times, but it’s not required, you can also just vote for one. Thanks so much, I truly appreciate your support!
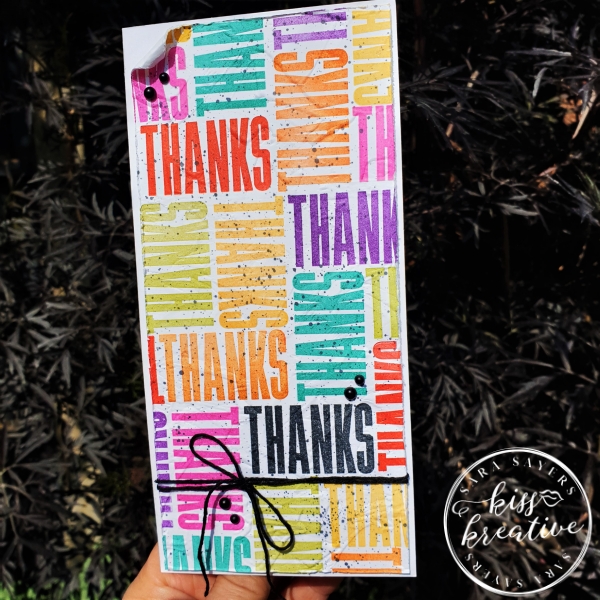
This card was so fun to make and because I created a random tile effect with the photopolymer “Thanks”, it was so easy to line up (or should I say it’s a very forgiving technique if you don’t manage to get it to all line up perfectly!)
In fact once you get into the rhythm its quite easy to create quite a pile of these very quickly
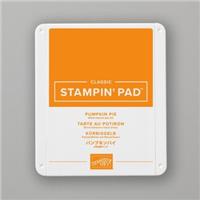
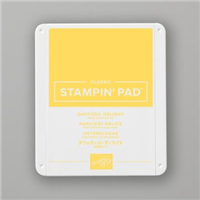
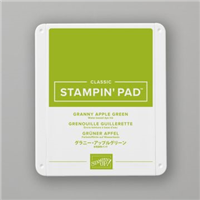
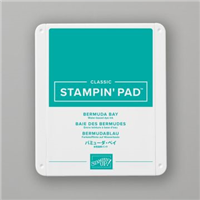
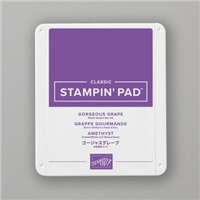
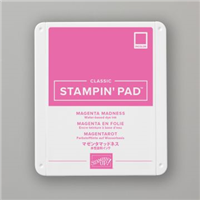
The hardest part of this card was deciding which colours pick, so of course I went for my rainbow brights!
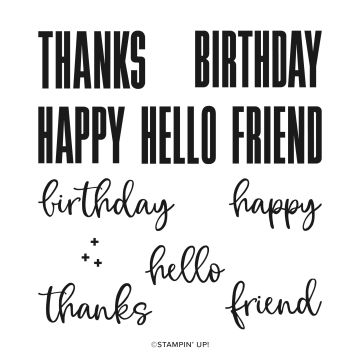
Have you seen the Biggest Wish Stamp set yet? It is one of my recommended buys from the 2021-22 Annual catalogue as it is just so useful.
I have really not been able to stop using it
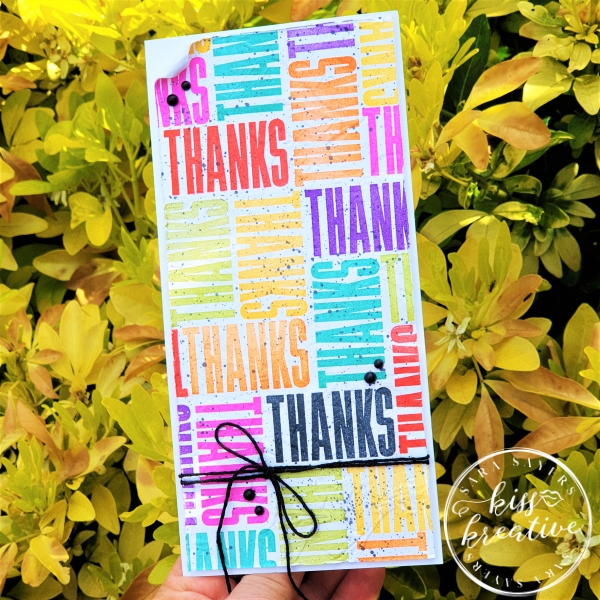
rainbow Tiled Slimline Thank you card
I wanted to make the tiles of Thanks really pop so went for a slimline card to give me plenty of space to stamp.
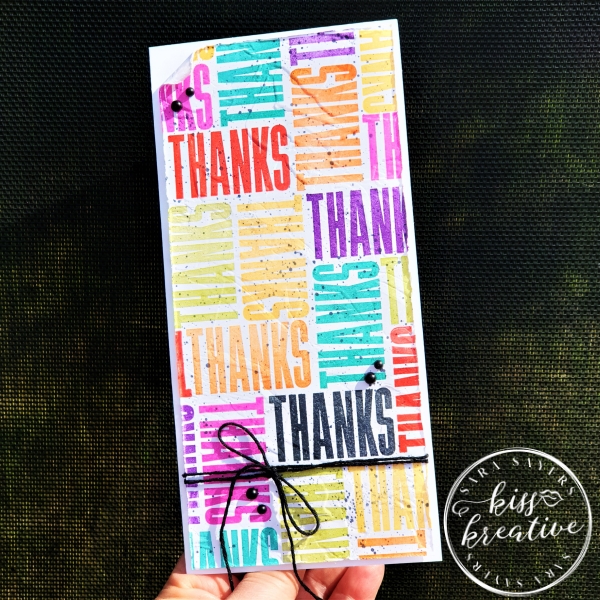
How To make A rainbow Tiled Slimline Thank you Card
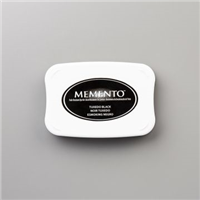
My starting point was the Tuxedo Black Thanks to anchor the words and then I just stamped around in different directions filling all the space
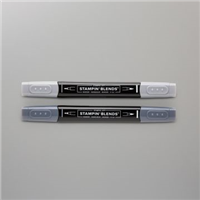
Next use a Basic Black Stampin Blend to create some splatters over the card.
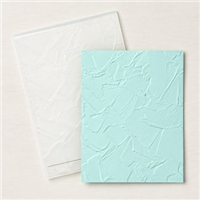
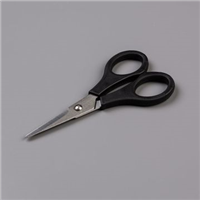
For more texture I embossed the card using the Painted Textures 3D Embossing Folder & distressed the edges with my snips.
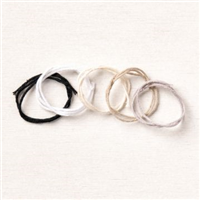
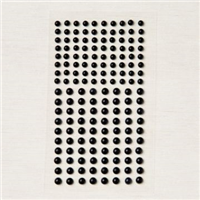
Finally add some Black Twine and some Matte Black dots before adding to the card base with some Dimensionals.
Measurements
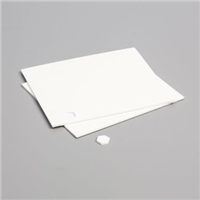
- Base: Thick Whisper White – 20.0 cm by 21 cm scored at 10.0 cm to form the slimline base card.
- First Layer: Basic White – 9.5 cm by 20.5 cm
Voila!
I had great fun making this card for my customers this month and I would love to know what you think? Please do leave me a comment.
You can find more projects using the Biggest Wish HERE
If you would like to know more about any of my projects please do get in contact and I would love to help you.
Thanks for looking
Stamping Hugs
Sara
- Shop Stampin Up – Earn 10% rewards on all qualifying purchases over £20
- Request a catalogue
- Buy a starter Kit
- Find out about joining our group of Hugs & Kisses Stampers



Great card Sara
Great technique and colours Sara! Thanks for being part of my International Highlights this month! All the best with the voting.
Such a fun, colorful card! I love it!!
Oh my gosh so creative! I love it! I can’t believe you just got into the groove of repeating the pattern – I’m nervous but may give it a try. Great colour choice 🙂
Love it! It looks like Subway art. I may have to try it. Thanks for the inspiration! 🙂
It’s such a joy-spreading card!
Good luck with the voting and greetings from Germany!
Simone (derdiedasKleine bastelt)