Welcome to the Pretty Cards and Paper International Blog hop. I am so fortunate to be joining this group of amazing demonstrators from all around the world. Each month we will be showcasing some of the Designer series papers which can found in our suite of catalogues. I’m so excited to share with you a set of stunning papers that sit within the Host & Earn section of the NEW 2021-22 Annual Catalogue. The mega DSP offering from the new annual Catalogue create my Art in Bloom Pattern Party Cards.
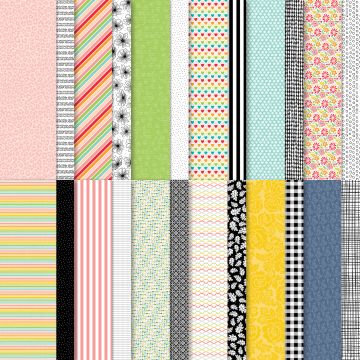
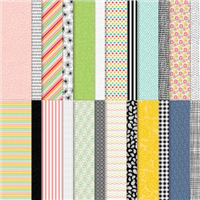
Pattern Party Mega DSP Pack
Have you seen the amazing Host & Earn FREE mega DSP bundle on page 171 on the catalogue? There are 4 Each of 12 double sided designs totalling 48, 12″ by 12″ pieces of card. One side is a set of pretty brightly coloured designs. The other some gorgeous classic Black & white designs.
Yep that’s right you can earn all of these for FREE with a qualifying order!!
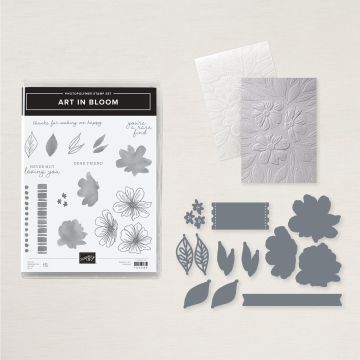
Art in Bloom Pattern Party Cards
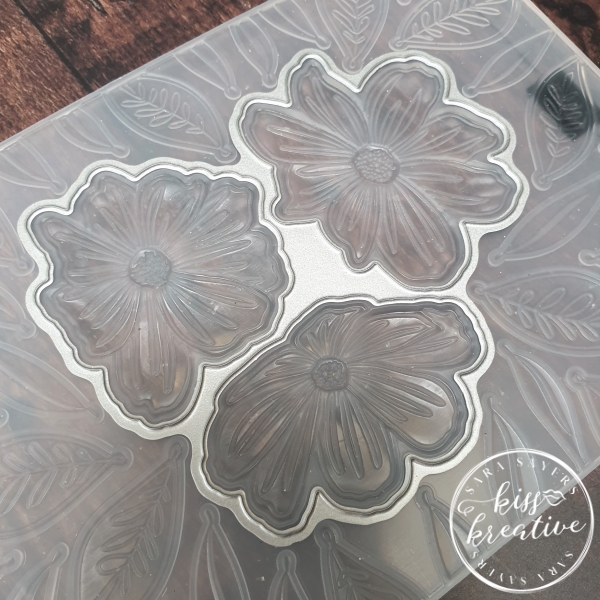
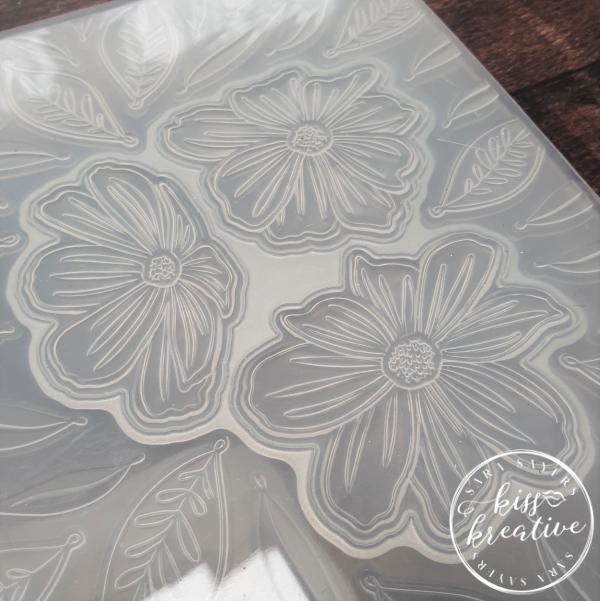
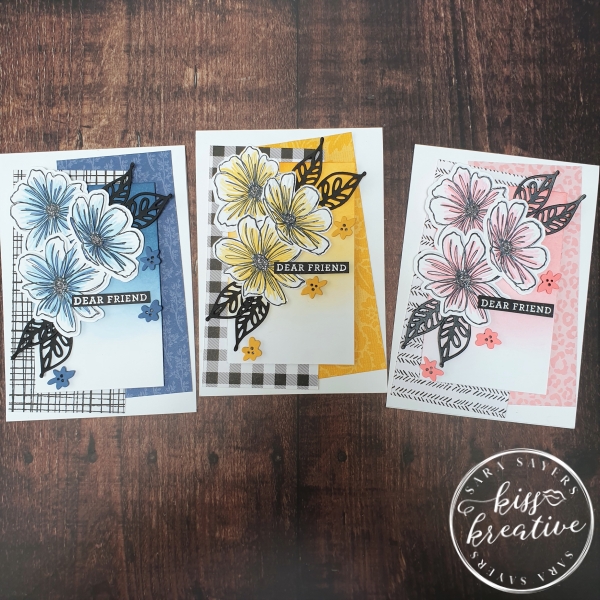
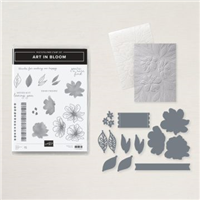
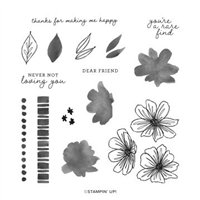
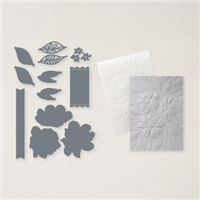
I wanted to show both sides of the DSP as they were both so pretty. To coordinate with these pretty designs I needed a simple image, which would not overwhelm the card. So I plumped for the beautiful Art in Bloom bundle, which has this amazing NEW Hybrid embossing folder.
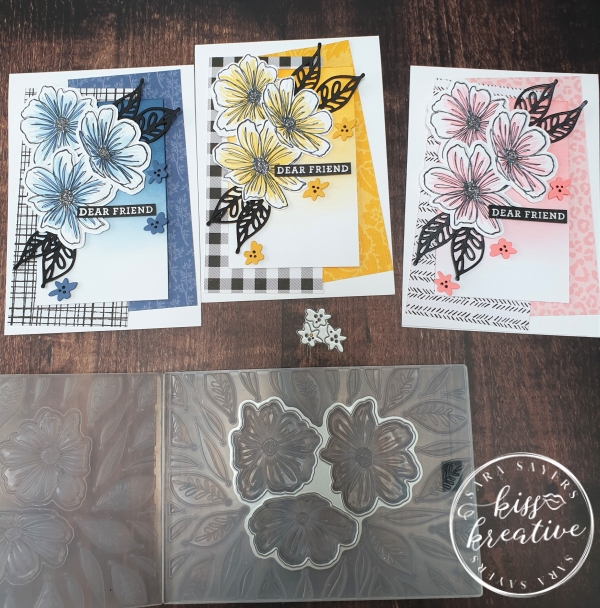
Once you have stamped and coloured your images, then place the die inside the embossing folder. It sits perfectly around the three central floral images. Next add your image to the sandwich , close and emboss as usual.
It creates a wonderful texture and shape to the flowers in one go and I love it!
cute Art in Bloom Pattern Party Cards
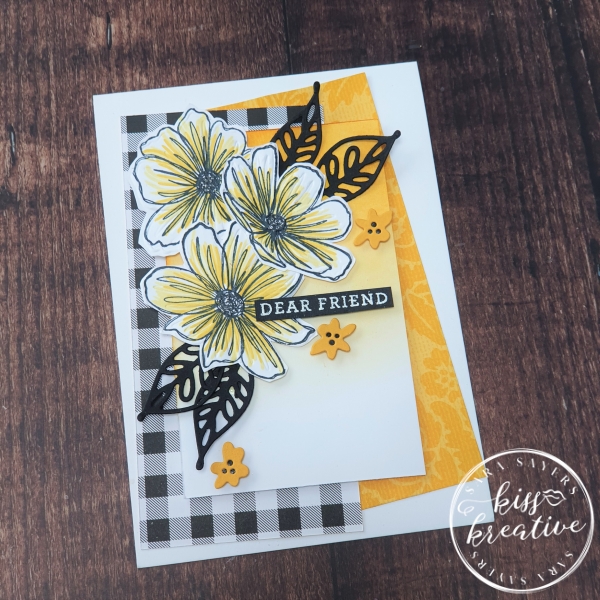
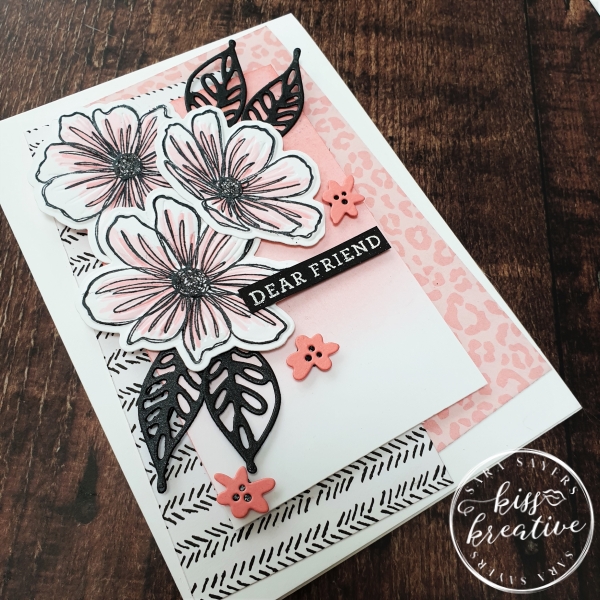
I chose to show off three of the different patterns and kept the colour scheme simple on each card.
How to Create cute Art in Bloom Pattern Party Cards
- Add the two pieces of Designer Series Papers (DSP) to the card base with glue.
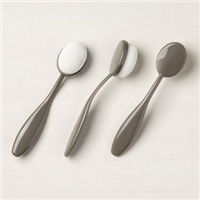
- Take the piece of Basic White ad add the ink with a blending brush to create an Ombre effect.
- Attach to the card with Dimensionals
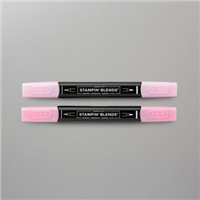
- Stamp the flowers & colour with blends
- Now for the amazing bit, Die cut and emboss the flowers at the same time ( see my explanation above))
- Add to the cards with Dimensionals
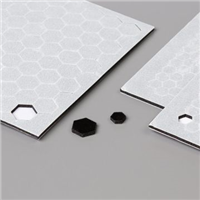
- Die cut the leaves and itty bitty flowers and add to the card with Black mini Dimensionals
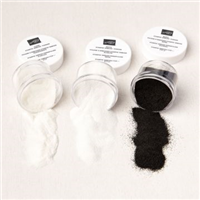
- Heat emboss the sentiment on a scrap of Basic Black in White Stampin Emboss Powder.
- Add to the card with Black mini Dimensionals
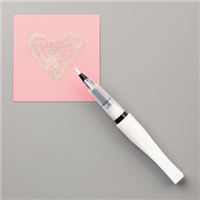
- Finish with a little Wink of Stella on the flower centres and leaves
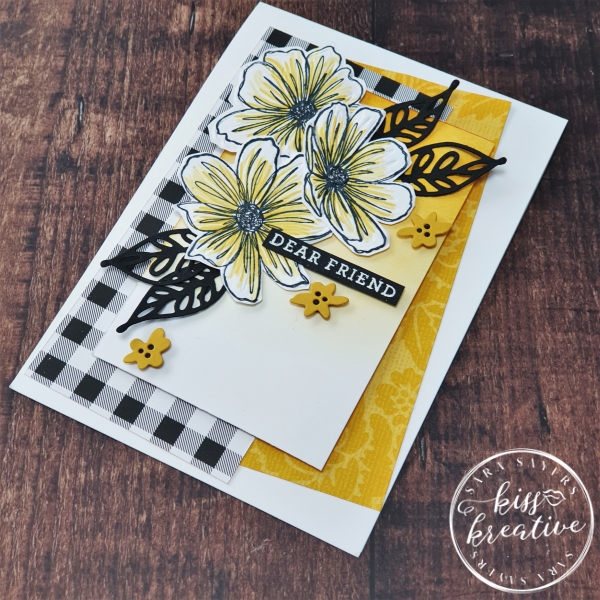
cute Art in Bloom Pattern Party Card Measurements
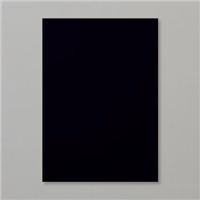
- Base: Thick Basic White- 29.7 cm by 10.5 cm scored at 14.9 cm
- First Layer : Pattern Party DSP – 13.5 cm by 6.5 cm CUT TWO
- Second Layer : Basic White – 11.0 cm by 7.0 cm
- Flowers: Basic White – 10.0 cm by 10.0 cm
- Sentiment/Leaves: Scrap basic Black
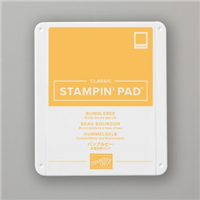
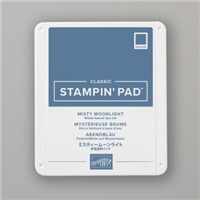
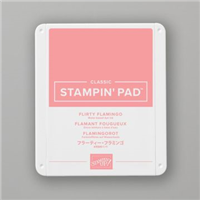
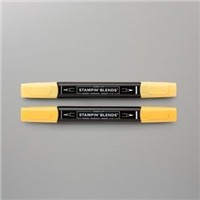
- Itty Bitty Flowers: Bumblebee/Misty Moonlight/Flirty Flamingo
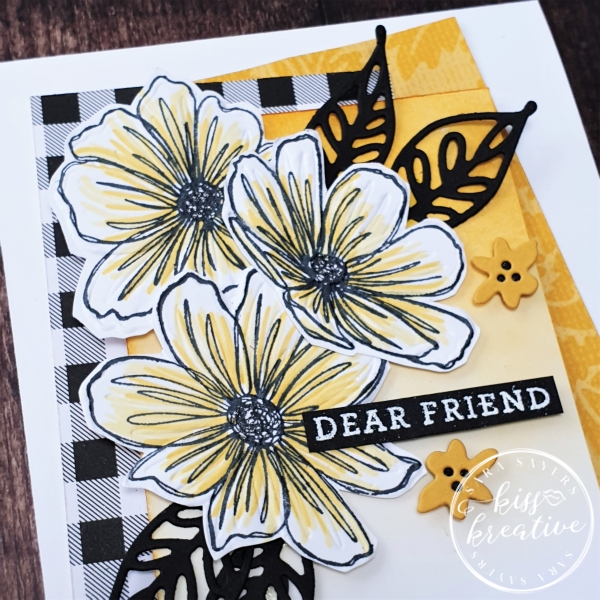
Voila!
I had great fun making these cards and I would love to know which one is your favourite? Please do leave me a comment.
If you would like to know more about any of these projects please do get in contact and I would be happy to help you
So please hop around the rest of the wonderful demonstrators blogs to see some more inspiration for using these wonderful patterned papers
See the rest of the International team below!
Pretty Card and Papers International Blog Hop Team
Thanks for looking
Stamping Hugs
Sara
- Shop Stampin Up – Earn 10% rewards on all qualifying purchases over £20
- Request a catalogue
- Buy a starter Kit
- Find out about joining our group of Hugs & Kisses Stampers


Beautiful technique. Three great cards Sara!