Hello and welcome to this blog post featuring my pretty Butterfly Bouquet Tri fold Vellum Wedding Card
So a huge thanks for joining us for our Stampin’ Up!® Demonstrator Monthly Team Blog Hop! We are so happy that you could join us today and hope you’ll find lots of ideas and inspiration. We are a group of Stampin’ Up! Demonstrators from around the world and are taking part in training to help us build successful Stampin’ Up! businesses and reach our goals. We really appreciate your support
You may be starting here or have come from another blog – either way you can find the link list at the bottom of this post so that you have the opportunity to see every blog post and idea today and believe me you want to check out all the inspiration across the world.
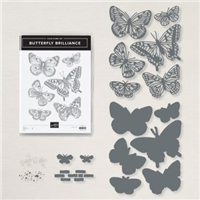
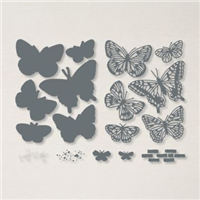
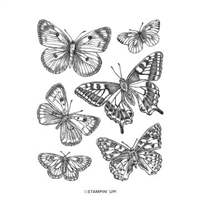
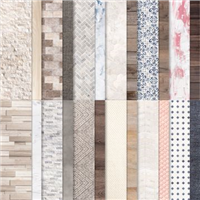
The Butterfly Brilliance bundle of the stamps and dies is an early release from the upcoming 2021-22 Annual Catalogue. It originally came with some beautiful patterned papers, but they were so popular they sold out in just 15 days!

I have loved working with this bundle and you can see another project HERE
Butterfly Bouquet Tri fold Vellum Wedding Card
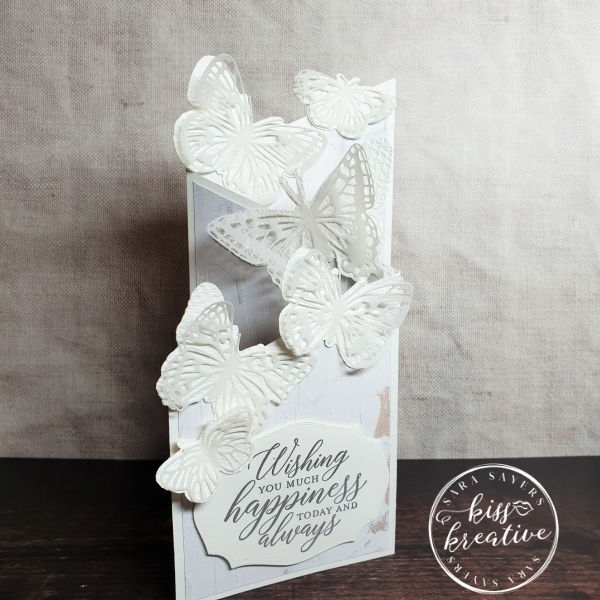
How to make this Butterfly Bouquet Tri fold Vellum Wedding Card
- Take a Scorer/Trimmer, 1 sheet of A4 card and some patterned paper cut 9cm wide
- Score along the long side to divide the card into 3 (TIP: I usually score at 9.9cm from one side and then score in at 9.9cm from the other side)
- You then need to slice off a piece on a diagonal. Start at top left corner and then come down to about 8cm from the bottom right but not right into the corner.
- To cut the DSP lay on top of the section on the diagonal edge and use a pencil to mark the edges where they cross the DSP then cut the diagonal. Lay it back on the section you are cutting for and repeat on the straight edge for the bottom so you have approximately 0.4 cm edge all the way round
- Repeat for each facing section
- Cut the six butterflies in White Card stock and emboss with the Textured Textiles 3D Embossing folder
- Cut the matching 6 detailed butterflies in vellum and attach to the white embossed butterflies using glu on the abdomen to create some movement
- Attach to the diagonal edge using glue.
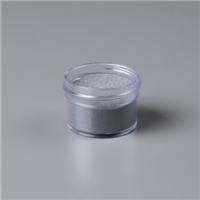
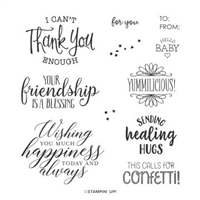
- Heat emboss the sentiment in Silver embossing powder and die cut using the must have Tasteful Label dies.
- Attach to the card with Dimensionals
Voila!
Hop for more inspiration
I had great fun making this card to showcase the versatility of the wonderful Butterfly Brilliance Bundle and I would love to know what you think? Please do leave me a comment.
If you would like to know more about any of my projects please do get in contact and I would be happy to help you.
Thank you so much for stopping by today! I’m sure you are going to love all the amazing projects that you will see today. If you have time show us some love in the comments section, it makes our day. You are currently on my page – Sara Sayers, see who is below me to know where to go next.
Kylie’s Demonstrator Training Support Program Butterfly Bouquet Blog Hop April 2021 – Blog hop participant list
Thanks for looking
Stamping Hugs
Sara



Looks like a great card. I would love to see a photo with more of the card showing.
Beautiful card Sara!
Your card is elegant! I’d like to CASE it, if you don’t mind.
Gorgeous card Sara! Just perfect for a wedding! 🙂
Beautiful card, Sara! I love the white on white – very striking.
How did you know I needed a Wedding Card? Beautiful as always and so easy to make, thank you!
Sara, I jjust love your card
So pretty!
What a stunning wedding card Sara! Thank you for taking part in our Butterfly Bouquet Demonstrator Training Blog Hop this month.
Absolutely stunning card, Sara!
WOW!! Gorgeous card!!😊