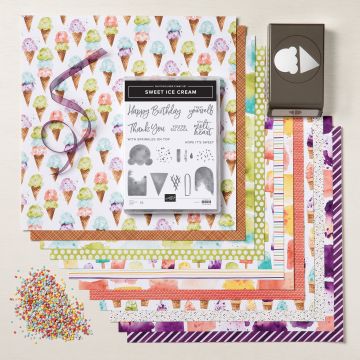
Welcome to our Tech 4 Stampers blog hop. I am part of an amazing group of demonstrators from around the world who are part of a Tech Academy run by the amazing Louise Sims. Her Website School and Tech academy helps Stampin Up Demonstrators navigate their way around the world of websites and social media. Now many of us have our websites up and running, a blog hop seemed the next logical step. This month we have a sketch challenge. I love a sketch challenge & with the clocks moving forward my mind has turned towards long hot summer days so it seemed the perfect time to make some easy cards with Ice Cream Corner suite

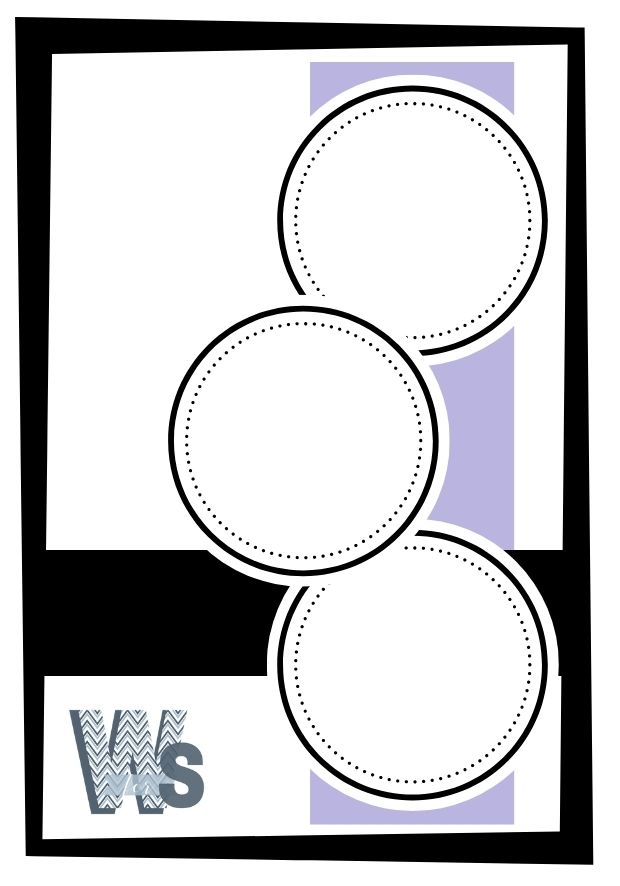
This months Sketch Challenge
Here is this months sketch challenge and I instantly thought of the Stitched Shapes for those lovely circles. They are a must for your stash, but sadly they are leaving us and have already sold out (Big sad face). So I had to go back to my stash and found the perfect solution.
Easy Cards with the Ice Cream Corner
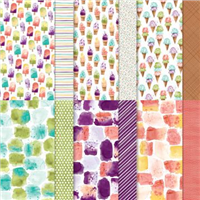
This layout just works so perfectly with the Ice Cream Corner Suite. Bold bright vibrant colours that evoke memories of hot summer days at the beach.
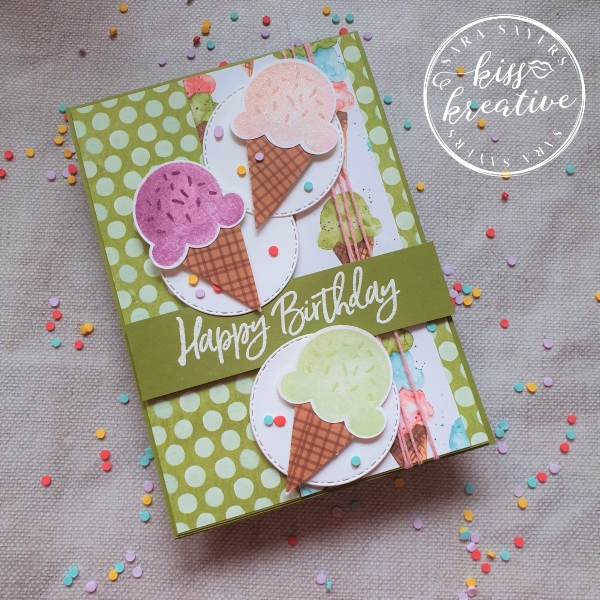
Easy Cards with the Ice Cream Corner – Happy Birthday
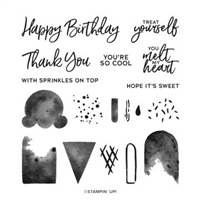
For my first project I made a birthday card with lots of lovely ice creams. Yummy! My favourite flavours are Blackberry, Pistachio and delicate Rose and these work perfectly with the colours in the wonderful Designer Series Papers of this suite.
How to make this card
- Take the base card, fold on the score line and burnish
- Attach the first layer to the base card with glue
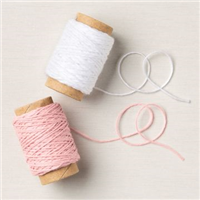
- Wrap some Pink Snailed It Twine around the second layer about 3-4 times before adding tho the card.
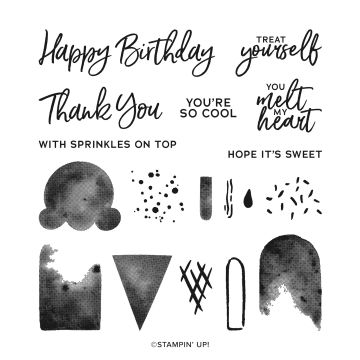
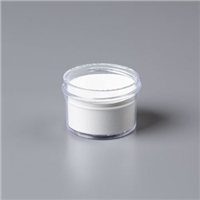
- Heat emboss the sentiment in White Embossing Powder onto the Third layer strip.
- Add to the card with Dimensionals.
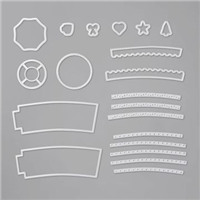
- Die cut three stitched circles from the Warm Wrap dies using the Basic White scrap
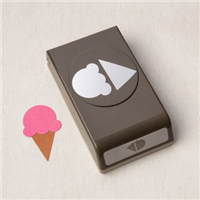
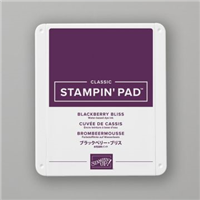
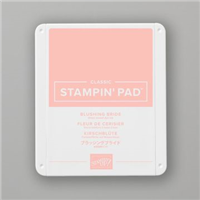
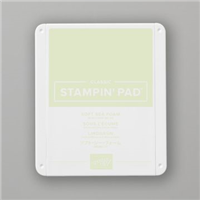
- Stamp the ice creams in Blushing Bride, Blackberry Bliss and Soft Sea Foam and punch using the fabulous coordinating Ice Cream Cone Builder Punch
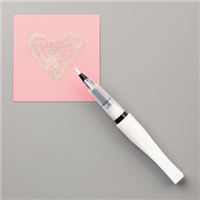
- Add a little Wink of Stella to the ice creams to make them sparkle
- Punch out the waffle cones using the punch
- Assemble and adhere to the circles with Dimensionals.
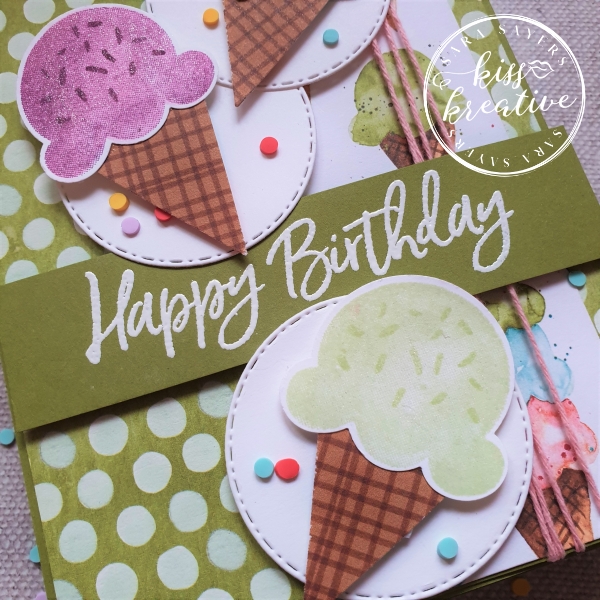
Card Measurements
- Card Base: Old Olive – 29.7 cm by 10.5 cm score at 14.9 cm
- First Layer: Ice Cream Corner Designer Series Paper – 14.5 cm by 10.2 cm
- Second Layer: Ice Cream Corner Designer Series Paper – 14.5 cm by 5.0 cm
- Third Layer: Old Olive – 10.5 cm by 2.5 cm
- Circles and Ice Cream: Basic White – 14.9 cm by 10.5 cm or scraps of about the same area
Easy Cards with the Ice Cream Corner – Stepped up Thank you
I wanted to make another card & changed a few elements to step up the card
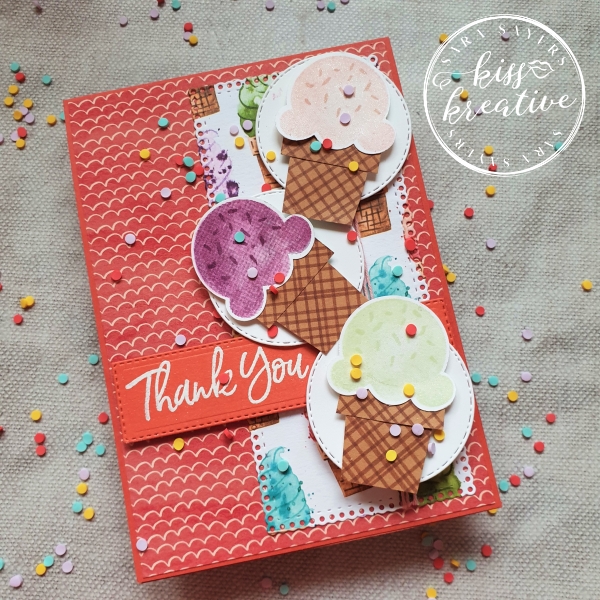
The second (DSP) and third (Terracotta Tile) layers have been die cut using the pretty dies from the Ornate Layers dies.
The cones on the ice creams have been hand cut to match the images on the pretty DSP.
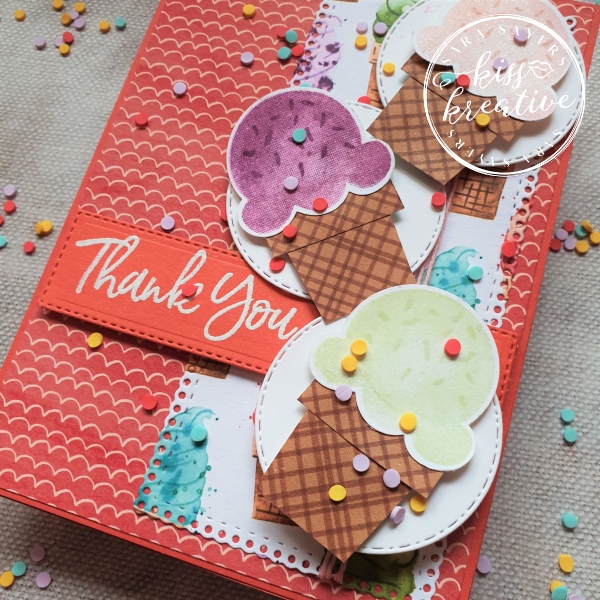
Voila!
I so enjoyed making these cards and I would love to know what you think? Please do leave me a comment.
If you would like to know more about any of my projects please do get in contact and I would be happy to help you
So now it’s time to hop around the rest of the wonderful demonstrators blogs to see some more inspiration for using these wonderful patterned papers
See the rest of the design team below!
Tech 4 Stampers Blog Hop Team
Stamping Hugs
Sara
- Shop Stampin Up – Earn 10% rewards on all qualifying purchases over £20
- Request a catalogue
- Buy a starter Kit
- Find out about joining our group of Hugs & Kisses Stampers


Love it!
Lovely cards Sara, these are not colours I normally work with but after seeing your cards I think I will give them a go xx
Didnt get this set but love it now seen lots of ways to utilise the ice cream cones..
What a great card. Great card.
Beautiful cards. I love this suite.