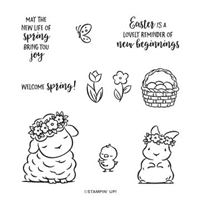
Hello there Crafty friends. Welcome to my first ever Stamp Impressions Europe blog hop. I have been invited to join an amazing group of demonstrators from all around Europe and we will be sharing some wonderful ideas based around the monthly theme. This month’s theme is EASTER and we have a sketch to accompany the challenge as well! So I chose to use the fabulous Springtime Joy Stamp Set again to create my Springtime Joy Easter Lamb Card.
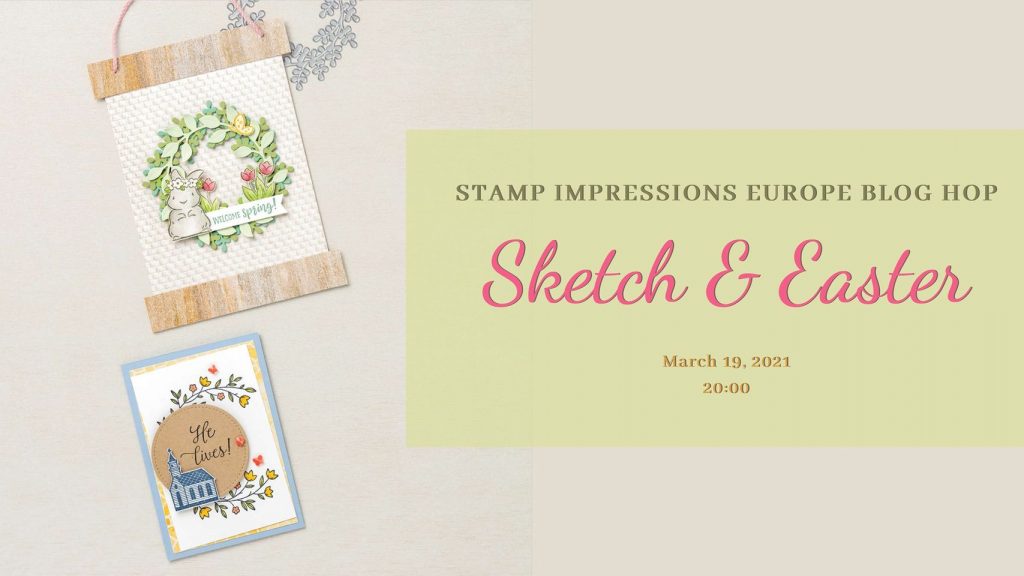
Springtime Joy Stamp Set
It’s full steam ahead in the crafty nook at the moment, making Easter cards and gifts. Recently I created some fun Easter cards using the cute little bunny on my Facebook live and you can read more about them here so now its turn to make the cute little lamb Centre stage.
This stamp set is so pretty and just cries out to be coloured with our wonderful selection of colouring mediums. Which would you chose?
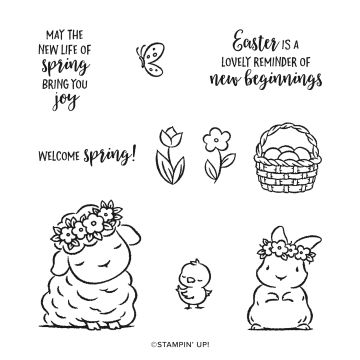
The other element to be incorporated into todays card was a sketch.
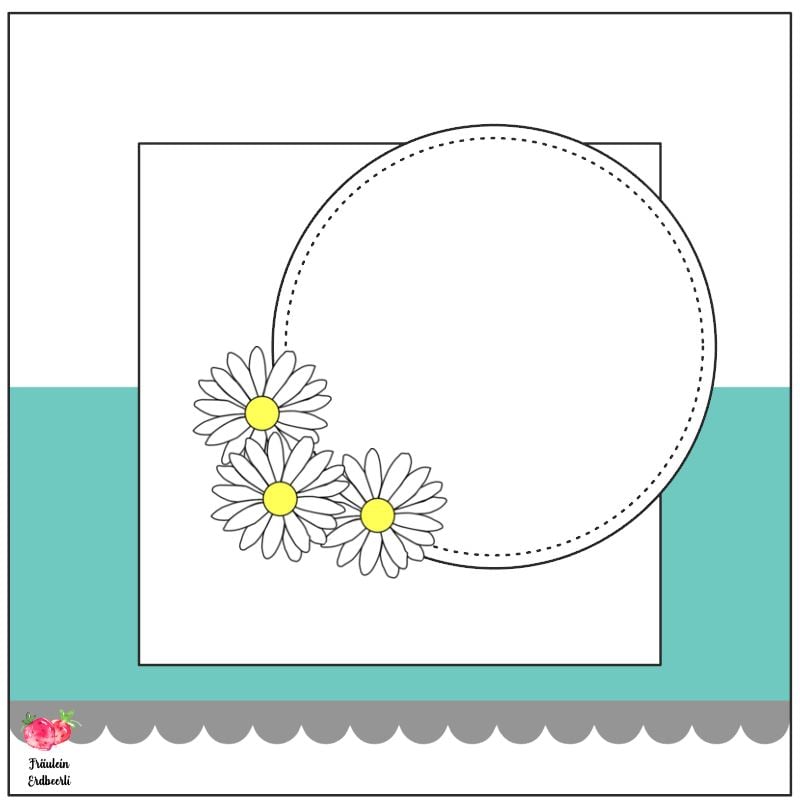
As its the first time I have ‘hopped’ with this lovely group, I thought I would keep everything nice and simple so created this bright and cheery Easter card. What do you think?
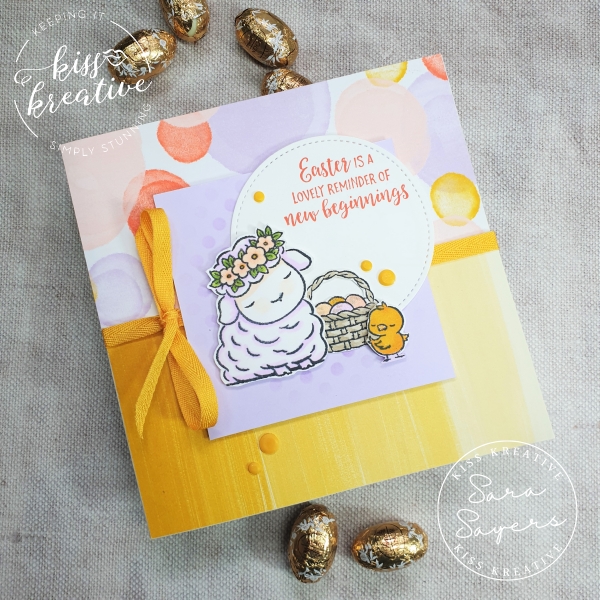
Springtime Joy Easter Lamb Cards
I has so much fun making this cheery card
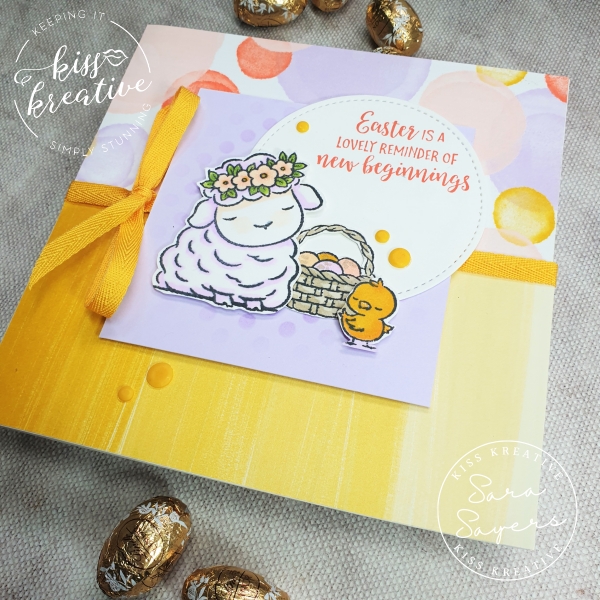
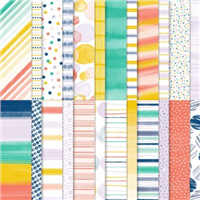
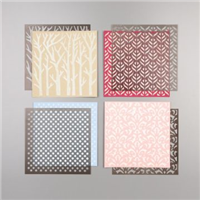
- Take two pieces of the Playing with Patterns DSP and add to the front of the card base
- Add the Bumblebee ribbon to cover the join of the DSP and tie in a bow
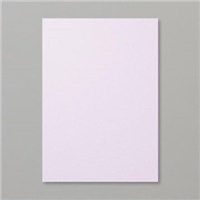
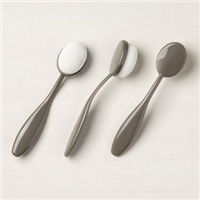
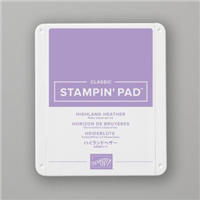
- Take the piece of Purple Posy Card and lay one of the decorative spotty masks over top and add some Highland Heather ink over the top of the mask using a Blending Brush
- Add to the card base using Dimensionals
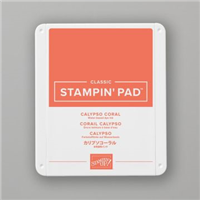
- Stamp the Sentiment in Calypso Coral onto the piece of Basic White card and Die cut with the largest Stitched Shape circle die
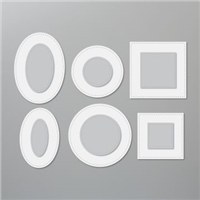
- Cut a frame in Basic White from the the Ornate Layers Dies. Stamp the sentiment in Calypso Coral and add a die cut from the Forever Flourishing Dies in Petal Pink Card.
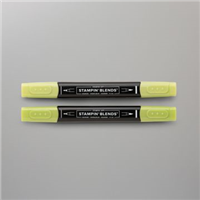
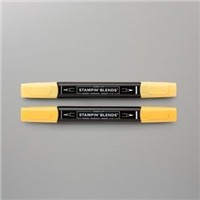
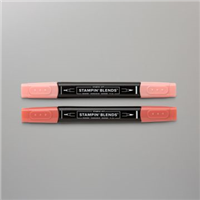
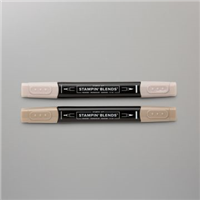
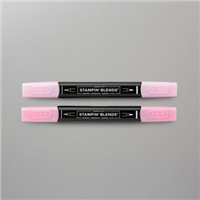
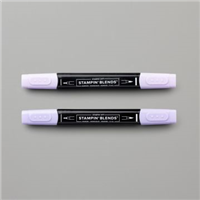
- Stamp the images onto the remaining Basic White, colour with Stampin Blends, fussy cut out and then add to the card using Dimensionals
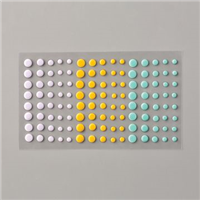
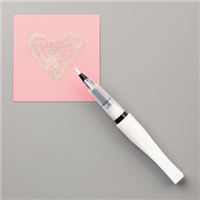
- Finally add a little Wink of Stella to the flowers and eggs and a few of the Resin dots
- Yay, You are done!
Card Measurements
- Card Base: Thick Basic White – 29.0 cm by 14.5 cm score at 14.5 cm
- First Layer: Playing with Patterns DSP – 14.5 cm by 7.5 cm CUT TWO
- Second Layer: Purple Posy – 9.0 cm by 9.0 cm
- Third Layer: Basic White – 21.0 cm by 8.0 cm
Voila!
I so enjoyed making this card and I would love to know what you think? Please do leave me a comment.
If you would like to know more about any of my projects please do get in contact and I would be happy to help you
Stamp Impression Design Team Blog Hop
So now it’s time to hop around the rest of the wonderful demonstrators blogs to see some more inspiration for using these wonderful patterned papers. You should have arrived here from Salina’s post. Wasn’t her project fabulous?
Click on the button above to go to Sigrid’s post. You can see the rest of the Design team below!
- Sigrid Joch – Sigrids kreative ART
- Yolanda Pasterkamp-de Jonge – Attelyootje
- Judith Gryspeerdt – Les Petits papiers d’Ilse
- Yvonne Spikmans – The Creative Teacup
- Belinda Wenke – Beli´s Kreative Welt
- Martina Duchkowitsch – Tinas Bastelecke
- Jose Hoogeveen – Stampin Treasure
- Martina Auer – Fräulein Erdbeerli
- Sara Sayers – KISS Kreative
Stamping Hugs
Sara
- Shop Stampin Up – Earn 10% rewards on all qualifying purchases over £20
- Request a catalogue
- Buy a starter Kit
- Find out about joining our group of Hugs & Kisses Stampers




I love your little scenery. Yellow is not a colour I use a lot but you make me love it!
Great combination of the set and DSP! Beautiful card!
What a lovely card!
Xo, Martina
I love this card with the fresh Spring colors. You made it really beautiful!
What a beautiful card.
xo Sigrid
Love this card! Such a wonderful color combo!