Welcome to the Pretty Cards and Paper International Blog hop. I am so fortunate to be joining this group of amazing demonstrators from all around the world. Each month we will be showcasing some of the Designer series papers which can found in our suite of catalogues. I’m so excited to share with you a set of stunning papers from the Annual Catalogue – Ice Cream Corner Designer Series Paper with other pretty coordinating items from same named Ice Cream Corner Suite

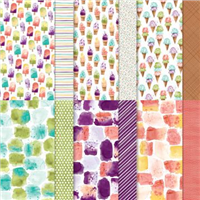
Now this month we have chosen bright and cheery Ice Cream Corner Designer Series Paper . Now the designs in this pack are all based beautifully illustrated Ice creams, Ice lollies and summery water coloured images. As I saw them I was instantly transport to summer, which is no mean feat when you are in the middle of a UK winter! The papers form part of a huge suite of coordinating products so I was so full of ideas. As you can see below in the imagery, some look like you have water coloured yourself. So on trend. There are 2 each of 6 double sided designs in a useful 12″ x 12″ format giving 12 sheets.
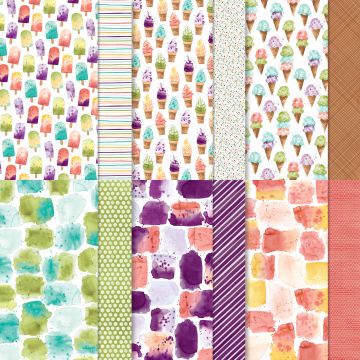
Ice Cream Corner Papers
The papers have a great spread of colours all with evocative echo’s of brighter days to come!
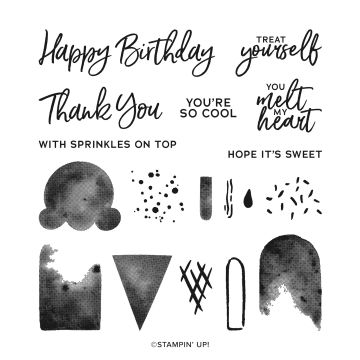
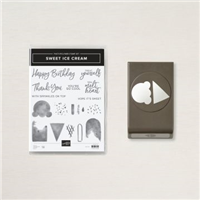
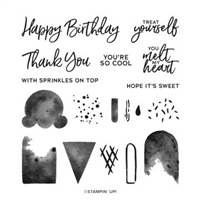
I picked the accompanying Sweet Ice Cream Stamp Set for my Projects. The font is adorable and can you see a teddy bear head and a party hat in those Images? No? Well I will be back with a project next week showing you that this set is not just for Ice cream!
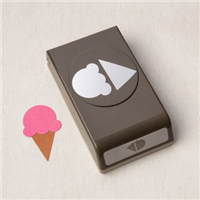
There is also an coordinating punch to go with this Stamp Set making it a perfect Bundle for quick cards. Plus because its a bundle you save 10% when you buy them together. Yay!
For todays cards I wanted to really show how easy it is to step up your cards depending on how much time you have available. What do you think?
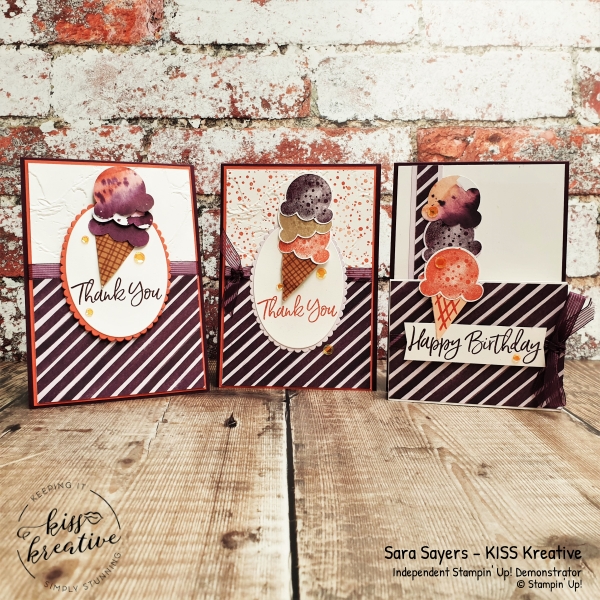
Ice Cream Corner – Simple Punched Card
Do you find you need to keep a stack of grab and go birthday cards? I for one always seem to be needing one to pop in the post! For my first card I wanted to keep everything really simple to show off some of the pretty patterns in this stunning paper range.
This card literally took me 15 minutes to make from start to finish. WOW!
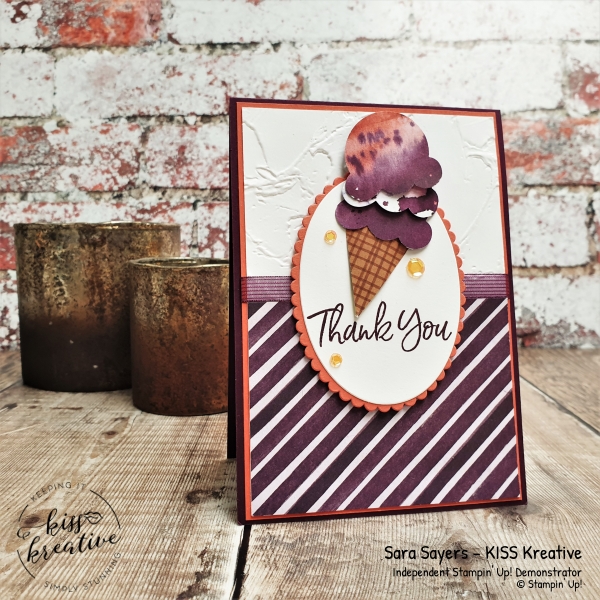
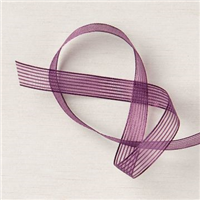
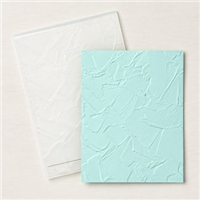
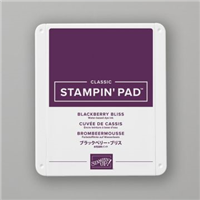
The Basic Whisper white has been Embossed using the Painted Texture 3D Embossing Folder and attached a piece of the Blackberry Bliss Striped Ribbon to hide the join between the papers.
The ice cream has been punched from the papers and attached with flue and Dimensionals.
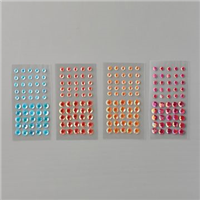
To finish add some pretty adhesive Artistry Blooms Sequins
Measurements
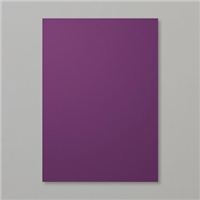
- Base: Blackberry Bliss – 29.7 cm by 10.5 cm scored at 14.9 cm
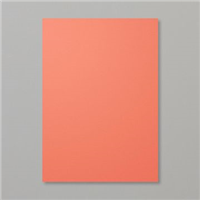
- First Layer : Calypso Coral – 14.3 cm by 10.0 cm
- Second Layer : Basic White -14.0 cm by 9.7cm
- Third Layer: Ice Cream Corner DSP – 9.7 cm cm by 7.0 cm
- Topper: Calypso Coral – 9.5 cm by 7.0 cm
- Sentiment:: Basic White – 9.5 Cm by 7.0 cm
- Ice cream: Ice Cream Corner DSP – Scraps
Ice Cream Corner – Stepped up Punched Card
For my next card I still wanted to add some additional detail to the card
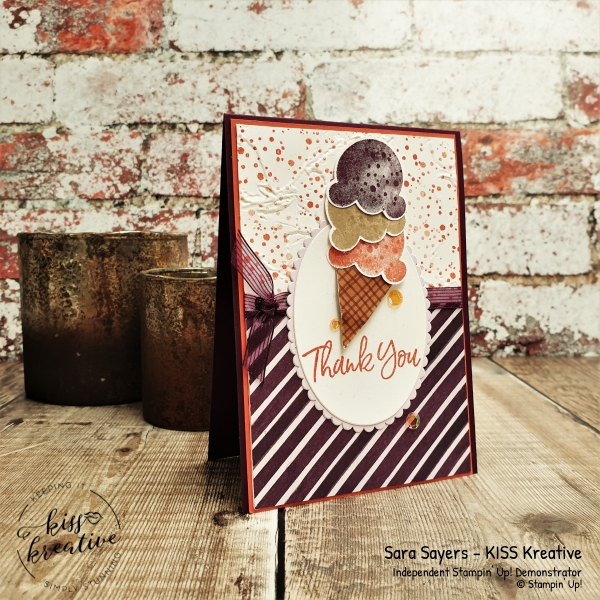
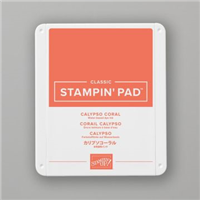
Stamp some sprinkles in Calypso Coral before embossing the second layer of Whisper White. Also add a faux knot to the ribbon and change the topper base to Purple Posy. This time stamp the sentiment in Calypso coral to match the sprinkles.
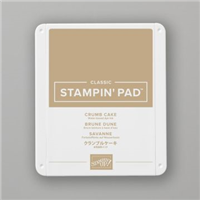
The ice cream has been stamped in Calypso Coral, Crumb Cake and Blackberry Bliss onto Basic White cardstock before being punched. Good enough to eat!
Measurements
- Base: Blackberry Bliss – 29.7 cm by 10.5 cm scored at 14.9 cm
- First Layer : Calypso Coral – 14.3 cm by 10.0 cm
- Second Layer : Basic White -14.0 cm by 9.7cm
- Third Layer: Ice Cream Corner DSP – 9.7 cm cm by 7.0 cm
- Topper: Purple Posy – 9.5 cm by 7.0 cm
- Sentiment:: Basic White – 9.5 Cm by 7.0 cm
- Ice cream: Basic White 10.0cm by 5.0 cm & Ice Cream Corner DSP – Scraps
Ice Cream Corner – Fun fold card
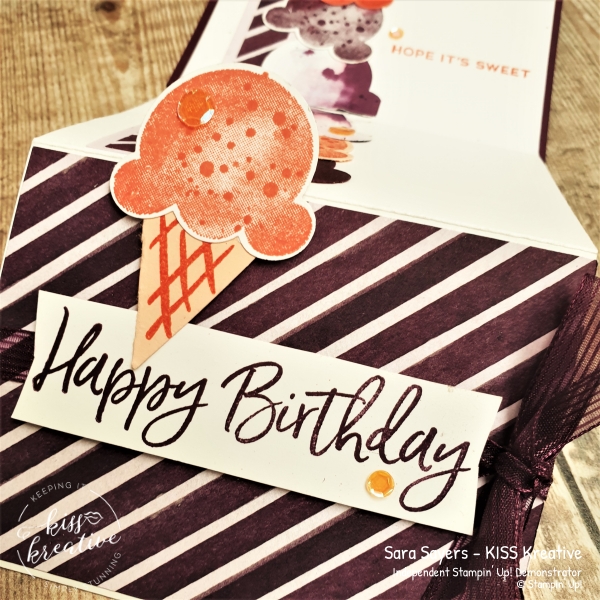
For my final card I decided to create a fun fold card for the sweet toothed in our lives!
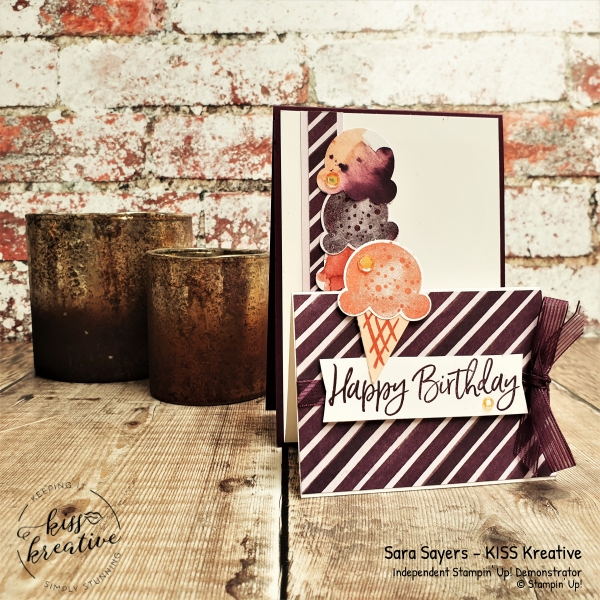
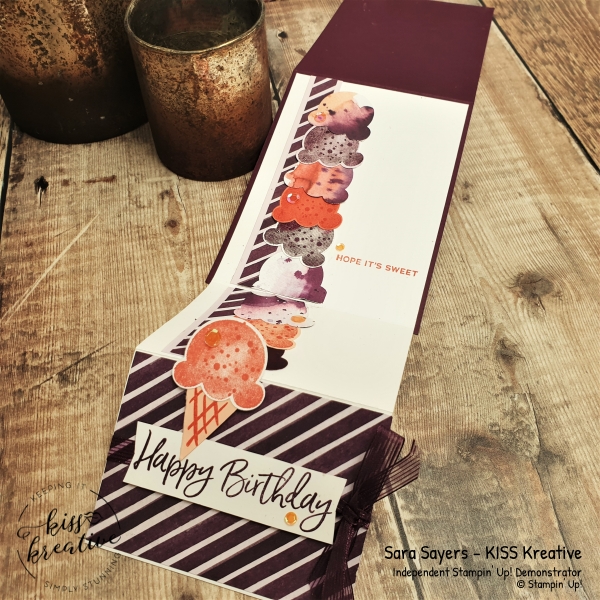
Once you open the front section of the card you have an ice-cream that defies gravity!
The piece of Basic white card stock is scored at 14.3 cm and 21.7 cm and attached to the card base using glue.
I added an offcut strip of Purple Posy and the DSP to the inside portion of the front and then added the ice cream to the front section then layered up more scoops behind. This time i mixed up stamped and DSP punched images so there were a variety of colours and textures
As with all the cards above I added the Artistry Blooms Sequins to finish off the card.
Measurements
- Base: Blackberry Bliss – 29.7 cm by 10.5 cm scored at 14.9 cm
- First Layer : Basic White -29.0 cm by 10.0cm
- Second Layer : Ice Cream Corner DSP – 9.7 cm cm by 7.0 cm
- Third Layer: Ice Cream Corner DSP – 9.7 cm cm by 7.0 cm
Voila!
I had great fun making these projects and I would love to know which one is your favourite? Please do leave me a comment.
If you would like to know more about any of these projects please do get in contact and I would be happy to help you
So please hop around the rest of the wonderful demonstrators blogs to see some more inspiration for using these wonderful patterned papers
See the rest of the International team below!
Pretty Card and Papers International Blog Hop Team
Thanks for looking
Stamping Hugs
Sara
- Shop Stampin Up – Earn 10% rewards on all qualifying purchases over £20
- Request a catalogue
- Buy a starter Kit
- Find out about joining our group of Hugs & Kisses Stampers

Great cards! Love the extended ice cream cone.