Welcome to our monthly Casually Crafting Blog Hop! It’s been a huge honour to pick the theme for the blog hop this month. So rather that pick the popular Christmas blog hop theme, I chose Winter is coming to give my Casually crafting buddies a little more choice of subject. I have been showcasing the Plush Poinsettia Speciality Designer Series Papers all week and still had a few more ideas up my sleeves so here goes!
Casually Crafting Design Team Blog Hop
Who are we? The Casually Crafting design team are a group of Stampin’ Up demonstrators, that just love to stamp when ever we can.
It’s no secret, that we particularly love the type of cars that are simple and easy to make with just a few products, so they are ideally suited to a beginner or casual crafter. Sometimes, we will add a wow project that is a little more stepped up.
We will be sharing our ideas on the 3rd Friday of each month and you can hop around the group and gather loads of inspiration. So grab yourself a cup of your favourite beverage, sit back & enjoy the hop!
Plush Poinsettia Speciality Designer Series Paper
I just love this paper. Its a flock patterned glassine paper in 12″ x 12″. There are three designs and you receive two sheets of Holly, Poinsettia & scroll designs.
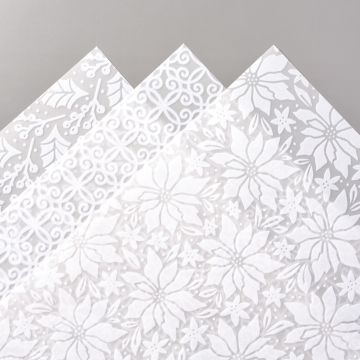
There are so many options to use these papers and you can see some other projects HERE.
I found that most glue shows through the glassine elements of the papers when overlaid on a single layer of card. Then I made a great discovery – Adhesive sheets!
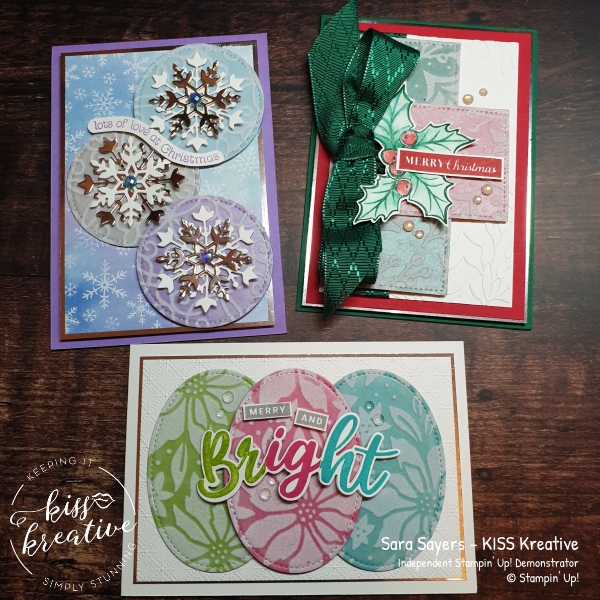
I wanted to use the papers with the Stitched Shape dies and for each shape I chose a Stamp set to go with it.
Plush Poinsettia – Circle stitched Jacquard Technique meets Snowflake Splendor
For my first card I wanted to make use of the circles within the Stitched Shapes
I paired the shapes with the Snowflake Spendor (yes, it is spelt the US way!) Papers and Bundle.
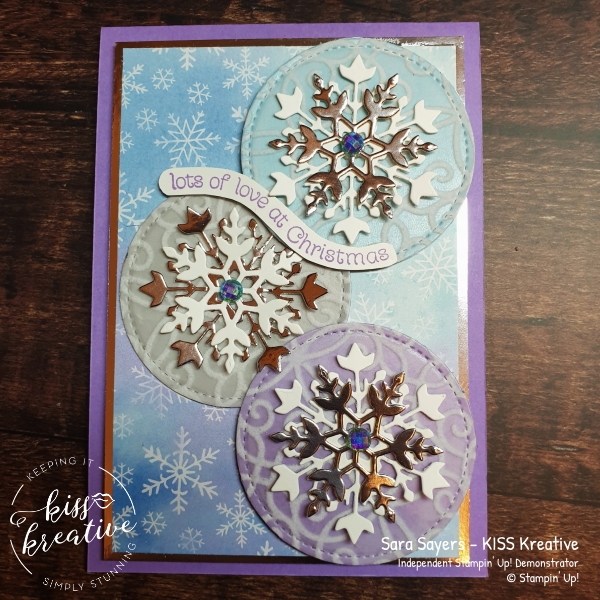
The base layer is Highland Heather and I added a layer of Silver Foil and another of the pretty DSP,
To attach the Plush Poinsettia papers to the coloured card stock of Highland Heather, Balmy Blue and Smoky Slate, I used my newly discovered Adhesive sheets to sandwich the layers together. Next die cut the shape, which holds everything together and creates this wonderfully tactile jacquard effect,
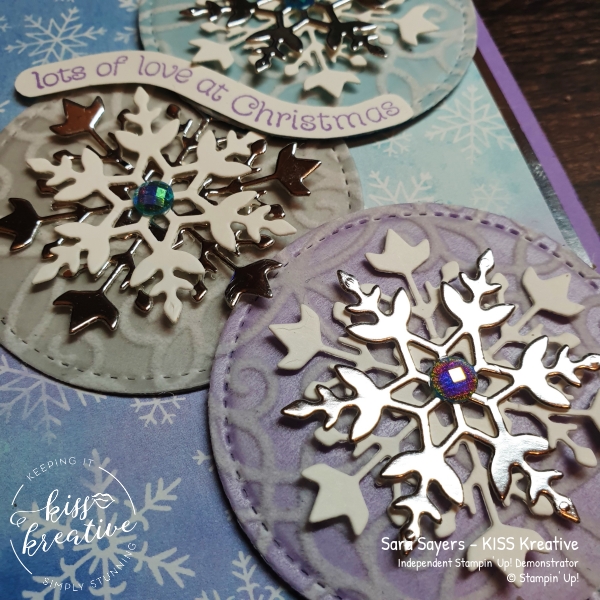
Topping off each circle with some die cut snowflakes and some Blue Adhesive Backed Gems.
To finish I stamped a sentiment from the Itty Bitty stamp set, which I fussy cut and added using Dimensionals.
Plush Poinsettia – Square stitched Jacquard Technique with Christmas Gleaming
For my next card I used the same layout, but this time used Shaded Spruce as the base card with layers of Silver foil and Real red & Whisper White card stock. This time I embossed the final Whisper White layer using the Greenery Embossing Folder and added a voluptuous ribbon and bow using the Shaded Spruce ribbon from the gorgeous Wonder of the Season Combo pack.
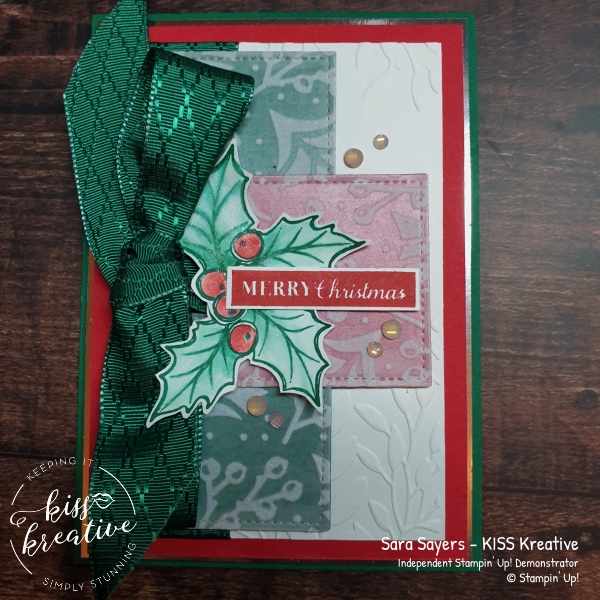
This time I chose the Holly design from the Plush Poinsettia SDSP and though it would look fabulous with the holly in the Christmas Gleaming. I stamped it in Shaded spruce and then coloured it using the Shaded Spruce ink for the leaves and Real Red for the berries.
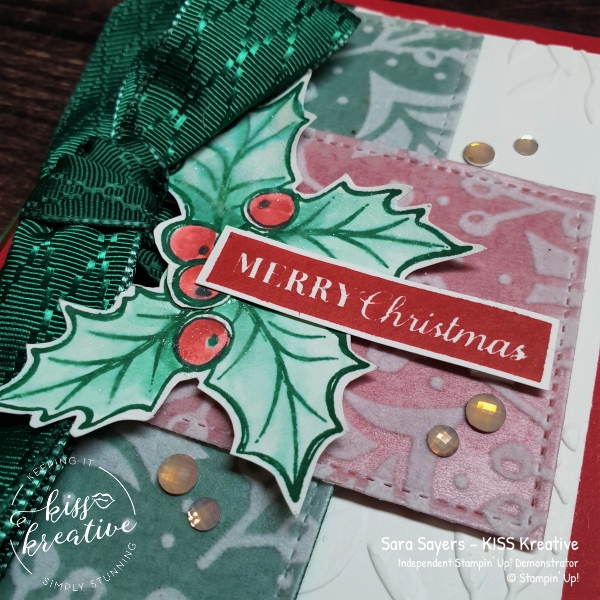
The sentiment was stamped onto a piece of scrap whisper White paper in Real Red and trimmed to fit. Finally I added some Elegant Faceted Gems. So pretty.
Plush Poinsettia – Oval stitched Jacquard Technique with Peace and Joy
As a lover of bright colours and flowers it would have been remiss of me to not to combine them in this challenge. So this time I used Granny Apple Green, Magenta Madness and Bermuda Bay card for the base of my Oval Stitched shapes.
The base of the card is Thick Whisper White layered with Silver foil again and another of standard Whisper White, which was embossed with the Dainty Diamonds Embossing Folder, before being adhered to the card.
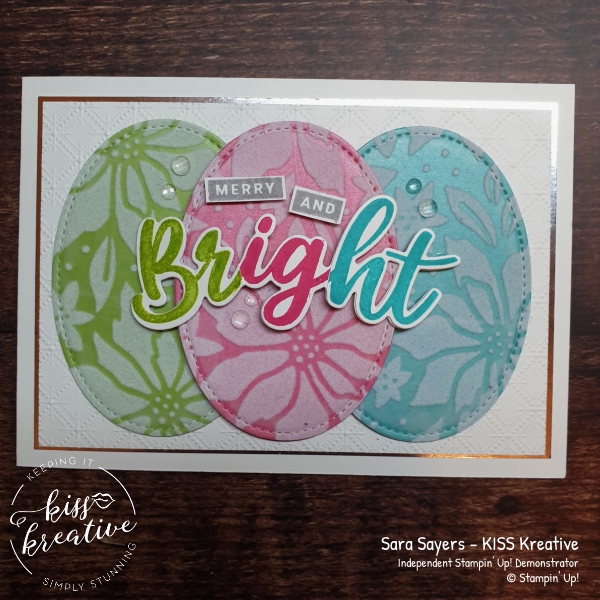
For the sentiment I stamped the sentiment from the Peace and Joy Stamp set three times, one each in Granny Apple Green, Magenta Madness and Bermuda Bay and die cut them out out using the coordinating Joy dies from the bundle.
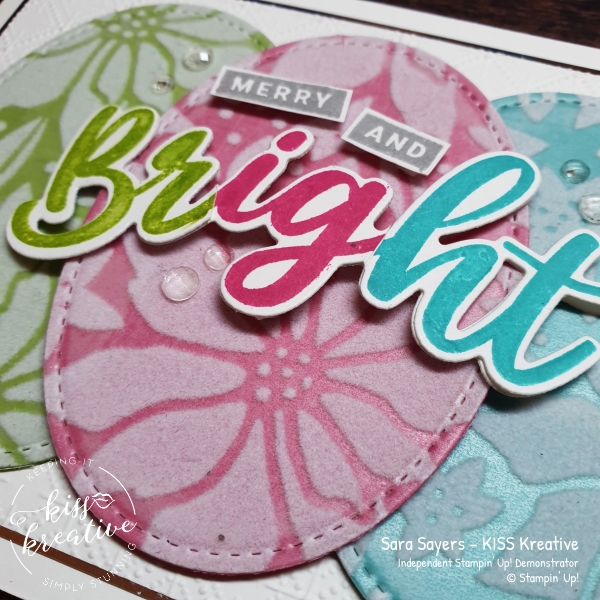
Measurements
- Base: Shimmery White – 29.7 cm by 10.5 cm scored at 14.9 cm
- First Layer: Shimmery White – 14.3 cm x 10.5 cm
- Second Layer: Magenta Madness – 11.3 cm x 6.8 cm
- Third Layer: Shimmery White – 11.0 cm x 6.5 cm
Voila!
I had great fun making these project. So, please do leave me a comment, because I would love to know which one is your favourite.
If you would like to know more about any of these projects please do get in contact and I would be happy to help you
You may have arrived from Hilary’s blog or started here, so please do hop onto the next blog. Next up is the very talented Barry. Just click on the photo and it will take you straight there.
and the rest of the blog roll
Thanks for looking
Stamping Hugs
Sara


Beautiful, colourful projects Sara! Love the non traditional colours too!! x
Lovely mix of festive cards, love the merry and bright one.
Thanks Hilary x
Fab cards Sara, I love the variety you have achieved with these papers!
Thanks Heather x