Well hello!
Did you see my post yesterday, when I made a simple card just using the Wish for it all Stamp set, inks and some paper?


I love simple stamping, but by adding some simple techniques you can really take your cards to a new level and that’s what I hope to show you today.
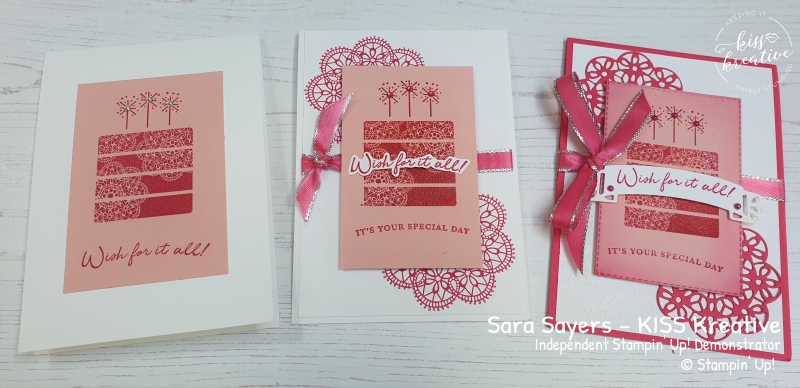
Here are all three cards each stepped up from left to right to show you that whatever stage your card making is its easy to make beautiful projects.
Wish for it all – Casual card
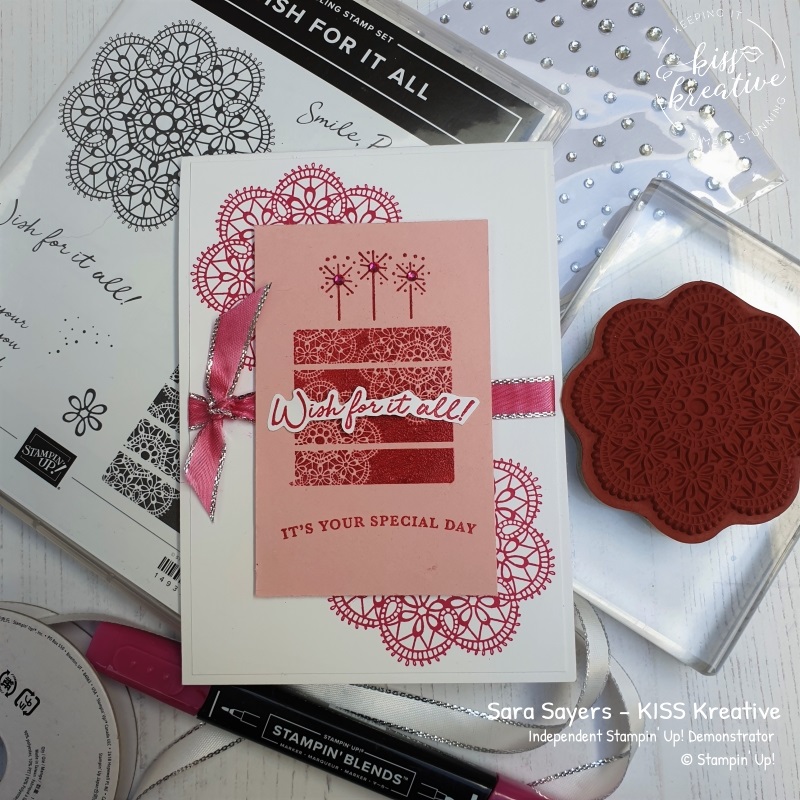
By including some masking, heat embossing, fussy cutting or punching you can really add interest to the project and your finished card will really pack a real punch. Sorry couldn’t resist LOL excuse the pun!
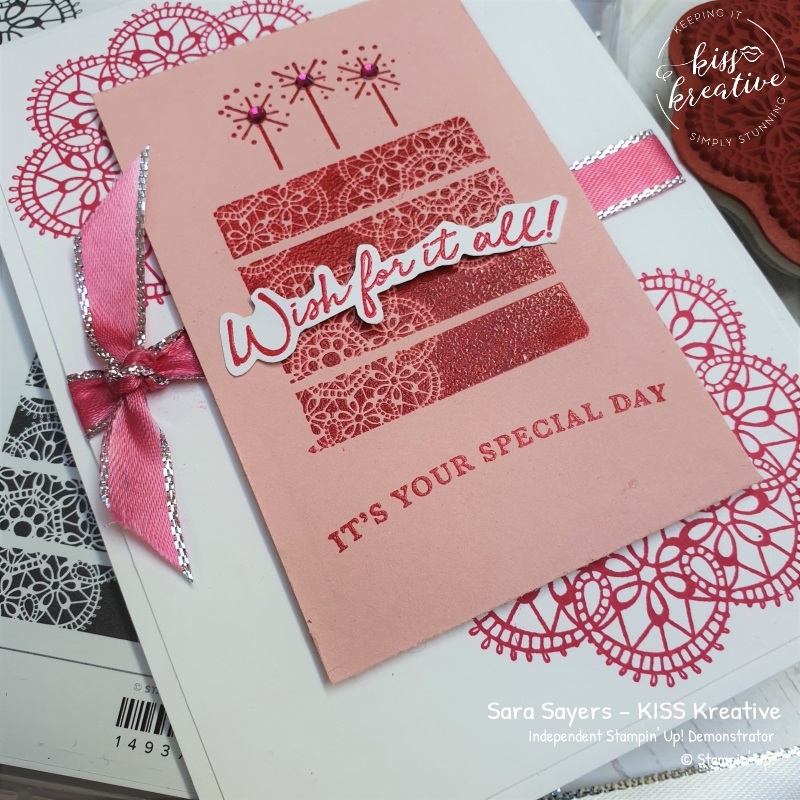
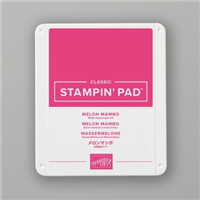
To step up the base card I added a piece of whisper white card stock measuring 10.0cm x 14.3cm. Before adding it to the card I stamped the doily image in Melon Mambo and added a piece of the silver metallic edged ribbon, which I coloured with the light Lovely Lipstick blend. A simple knot of the same coloured ribbon added an extra detail
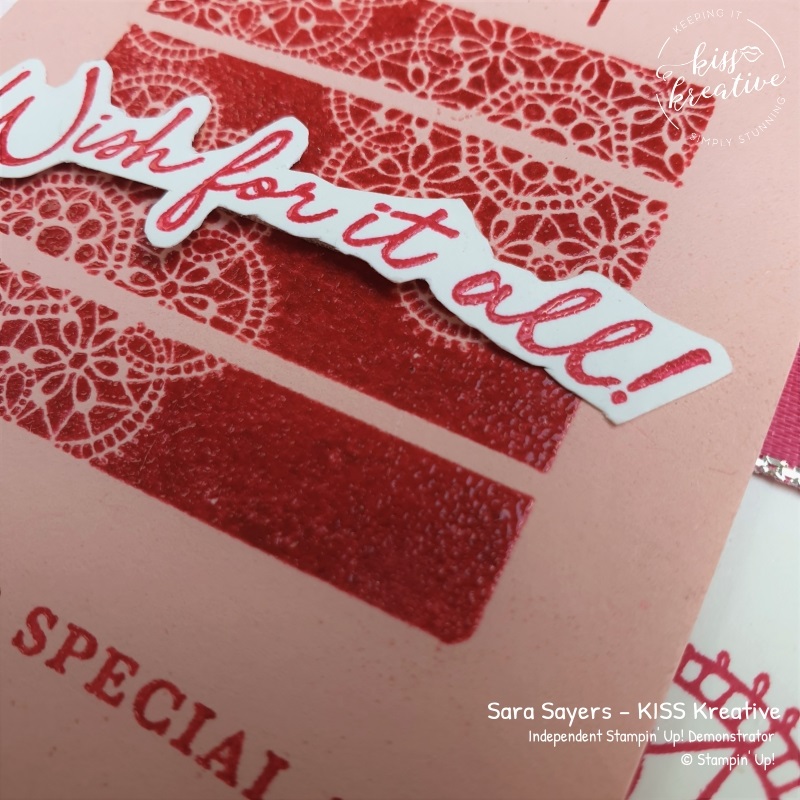
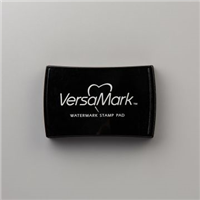
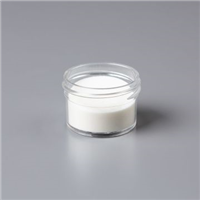
For the topper instead of stamping the image with just with Ink I added some Versamark ink to the stamp before the Melon Mambo and then embossed with Clear Stampin’ Embossing powder. I did the same with the sentiment below which I swapped out from the first one.
I then repeated the process with the first sentiment on a scrap of Whisper White, fussy cut it and added to the topper with some mini dimensionals. To finish this time I coloured the Rhinestone basic jewels with the blend pen and stuck the topper down with dimensionals.
Wish for it all – Avid Card
By adding a few more techniques and products such as dies and embossing folders your card becomes a real work of art and creates a real wow project.
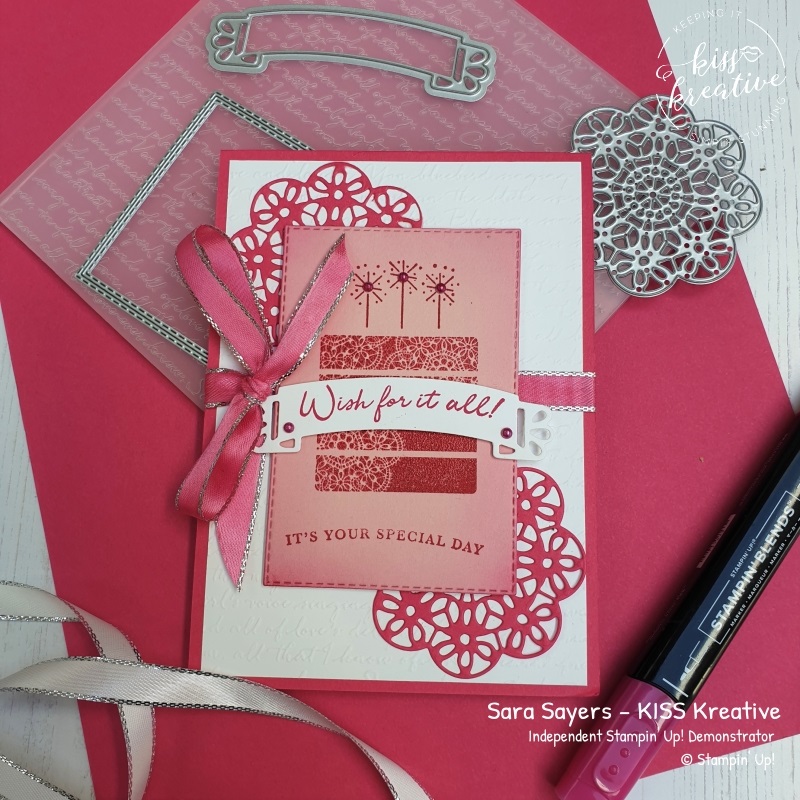
For a real pull all the stops out card I swapped out the Whisper White base and replaced it with a piece of Melon Mambo.
The whisper white mat was dry embossed with The Scripty 3D Embossing folder and this time I used the Coordinating Doily Wishes dies (which you can get as a bundle with the stamp set and save 10% off!) and cut two doilies in Melon Mambo.
I repeated the same process as above for the ribbon, but this time wrapped it round the whole of the front of the card and gave it a luxurious bow.
For the topper I die cut a piece of Blushing Bride cardstock using one of the Rectangle stitched framelets and sponger around the edges in Melon mambo ink with a dauber. I heat embossed the cake and sentiment as above, but this time die cut the sentiment using the banner from the Doily Wishes dies, which fits perfectly across the front of the topper.
Finally I substituted the Rhinestone basic jewels (Diamante) for some Metallic silver pearls which I coloured with the Light Lovely Lipstick blends pen. I added a couple of extra extra ones to the banner.
Voila!


So which one is your favourite? Please comment below and let me know.
Every Monday & Wednesday I hold and Online card & a Cuppa where I make two cards. If you would like to join me then I will be going live on my Face Book page KISS Kreative – Sara Sayers at 11.00am BST so see you there!!!
Can’t make that time? Then you can catch up on replay and still post any questions you might have.
Want to have a go?
- If you would like to purchase any of the Stampin’ Up! items used for this project, click on the product photos below. You will be taken to my Online Shop where you can find more information and order craft products 24/7!
- Is your Stampin’ Up! order less than £150? If so, use the current Reward Code below and receive a free gift from me along with other perks!
- If your order is over £150 please do not use the code as you will be your own Hostess and get your own rewards to spend! That’s free stuff that you get to chose what ever you wish from the current catalogues and clearance rack
- or if your order is £99 and above consider joining my team and picking up a whole host of extras. Check it out here
Thanks for looking
Stamping Hugs
Sara



0 Comments