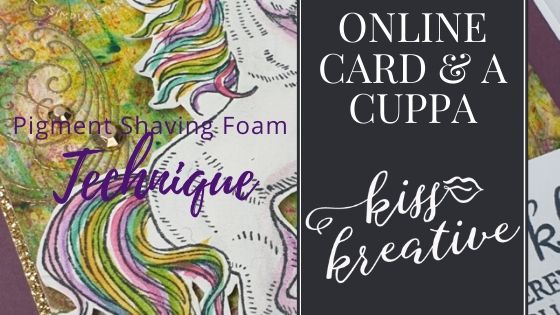
Today I want to share with you the projects that I made on today’s Online card and a cuppa using the a technique that I have not seen or used before, but I have named Pigment Shaving Foam Technique. If you missed it you can watch the event here.
I go live with two projects every Monday and Wednesday at 11.00 am BST I would love you to join me so don’t forget to like my page and tune in next week. You can find me here
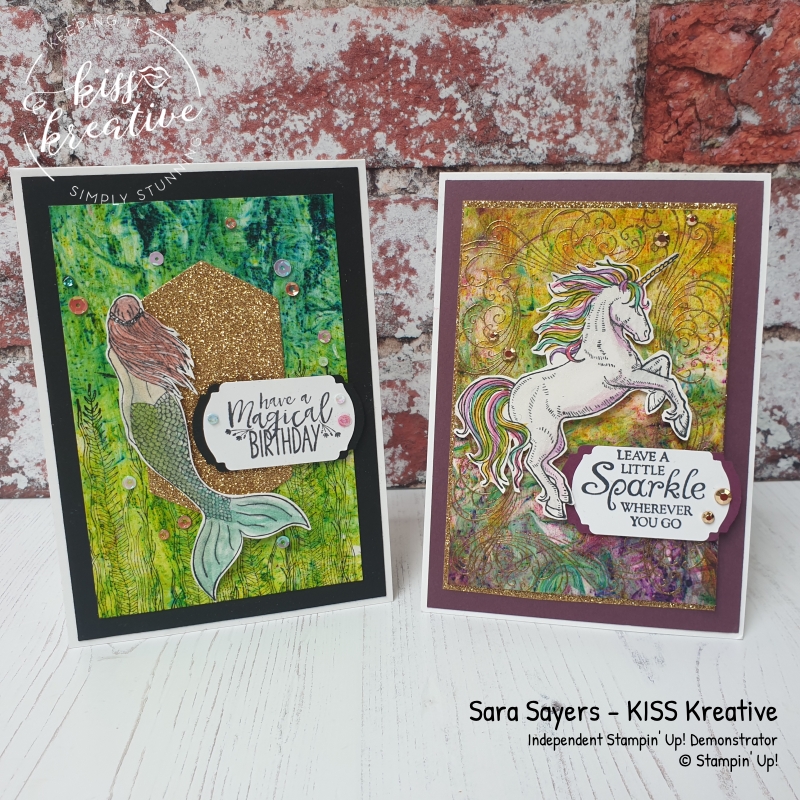
For my projects I used two wonderful stamp sets Magical Mermaid & Leave a little Sparkle. They both really work with this technique. However they are both on the retirement list so grab them quick if you want to recreate these projects!


Pigment Shaving Foam Technique
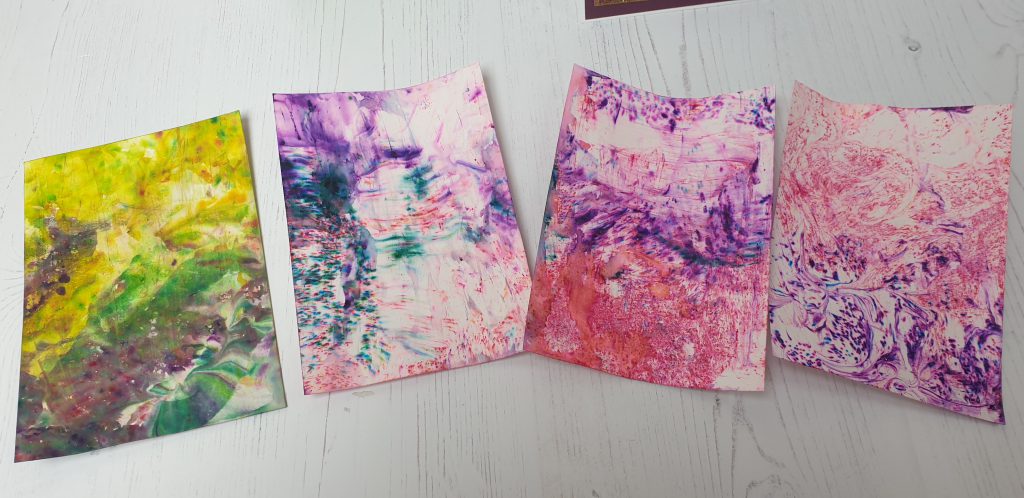
I love the Stampin Up! Pigment sprinkles, but sometimes my customers struggle to get the sort of effects that they want as the pigments are so intense. So I thought I would combine the sprinkles with an old favourite the Shaving foam technique.
Now this is a great technique to try during these challenging times as most of use have a can of shaving foam in the house and you can actually use inks, paint or in my case the pigment sprinkles to marble your card.
Make sure you put plenty on protection down as the pigments are really strong. I used a old plastic tray to hold the shaving foam and then sprinkled some of the pigments on top. TIP: Less really is more. I suggest you apply like you were putting salt on chips! Let the colour develop in the tray and them swirl to create a pattern. Pop the paper (I used shimmery card stock) down on top of the foam and smoosh! Once all the paper is covered remove and scrape off as much of the foam as you can with our wide plastic Palette knife. Your unique design will be revealed.
Below is the tray after about an hour when I had finished the tutorial and you can really see how those colours have ‘developed’! I made another six card bases after my Facebook Live, each one different, so you really get rewarded for your effort.


I made another batch using just the Melon Mambo, Gorgeous Grape and Bermuda Bay pigments and if they became too diluted I just refreshed with little shake of colour. I made another 25 card bases with the second batch.The only reason to stop is if the colours get too ‘muddy’. I will be using these to make some happy mail next week.


Magical Mermaid – Pigment Shaving Foam Technique
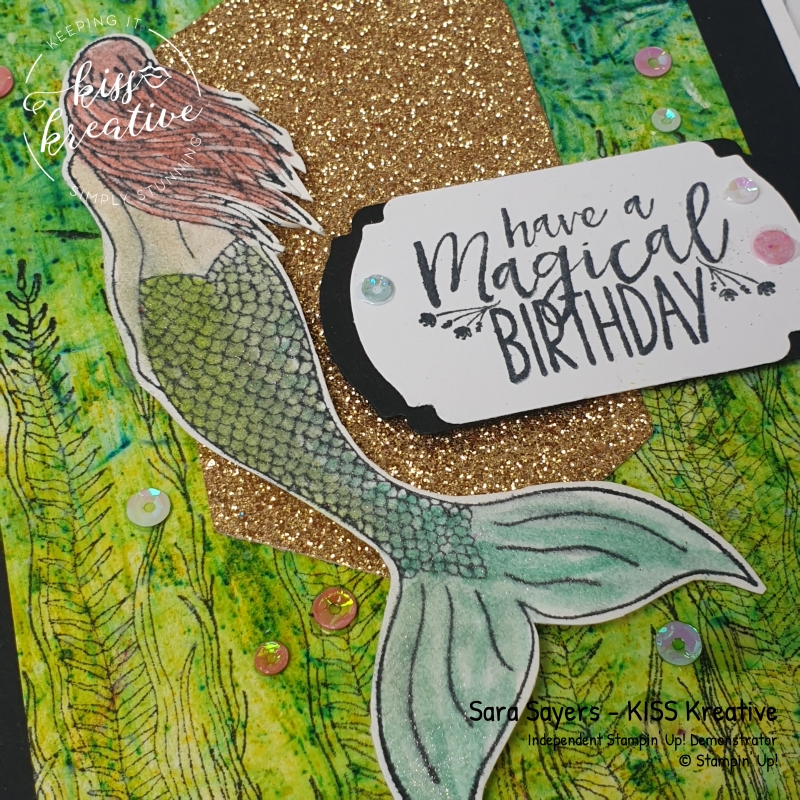
For the Mermaid card I cut the card down to 8.5 cm by 12.8cm, stamped some of the seaweed in Memento Black Ink and some splatters in Whisper white and mounted it onto a piece of Basic Black card and added it to a card base
The Mermaid was stamped on Whisper White and coloured using a blender pen with Coastal Cabana, Granny Apple Green, Pink Petal and Terracotta Tile inks. Once fussy cut I mounted it onto the card using foam pads, having already added a die cut piece of gold glimmer card. The sentiment was stamped on a scrap of whisper white and punched out using the Label me fancy punch. Tip: punch another shape in Basis black, cut in half and stick to the back of the sentiment slightly splayed to create a border at each end. Adhere using foam pads. I finished with some Woven Thread sequins.
During the live event we named the Mermaid Rachel in honour of my beautiful Kiwi friend who has the same stunning auburn hair.
Leave a Little Sparkle – Pigment Shaving Foam Technique


For my second card I embossed the swirls around the edge of the card using Gold Stampin’ Emboss powder and mounted it onto a piece of Gold Glimmer card using foam pads. I stamped the Unicorn and covered it in Wink of Stella then using the wink of Stella I added a rainbow main and tail using the colours of the pigments. Melon Mambow, Mango Melody, Daffodil Delight, Granny Apple Green, Bermuda Bay and Gorgeous Grape. Well you have to go to town for a unicorn!
This time I replaced the Basic Black base with Rich Razzleberry and mounted the topper to it. Fussy cut the Unicorn and added it to the card. I finished the card with the sentiment stamped and mounted in the same way as the first card and added some of the new Gilded Gems.
I loved this technique and hope you do too!

Voila!
I had great fun making this project and I would love to know what you think? So please do leave me a comment.
Don’t forget I will be back on Monday with two more card makes. If you would like to join me then I will be going live on my Face Book page KISS Kreative – Sara Sayers at 11.00am BST so see you there!!!
RETIREMENT LIST IS LIVE!
To make way for some of the fabulous new products coming in June we have to lose some of the existing products from our current Annual and mini catalogues. There are some amazing deals and I know many of you have been taking advantage of of the fabulous discounts. Some items are even up to 60% off!! You can check them all out here. But hurry these items have been selling really fast and many of the best deals are already gone or at low stock levels.
- If you would like to purchase any of the Stampin’ Up! items used for this project, click on the product photos below. You will be taken to my Online Shop where you can find more information and order craft products 24/7!
- Is your Stampin’ Up! order less than £150? If so, use the current Reward Code below and receive a free gift from me along with other perks!
- If your order is over £150 please do not use the code as you will be your own Hostess and get your own rewards to spend! That’s free stuff that you get to chose what ever you wish from the current catalogues and clearance rack
- or if your order is £99 and above consider joining my team and picking up a whole host of extras. Check it out here
Thanks for looking
Stamping Hugs
Sara
0 Comments